If you want your Viking cookware to last longer and cook better, seasoning it properly is key. Seasoning creates a natural, non-stick surface that protects your pans from rust and wear.
But how do you do it right? In this guide, you’ll learn simple, step-by-step tips to season your Viking cookware like a pro. By the end, you’ll know exactly how to care for your pans so every meal turns out perfect.
Ready to unlock the full potential of your cookware? Let’s dive in.
Choosing Viking Cookware
Choosing the right Viking cookware sets the stage for great cooking. It affects how well your food cooks and how easy your cleanup will be. Viking offers several options to fit different needs and preferences. Understanding these choices helps you pick the best cookware for your kitchen.
Types Of Viking Cookware
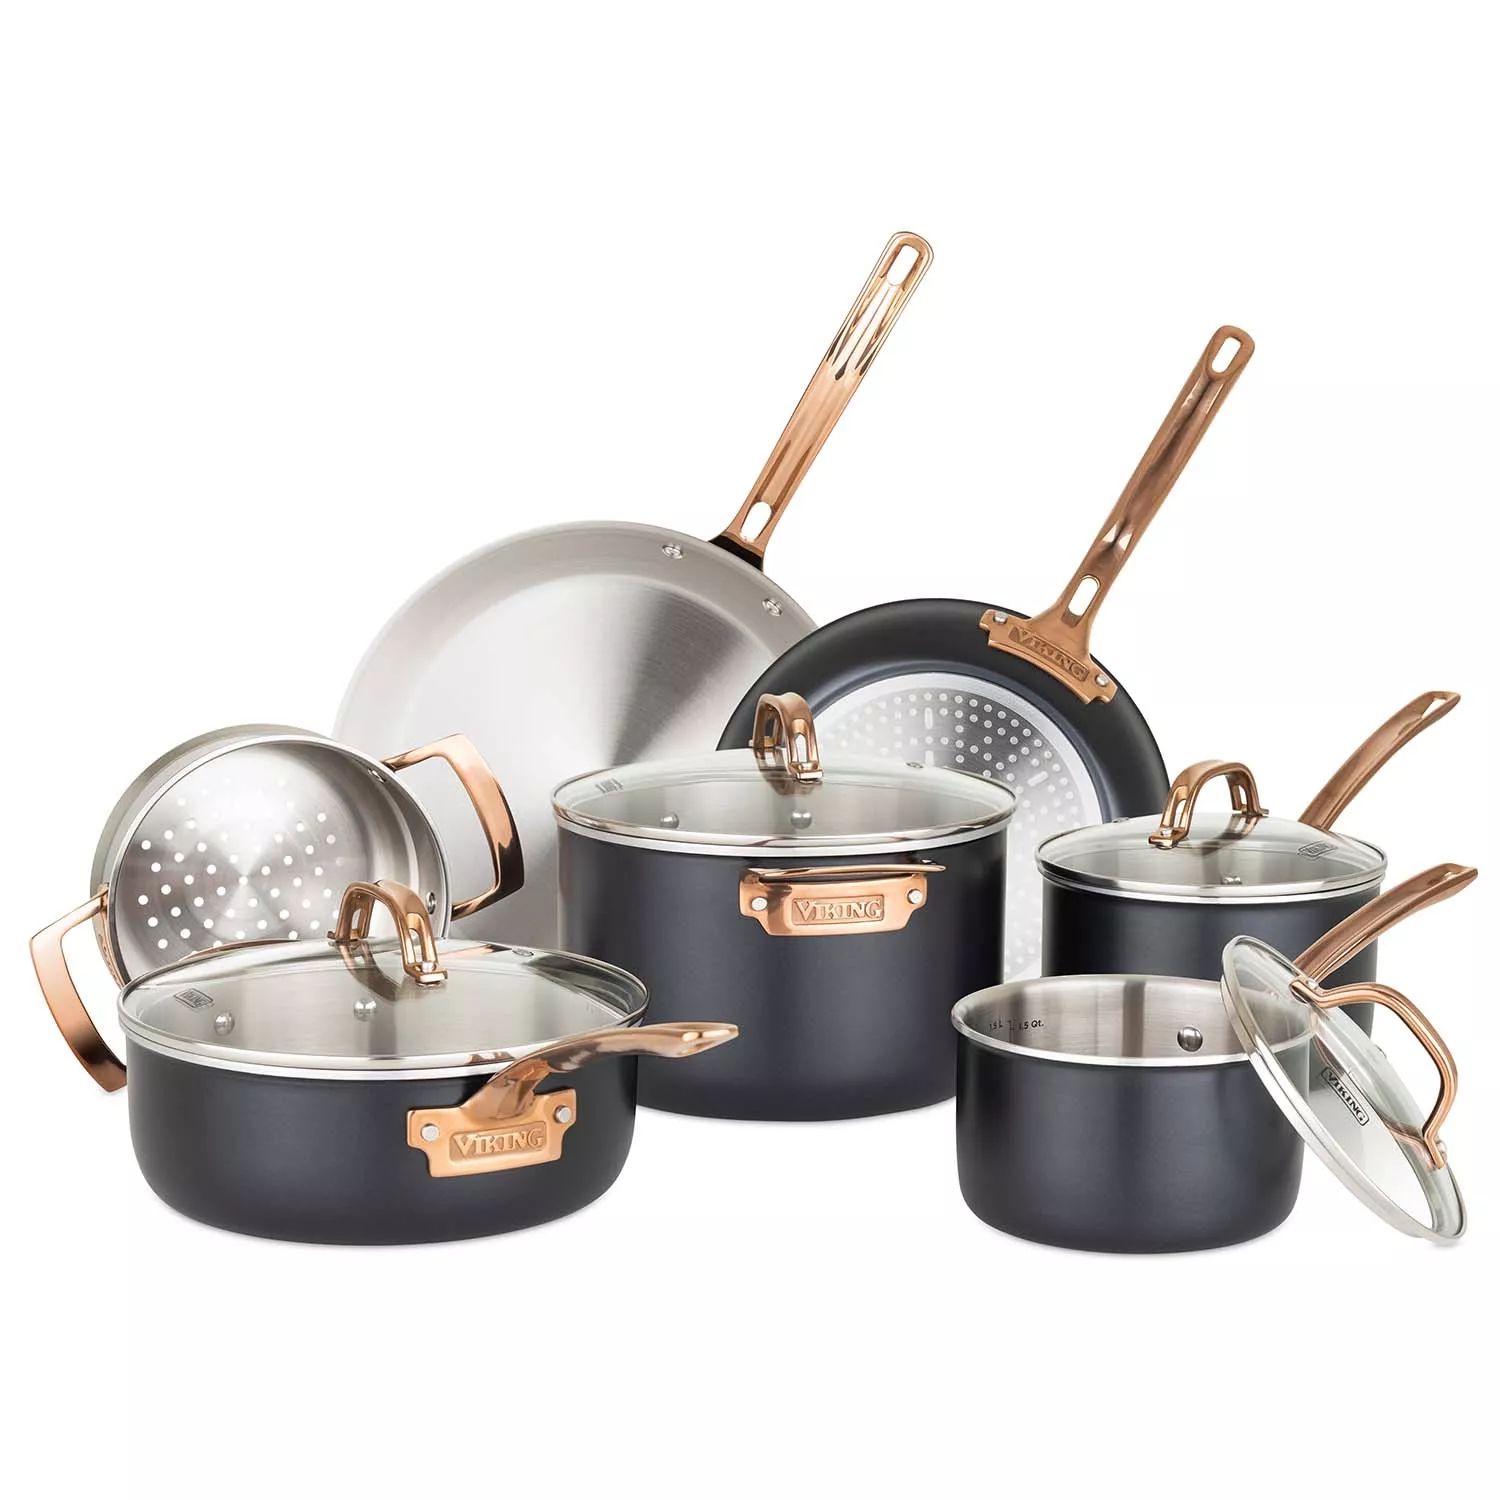
Viking cookware comes in various types. There are skillets, saucepans, stockpots, and Dutch ovens. Each type serves a different cooking purpose. Skillets are perfect for frying and sautéing. Sauce pans are great for making sauces and boiling. Stockpots handle soups and large meals. Dutch ovens are excellent for slow cooking and baking.
Materials And Their Benefits
Viking cookware uses different materials. Stainless steel is durable and resists rust. It heats evenly and cleans easily. Cast iron holds heat well. It works best for searing and slow cooking. Aluminum is lightweight and heats quickly. It helps save energy and cooks food evenly. Each material offers unique benefits for your cooking style.
Why Season Viking Cookware
Seasoning Viking cookware is key for best use. It makes the cookware last longer. It also keeps food from sticking. Seasoning creates a natural non-stick surface. This surface improves cooking and cleaning.
Benefits Of Seasoning
Seasoning protects the cookware from rust. It forms a strong, smooth layer on the metal. This layer stops moisture and air from causing damage. Seasoned cookware needs less oil for cooking. Food cooks evenly and tastes better. The more you use and season it, the better it gets.
Effects On Cooking Performance
Seasoned Viking cookware heats food more evenly. It prevents hot spots that burn food. The non-stick layer means less food sticks and burns. This helps in cooking delicate items like eggs or fish. Cleaning is easier with less scrubbing needed. Seasoning improves the overall cooking experience.
Preparing Your Cookware
Seasoning Viking cookware starts with good preparation. Clean cookware ensures better seasoning. Dirt or oils can stop the seasoning from sticking.
Proper preparation makes your cookware last longer. It also improves cooking performance and flavor.
Cleaning Before Seasoning
Wash your Viking cookware with warm water and mild soap. Use a soft sponge to remove dirt and dust. Avoid harsh scrubbers that can scratch the surface.
Rinse well to remove all soap. Dry the cookware completely with a clean towel. Any moisture left can cause rust during seasoning.
Removing Factory Coatings
New Viking cookware often has a protective factory coating. This coating stops rust but also blocks seasoning. Remove it before seasoning.
Heat the cookware in the oven at 350°F (175°C) for about an hour. This helps break down the coating. After cooling, scrub the surface with hot water and a brush. Rinse and dry fully before starting the seasoning process.
Selecting The Right Oil
Selecting the right oil is key to seasoning Viking cookware. The right oil helps build a strong, non-stick surface. It also protects the cookware from rust and damage. Using the wrong oil can leave a sticky or uneven coating. This can ruin your cooking experience.
Some oils work better than others. Their smoke point and fat content affect how well they season the cookware. Choosing the best oil helps create a smooth, long-lasting finish. It also makes cleaning easier after cooking.
Best Oils For Seasoning
Flaxseed oil is a top choice. It has a high smoke point and dries hard. This creates a tough, durable coating on your cookware.
Canola oil is another good option. It is cheap and easy to find. It also has a medium-high smoke point that works well.
Grapeseed oil has a high smoke point and a neutral flavor. It forms a nice, smooth layer on the pan.
Vegetable oil can work but is less effective than flaxseed or grapeseed.
Avoiding Common Mistakes
Do not use oils with low smoke points. They can burn and create sticky layers.
Avoid using butter or olive oil. They burn quickly and do not season well.
Apply only a thin layer of oil. Thick layers can become sticky and uneven.
Make sure to heat the cookware properly. This helps the oil bond to the surface.
Step-by-step Seasoning Process
Seasoning Viking cookware improves its non-stick surface and protects it from rust. This process creates a thin, durable layer of oil baked into the metal. Follow these steps carefully to get the best results. The process is simple and effective.
Applying Oil Evenly
Start with clean, dry cookware. Use a paper towel to spread a thin layer of oil over the entire surface. Cover inside and outside, including handles. Use oils like flaxseed, vegetable, or canola. Avoid thick or sticky layers. The oil should look shiny but not dripping.
Heating Techniques
Preheat your oven to 450°F (230°C). Place the oiled cookware upside down on the top rack. Put a baking sheet or foil on the bottom rack to catch drips. Heat for one hour to bake the oil into the surface. This step hardens the oil, creating the seasoning layer.
Cooling And Repeating
Turn off the oven and let the cookware cool inside. Cooling helps the seasoning stick well. After cooling, check the surface. If it looks patchy, repeat the oiling and heating steps. Three to four rounds build a strong, even coating.

Credit: www.vikingculinaryproducts.com
Maintaining Seasoned Cookware
Maintaining seasoned Viking cookware keeps it non-stick and rust-free. Proper care extends the life of your pan. It also improves cooking performance over time.
Small steps after each use make a big difference. Keep the cookware dry and clean. Avoid harsh cleaning methods that can damage the seasoning.
Cleaning Tips After Use
Use warm water and a soft sponge to clean the cookware. Avoid soap or use very little mild soap. Do not soak the pan for long periods. Dry the cookware immediately with a towel. Heat the pan on low heat to remove leftover moisture. This prevents rust and keeps the seasoning intact.
Re-seasoning When Needed
Watch for dull or sticky spots on the surface. These signs mean the seasoning needs refreshing. Apply a thin layer of oil to the pan’s surface. Heat it gently in the oven or on the stove. Repeat this process a few times for best results. Re-seasoning keeps the cookware smooth and protects it from damage.
Troubleshooting Common Issues
Troubleshooting common issues with Viking cookware seasoning helps keep your pans in top shape. Seasoning builds a natural non-stick layer, but problems can arise. Knowing how to fix these issues saves time and effort. Simple steps restore your cookware’s performance quickly.
Sticky Or Uneven Surfaces
Sticky or uneven surfaces happen from too much oil during seasoning. Thick layers do not dry well and create a sticky feel. To fix this, scrub the pan with hot water and a soft brush. Avoid soap that removes seasoning.
Next, dry the pan completely. Apply a very thin coat of oil. Use a paper towel to spread it evenly. Heat the pan in the oven at 400°F for an hour. This process creates a smooth, even layer.
Rust And How To Fix It
Rust forms if Viking cookware stays wet or is not dried properly. Rust spots can ruin the seasoning and damage the pan. Remove rust by scrubbing with steel wool or a gentle abrasive pad.
After removing rust, rinse and dry the pan well. Re-season the cookware with a thin layer of oil. Bake it in the oven to rebuild the protective surface. Regular care prevents rust from returning.
Credit: www.surlatable.com

Credit: www.amazon.com
Frequently Asked Questions
How Do I Prepare Viking Cookware Before First Use?
Clean Viking cookware with warm soapy water and dry it thoroughly. Apply a thin layer of cooking oil inside and outside. Heat it gently on low for 30 minutes. Let it cool completely before wiping off excess oil. This process creates a natural, non-stick surface.
How Often Should I Season Viking Cookware?
Season Viking cookware after every few uses or when food starts sticking. Regular seasoning maintains the non-stick layer and protects against rust. It helps keep your cookware durable, efficient, and easy to clean. Frequent seasoning improves cooking performance over time.
What Oils Are Best For Seasoning Viking Cookware?
Use oils with high smoke points like flaxseed, grapeseed, or canola oil. These oils polymerize well, creating a strong, durable coating. Avoid low smoke point oils like olive oil. Proper oil choice ensures effective seasoning and a long-lasting non-stick surface.
Can I Use Viking Cookware Without Seasoning It First?
You can use Viking cookware without seasoning, but it may stick or rust. Seasoning adds a protective layer and enhances non-stick properties. It’s recommended to season before first use for best cooking results and longer cookware life.
Conclusion
Seasoning Viking cookware helps protect it from rust and stickiness. Clean the cookware well before starting the process. Use oil and heat to build a strong, non-stick layer. Repeat seasoning regularly to keep the surface smooth and shiny. Well-seasoned cookware cooks food evenly and tastes better.
Taking care of your Viking cookware this way saves money and effort. Enjoy cooking with your cookware for many years to come. Simple steps make a big difference in your kitchen routine.

Hello, This is Annie Walker, a 38-year-old blogger, founder, and editor of Cookware Guider from NY, USA. I am a cookware fanatic and passionate cooker. I love to cook with different types of cooking appliances (example: all types of cookware, rice cookers, slow cookers, etc) almost every day in my kitchen. I love to share my experience with my readers in my blog. Also, I enjoy helping people to solve their problems through my website. You can follow me on Twitter & Pinterest. To know details about my blog please check the about us page.