Is your favorite enamel cookware chipped and looking worn out? Don’t rush to toss it away just yet.
You can bring it back to life with some simple repair steps. Imagine saving money, reducing waste, and enjoying your trusted pots and pans for years more. In this guide, you’ll discover easy ways to fix those annoying chips and keep your cookware safe and beautiful.
Ready to learn how? Let’s dive in and restore your kitchen essentials together.
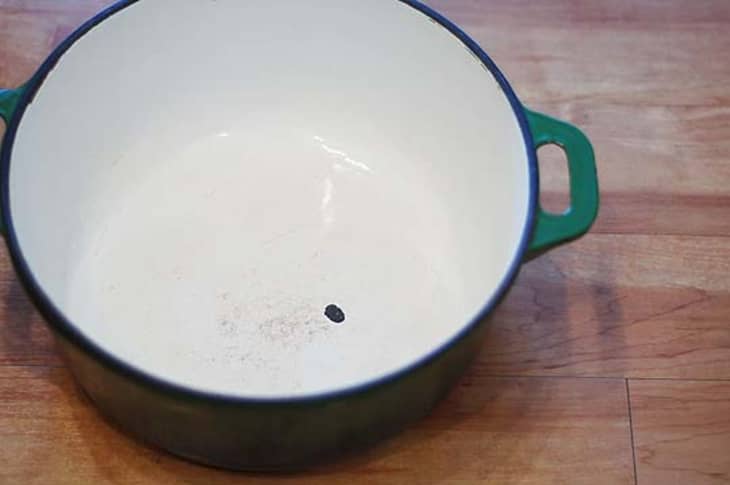
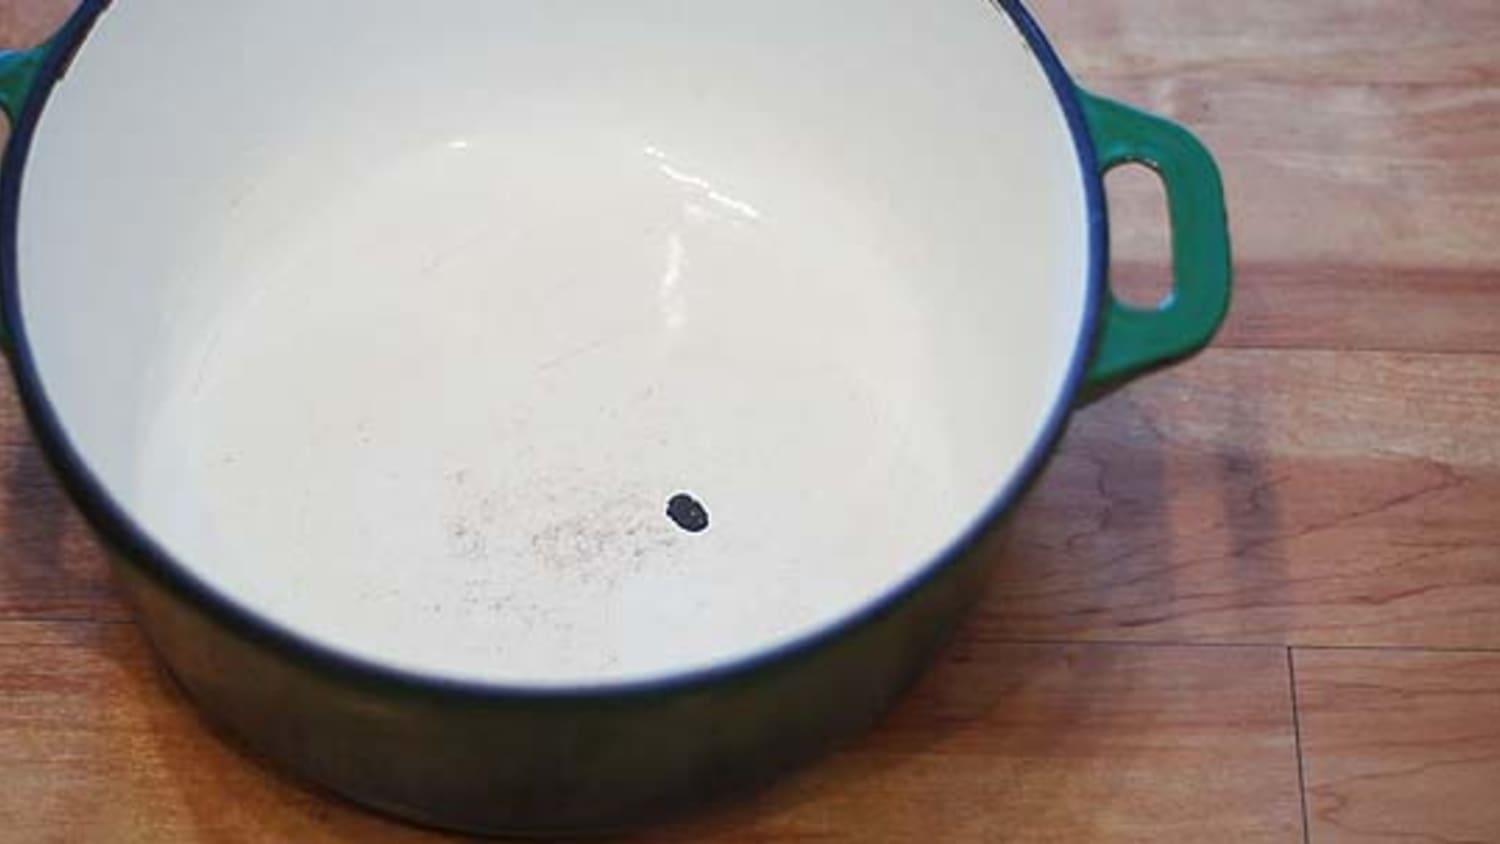
Credit: www.thekitchn.com
Identify The Damage
Before fixing chipped enamel cookware, you must identify the damage clearly. This step helps you decide how to repair it properly. Careful inspection prevents mistakes and saves time.
Check The Chip Size
Look closely at the chip on the enamel surface. Measure how big the chip is with a ruler or your finger. Small chips, about the size of a pea or smaller, can often be repaired at home. Larger chips may need professional help or replacement. The size affects which materials and tools you should use.
Assess Surface Condition
Examine the area around the chip. Check if the enamel is cracked, peeling, or rough. Smooth edges are easier to fix than jagged or loose enamel. Also, look for rust or stains on the exposed metal. These signs mean the damage is older and may need extra cleaning or treatment before repair.
Gather Necessary Tools
Gathering the right tools is the first step to fix chipped enamel cookware. Having everything ready makes the repair process smooth and effective. This section helps you collect what you need before starting.
Select Repair Kits
Choose a repair kit made for enamel cookware. These kits have special enamel paint and fillers. Pick a kit that matches your cookware’s color. A good match makes the repair less visible. Check the kit’s instructions to ensure it suits your cookware type.
Prepare Cleaning Supplies
Clean the chipped area before repair. Use mild soap and warm water to remove dirt. A soft sponge or cloth works best. Avoid harsh scrubbing that may worsen the damage. Dry the area completely with a clean towel. Clean surfaces help the repair material stick better.
Clean The Cookware
Cleaning the cookware is a key step before repairing chipped enamel. Dirt and oils can stop the repair materials from sticking well. A clean surface helps the enamel patch last longer and look better.
Take your time to clean every part around the chip. This prepares the cookware for a smooth repair process. Skip this step, and the chip repair might fail quickly.
Remove Dirt And Residue
Start by rinsing the cookware under warm water. Use a soft sponge with mild dish soap to scrub away grease and food bits. Avoid harsh scrubbers that can scratch the enamel further.
Focus on the chipped area, removing all loose particles. Wipe gently until the surface feels clean and smooth. Rinse again to wash off any soap or debris. A spotless surface is ready for the next step.
Dry Thoroughly
After cleaning, dry the cookware completely. Use a soft towel or cloth to remove water from all surfaces. Pay close attention to the chipped section to avoid trapped moisture.
Let the cookware air dry for a few minutes if possible. Repair products bond best to dry surfaces. Moisture can weaken the repair and cause peeling later.
Apply Enamel Repair
Applying enamel repair is the key step in fixing chipped cookware. It restores the smooth, protective surface of your pot or pan. This step helps stop rust and further damage. The process needs care and patience for the best result.
Use Touch-up Paint
Start by getting enamel touch-up paint made for cookware. Clean the chipped area well before applying paint. Use a small brush to spread a thin layer over the chip. Let the paint dry fully. Apply another layer if needed for better coverage.
Smooth The Surface
After the paint dries, check for rough spots. Use fine sandpaper to gently smooth the surface. Be careful not to remove the new paint. Wiping with a soft cloth removes dust. This step helps the repaired spot blend with the rest of the cookware.
Cure The Repair
After applying the enamel repair, the next step is to cure the repair properly. This step helps the enamel harden and stick well to your cookware. Proper curing ensures the repair lasts longer and keeps your cookware safe to use.
Follow Drying Instructions
Check the instructions on your enamel repair kit carefully. Most kits need the repaired area to dry for a specific time before using the cookware. Drying times can vary from a few hours to a full day. Do not rush this step. Let the repair dry completely for a strong finish.
Avoid Heat During Cure
Keep your cookware away from heat sources while curing. Do not place it on the stove or in the oven. Heat can cause the repair to crack or peel off. Room temperature is best for curing. Wait until the repair is fully cured before cooking with the cookware again.

Credit: www.nolifrit.com
Test The Repair
Testing the repair of your chipped enamel cookware is an important step. It ensures the fix holds strong and the cookware is safe to use. This process helps you see if the repair can withstand daily cooking tasks without failing. Take your time to carefully check the repair’s quality before using the pot or pan again.
Check For Durability
Start by gently tapping the repaired area with your finger. It should feel firm and not loose. Try to press lightly around the chip to see if the enamel stays in place. If the repair cracks or peels, it needs more work. Also, let the cookware rest for a few hours to allow the repair to fully set. After that, test it with warm water to check its strength. Durable repairs protect your cookware longer and keep it safe to cook with.
Inspect For Flaws
Look closely at the repaired spot under good light. Tiny cracks or bumps might cause problems later. Make sure the surface is smooth and even with the rest of the cookware. Any rough edges can chip again or cause food to stick. Use a soft cloth to feel for unevenness. If you find flaws, sand gently with fine-grit sandpaper and apply a thin enamel layer again. A flawless repair ensures better performance and longer use.
Maintain Enamel Cookware
Maintaining enamel cookware is important to keep it in good shape. Small chips can ruin the look and function of your pots and pans. Careful handling and cleaning extend the life of your cookware. Follow simple steps to protect your enamel and avoid damage.
Prevent Future Chips
Handle enamel cookware gently. Avoid dropping or banging it on hard surfaces. Use wooden or silicone utensils to prevent scratches. Do not stack heavy items on top of enamel pots. Store cookware carefully to avoid knocks and drops.
Proper Cleaning Techniques
Clean enamel cookware with warm, soapy water. Use a soft sponge or cloth to avoid scratches. Avoid steel wool or harsh scrubbers that damage enamel. Rinse well and dry immediately to prevent water spots. For tough stains, soak in warm water before washing gently.
Credit: www.thekitchn.com
Frequently Asked Questions
How Do I Fix Chipped Enamel Cookware At Home?
You can repair chipped enamel cookware by cleaning the chip area thoroughly. Use enamel repair paint or food-safe epoxy. Apply carefully, let it dry fully before use. This restores protection and prevents rust. Always follow product instructions for best results.
Is Enamel Repair Paint Safe For Cookware?
Yes, enamel repair paint designed for cookware is food-safe once cured. It prevents rust and seals chips effectively. Ensure you buy non-toxic, high-temperature resistant enamel paint. Always check the label to confirm it’s intended for kitchenware use.
Can I Still Cook With Chipped Enamel Cookware?
Cooking with chipped enamel cookware is possible but not recommended long-term. Chips expose metal, causing rust and uneven cooking. Repairing chips prevents damage and extends cookware life. Avoid cooking acidic foods on chipped surfaces to reduce corrosion risk.
How To Prevent Enamel Cookware From Chipping?
Prevent chipping by avoiding sudden temperature changes and rough handling. Use wooden or silicone utensils, not metal. Hand wash gently with non-abrasive sponges. Store cookware carefully to avoid bumps and drops. Proper care maintains enamel integrity and appearance.
Conclusion
Fixing chipped enamel cookware can save money and reduce waste. Small chips do not mean you must throw pots away. With the right tools, you can restore your cookware’s surface. Take your time and follow each repair step carefully. This keeps your cookware safe and extends its life.
Clean and maintain the pots regularly to avoid future damage. A little effort goes a long way in kitchen care. Keep cooking with confidence and enjoy your meals more.

Hello, This is Annie Walker, a 38-year-old blogger, founder, and editor of Cookware Guider from NY, USA. I am a cookware fanatic and passionate cooker. I love to cook with different types of cooking appliances (example: all types of cookware, rice cookers, slow cookers, etc) almost every day in my kitchen. I love to share my experience with my readers in my blog. Also, I enjoy helping people to solve their problems through my website. You can follow me on Twitter & Pinterest. To know details about my blog please check the about us page.