
You can create a basic, smooth glaze by mixing two cups of powdered sugar with three tablespoons of milk and one teaspoon of vanilla extract until the texture is pourable. How to make homemade icing is a simple process of balancing dry sugar against liquid until you reach your desired thickness.
The final consistency depends on the ratio of sugar to liquid and the temperature of your kitchen. If you want a thicker spread, add more sugar one tablespoon at a time; if you need a thin drizzle, add more milk in half-teaspoon increments.
Selecting sugar for homemade icing
You’re likely looking to improve your baked goods with a custom topping that tastes better than store-bought options. This guide serves home bakers who have access to basic pantry staples like powdered sugar, milk, and butter. If you’re looking for complex professional decorations or high-heat resistant piping, you should look for advanced pastry resources.
One reader might have a simple sponge cake and needs a quick, thin glaze that sets firm. Another might be frosting a batch of cupcakes and requires a stable, creamy buttercream that holds its shape. This article assumes you have a standard electric hand mixer or a sturdy whisk. If you don’t have these tools, you’ll find it difficult to remove lumps from the sugar. We focus on the classic American style, which relies on the high sugar content for stability. If your goal is a lower-sugar or sugar-free alternative, this method won’t work, as the structure of the icing relies on the physical properties of the powdered sugar itself.
Factors affecting your results
The final texture is controlled by three main variables. The most important is the moisture content of your environment. On a humid day, powdered sugar absorbs moisture from the air, which can make your icing runny. If the air feels heavy, start with one teaspoon less milk than the recipe calls for.
The second factor is the temperature of your fat. If you’re making a butter-based frosting, the butter must be at room temperature, which is about 68 degrees Fahrenheit. If the butter is melted, the icing will be greasy and won’t hold its shape. If the butter is too cold, you’ll end up with small, hard yellow chunks in your bowl.
The third factor is the speed of your mixing. When you incorporate air into your butter, the volume increases and the color lightens. If you mix too slowly, the icing will be dense and heavy. If you over-mix, you might trap too many air bubbles, which makes the icing look grainy when you spread it.
The mistake people make most often is adding all the liquid at once. This forces them to add massive amounts of extra sugar to fix the runny mess, which ruins the flavor balance. Always add liquid slowly and stop to check the texture after every addition.
How To Make Homemade Icing: Preparing the Perfect Batch
- Sift two cups of powdered sugar into a large mixing bowl to remove all lumps.
- Add four ounces of softened, unsalted butter to the bowl.
- Beat the butter and sugar on low speed for two minutes until the mixture looks like coarse sand.
- Add one tablespoon of whole milk and one teaspoon of vanilla extract.
- Increase the mixer speed to medium-high and beat for three minutes.
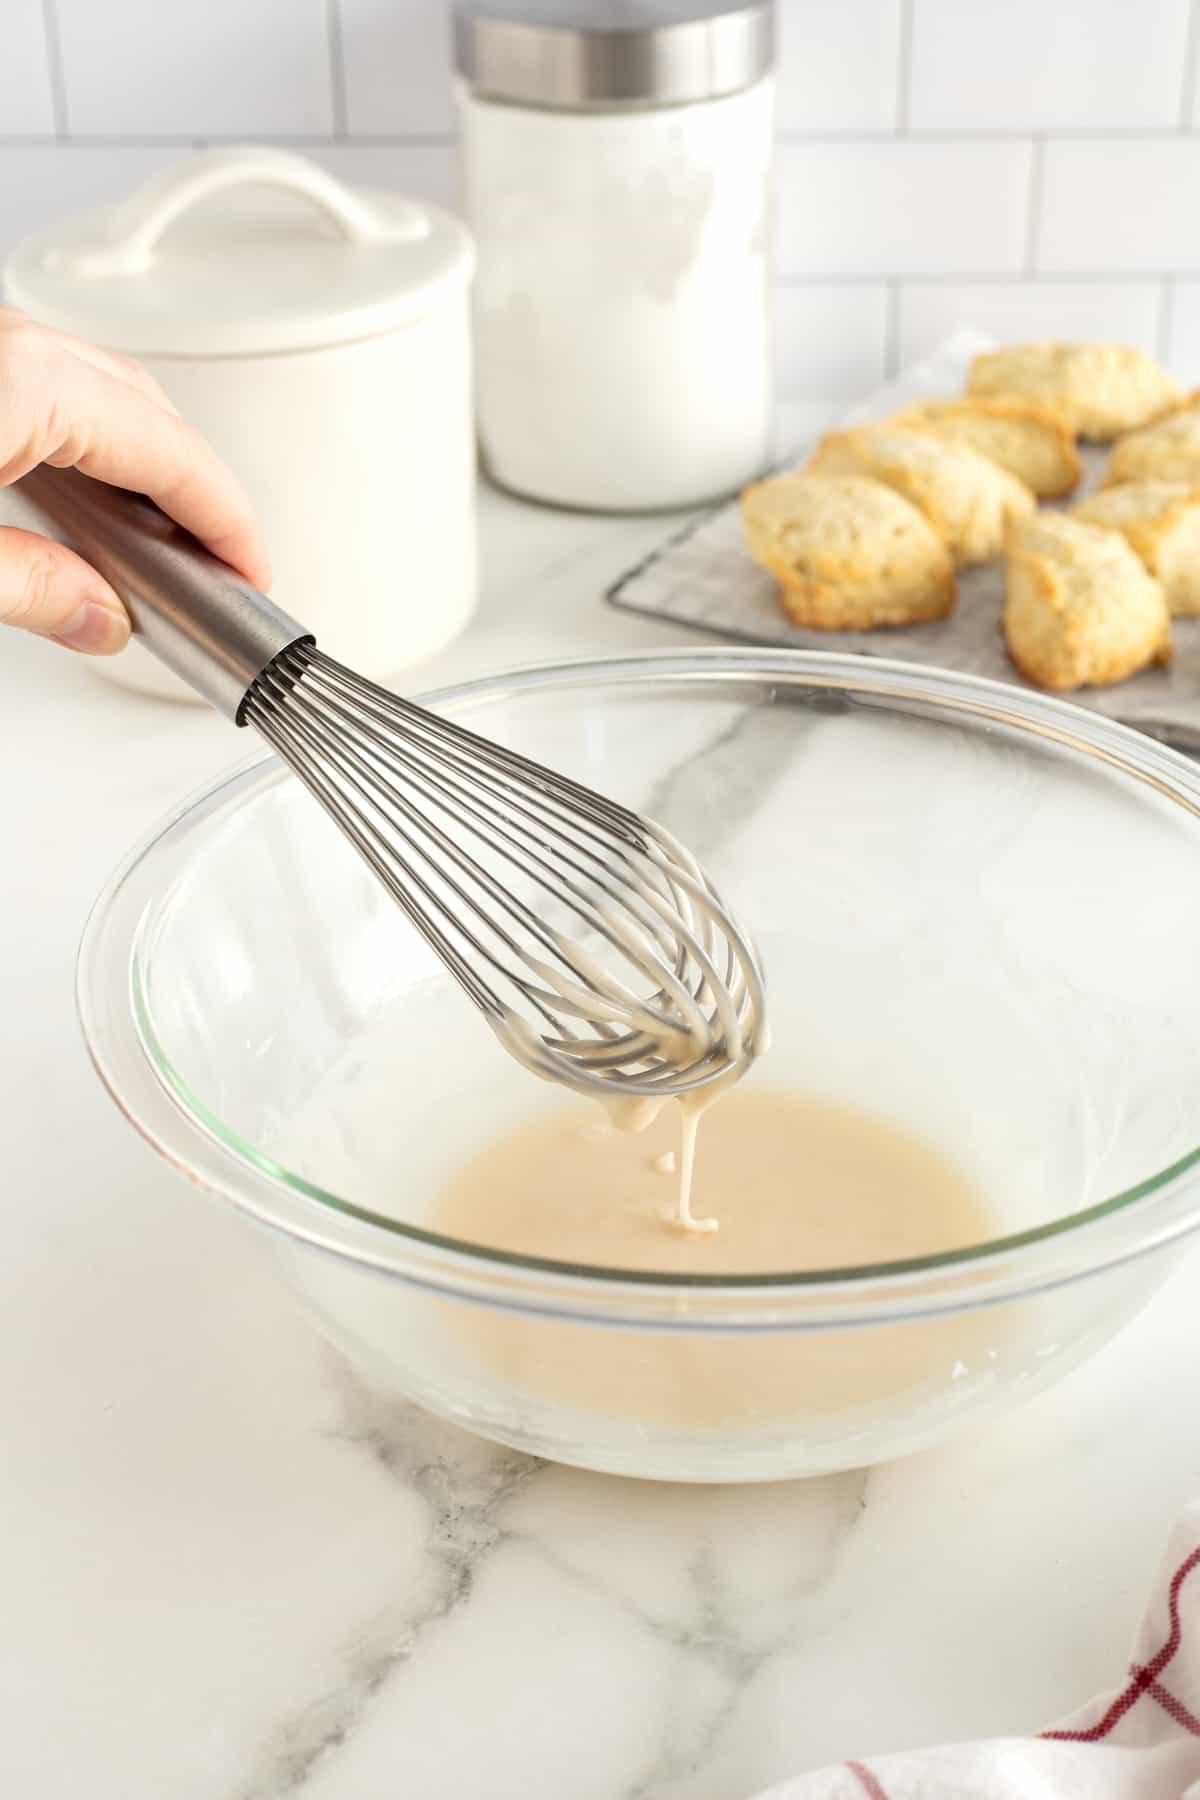
- Check the consistency by lifting your whisk; the icing should fall back into the bowl in a thick ribbon.
- If it’s too stiff, add milk half a teaspoon at a time.
- If it’s too soft, add more powdered sugar two tablespoons at a time.
- Stop mixing as soon as the texture is smooth to avoid melting the butter.
The true test of a good batch is the “swipe test.” Take a clean knife and spread a small amount on the side of a plate. If the edges stay sharp and don’t slump, the icing is ready to use. If it drips, it needs more sugar.
Common icing types at a glance
The type of icing you need depends on your specific dessert and how you plan to serve it.
| Icing Type | Best Use | Consistency | Watch for |
|---|---|---|---|
| Simple Glaze | Donuts | Thin/Pourable | Drips everywhere |
| Buttercream | Cupcakes | Creamy/Stable | Room temperature |
| Cream Cheese | Carrot Cake | Tangy/Soft | Needs refrigeration |
| Royal Icing | Cookies | Hard/Dry | Dries fast |
| Whipped Cream | Fruit Tarts | Light/Airy | Melts quickly |
Choose simple glaze when you need a quick finish that sets in under ten minutes. If you’re stacking cakes, avoid whipped cream entirely. It lacks the structural integrity to hold weight and will collapse within thirty minutes at room temperature.
Use buttercream for projects that require piping intricate borders or flowers. If your kitchen is over 75 degrees Fahrenheit, the butter will soften, causing your designs to sag. In this case, swap a portion of the butter for high-ratio shortening to maintain your sharp edges.
Royal icing is the only choice for long-term storage. Because it dries rock-hard, these cookies can be stacked in tins for weeks without damage. However, don’t use it on soft cakes, as the icing will soften and turn gummy due to the moisture content of the sponge.
If you’re unsure, follow this rule: if the dessert stays in the fridge, use cream cheese or whipped toppings. If it sits on a table for a party, stick to buttercream or royal icing.
Getting the texture right
Achieving a smooth finish
You achieve a smooth finish by ensuring your sugar is completely lump-free before you add any liquid. Use a fine-mesh sieve to aerate the sugar, which also helps it dissolve faster. If you see small white specks in your bowl, those are undissolved sugar clumps that will clog a piping bag. Experienced bakers always scrape the sides of the bowl twice during the mixing process to ensure no dry sugar hides at the bottom.
Balancing the flavor profile
The salt level determines if the icing tastes like pure sugar or a balanced component of the dessert. Always add a tiny pinch of fine sea salt to your butter before adding the sugar. This cuts through the sweetness and enhances the vanilla notes. If you’re using salted butter, skip the extra salt entirely to avoid an unpleasant, savory aftertaste. Taste a tiny amount on a spoon; if it feels like it’s coating your tongue in a waxy layer, you likely used too much butter or the fat quality is low.
Troubleshooting common errors
| What you notice | What it means | What to do first | How to stop it |
|---|---|---|---|
| Grainy texture | Undissolved sugar | Add more liquid | Sift sugar well |
| Runny mess | Too much milk | Add more sugar | Measure liquid slowly |
| Yellow chunks | Cold butter | Warm the bowl | Use soft butter |
| Thin icing | Too much heat | Chill for minutes | Keep cool room |
| Hard crust | Air exposure | Cover with wrap | Seal the bowl |
If you see grainy texture, check the sugar size. Coarse crystals often fail to dissolve in cold bases. If the mixture feels like sand, add one teaspoon of warm water at a time. Don’t over-mix, or you’ll introduce unwanted air bubbles.
A runny mess usually happens when you rush the pour. If you added liquid too quickly, the mixture will become too thin. To fix this, whisk in an extra tablespoon of powdered sugar until the texture thickens. Always use a liquid measuring cup for liquids to ensure accuracy.
Yellow chunks indicate the butter was too cold when added. If you see these streaks, place your mixing bowl over a pot of warm water for thirty seconds. This gently melts the butter without cooking the sugar. For future batches, let your butter sit at room temperature for at least one hour before starting.
Thin icing often results from a room that exceeds 75 degrees. If your icing loses its shape, chill the bowl in the freezer for five minutes. Always store your finished product in an airtight container. Exposure to air creates a crust in under ten minutes.
Regulations and safety standards
The United States Food and Drug Administration provides guidance on the safe handling of dairy products, which includes the butter and milk used in your icing. According to their food safety guidelines, any icing containing dairy must not be left at room temperature for longer than two hours. If your kitchen temperature is above 90 degrees Fahrenheit, this limit drops to one hour.
If you’re using raw eggs to stabilize your icing, you must use pasteurized eggs to avoid the risk of salmonella. The United States Department of Agriculture states that pasteurized shell eggs are the safest choice for recipes that don’t involve high-heat cooking. If you’re serving people with compromised immune systems, avoid raw egg-based icings entirely and use a heat-stable buttercream instead. If you have any doubt about the freshness of your dairy, throw it away. Food poisoning from spoiled milk or butter is a serious health risk that can’t be fixed by cooking or cooling.
True costs of your ingredients
The cost of your icing is mostly tied to the price of butter. High-fat European-style butter costs more per pound than standard grocery store brands but provides a more stable structure. You can expect to pay a premium price for a pound of butter, which is enough for four batches of standard icing.
If you’re selling your baked goods, calculate your cost by the gram rather than the batch. A single batch typically uses 225 grams of butter. If your butter costs a premium price per pound, your ingredient cost is roughly a small fraction per batch. Ignoring the scale leads to “hidden shrinkage” where your margins vanish before you even turn on the oven.
Time is your other major cost. A basic glaze takes five minutes to prepare, while a stable buttercream requires ten minutes of dedicated mixing time. If you use an electric mixer, your effort is low. If you’re whisking by hand, you’ll need to spend an extra five minutes to get the same aeration.
Always check your local grocery flyer for sales on powdered sugar, as it’s often sold in bulk during holiday seasons. Buying in bulk can save you about thirty percent compared to buying small boxes.
If you’re baking for profit, use this rule: if you spend more than fifteen minutes on manual labor per batch, switch to a commercial-grade mixer or raise your prices by at least ten percent. Hand-whisking is a hobby; electric mixing is a business necessity.
Maintaining your icing
Store your finished icing in an airtight container to prevent it from forming a hard crust. If you aren’t using it immediately, place a piece of plastic wrap directly on the surface of the icing to stop air from touching it. You can keep it in the refrigerator for up to one week.
When you’re ready to use it again, bring the container to room temperature. Don’t put it in the microwave, as this will melt the butter and ruin the texture permanently. If the icing looks separated, give it a quick whip with a hand mixer for thirty seconds to bring the emulsion back together.
If you notice a sour smell or see any mold, discard the entire batch immediately. Never try to scrape off the top and save the rest, as bacteria can grow throughout the entire mixture without changing the look of the bottom layers.
The most common mistake is failing to account for condensation. When you pull a cold container from the fridge, moisture often collects on the lid. If this water drips into your icing, it will cause the sugar to weep or the fats to break. Always wipe the underside of the lid dry before you begin mixing.
Use this simple decision rule: if the icing has been left on the counter for more than two hours, toss it. If it has been properly chilled, check the texture. If it feels grainy, add one teaspoon of heavy cream to restore the original silkiness.
When to avoid this method
This method isn’t suitable for delicate sugar sculptures or professional-grade wedding cake tiers that require structural integrity in high heat. If you need icing that stays firm in direct sunlight or outdoors in the summer, you should use a shortening-based icing or a commercial-grade fondant. These materials have higher melting points and added chemical stabilizers that prevent sagging.
If the ambient temperature exceeds 75 degrees Fahrenheit, abandon this method immediately. At this threshold, the butter-to-sugar ratio becomes unstable, leading to weeping or total collapse. If you notice the icing developing a greasy sheen while mixing, you have already crossed the point of no return.
If you’re a beginner, avoid complex royal icing designs that require perfect humidity control and professional piping nozzles. These tasks demand specific equipment and formal training in sugar-work. If you attempt these without the proper tools, you’ll likely struggle with clogs and broken lines.
The most common mistake is failing to account for the dew point. If the humidity is above 50%, your sugar work will absorb moisture from the air and become sticky or soft. If you need a professional finish for a high-stakes event, consult a local bakery. There’s no shame in using store-bought supplies for complex projects if you lack the specialized equipment required for consistent, high-quality results.
Frequently asked questions
Can I use water instead of milk?
Yes, you can use water to make a simple glaze if you don’t have milk. The result will be clearer and slightly thinner, so you may need to use a bit more powdered sugar to reach your desired thickness. It won’t have the creamy mouthfeel that milk provides.
How long does homemade icing last?
Homemade icing lasts for about one week in the refrigerator when stored in an airtight container. If your icing contains heavy cream or fresh fruit, you must use it within three days. Always check for signs of separation or an off-smell before you put it on a cake.
Why is my icing so gritty?
Your icing is likely gritty because the powdered sugar didn’t dissolve completely into the fat. Sifting the sugar before you start is the best way to prevent this. If it’s already mixed, try adding a tiny bit more liquid and beating it for another two minutes to break down the crystals.
Is it safe to leave icing on the counter?
No, it isn’t safe to leave butter-based icing on the counter for more than two hours. Dairy products spoil quickly in warm environments, which can lead to foodborne illness. If your kitchen is warm, you should store your frosted dessert in the refrigerator until you’re ready to serve it.
Does it matter if I use salted or unsalted butter?
It matters because you can’t control the final salt level if you use salted butter. Unsalted butter allows you to add a precise pinch of salt to balance the sugar. If you only have salted butter, omit any extra salt from the recipe and taste the mixture before adding more.
How do I fix icing that’s too thick?
You fix thick icing by adding liquid in very small amounts, such as half a teaspoon at a time. Milk, cream, or even water will work. Stir it thoroughly after each addition and check the consistency before adding more, as it’s very easy to go from thick to runny.
Homemade Icing, in short
Start by sifting your sugar into a clean bowl to ensure a smooth base for your work. You’ll know the icing is ready when it holds a soft peak on the end of your spoon without running off. If the mixture starts to look oily or separates, stop immediately and place the bowl in the refrigerator for five minutes to firm up the fat.

Hello, This is Annie Walker, a 38-year-old blogger, founder, and editor of Cookware Guider from NY, USA. I am a cookware fanatic and passionate cooker. I love to cook with different types of cooking appliances (example: all types of cookware, rice cookers, slow cookers, etc) almost every day in my kitchen. I love to share my experience with my readers in my blog. Also, I enjoy helping people to solve their problems through my website. You can follow me on Twitter & Pinterest. To know details about my blog please check the about us page.