
You can create a rich, creamy dessert by whisking two cups of heavy cream, one cup of whole milk, three-quarters of a cup of granulated sugar, and a pinch of salt until the sugar dissolves before chilling and churning the mixture. How to make ice cream depends on your equipment, as you must balance the fat content and the speed of freezing to prevent large ice crystals from forming. This process varies by the type of machine you use; check your owner’s manual for specific capacity limits.
Who should make this ice cream
This guide serves home cooks who own an electric ice cream maker or a high-speed blender and want to move beyond store-bought tubs. It assumes you have basic kitchen tools like a whisk, a large mixing bowl, and access to a freezer that maintains a temperature of 0°F or lower. If you’re looking for a recipe that requires no machine, such as a “no-churn” condensed milk base, this isn’t the right page for you.
We focus on the traditional custard-style or Philadelphia-style base. If you’re a beginner, the Philadelphia-style—which uses no eggs—is the most reliable starting point because it removes the risk of curdling your base. Those who already have an ice cream maker with a removable freezer bowl need to ensure it has been in the freezer for at least 24 hours before they start. If you don’t have a dedicated machine, this process won’t yield the same smooth, scoopable texture, and you may prefer to seek out manual hand-crank methods. We assume you’re working with standard household ingredients readily available in most grocery stores.
Factors that change your results
The fat content of your dairy is the primary factor that dictates the final mouthfeel. Using heavy cream with at least 36% milkfat provides the necessary structure to trap air during churning, which results in a smooth finish. If you swap this for half-and-half or skim milk, the mixture will become icy and hard rather than creamy.
Temperature control remains the most critical technical detail. You must chill your base to below 40°F before it enters the machine. If the liquid is warm, the churning process will take too long, allowing large ice crystals to grow and ruining the texture. You can verify this by checking the base with a digital kitchen thermometer after it has spent at least four hours in the refrigerator.
The speed of the churn is the second factor. Most machines have a set speed, but the amount of “overrun”—the air whipped into the ice cream—depends on how long you churn. If you over-churn, the fat will begin to clump together, turning your smooth base into butter.
Finally, the sugar content acts as a stabilizer. Sugar lowers the freezing point of the mixture, which prevents the ice cream from turning into a solid block of ice in your freezer. People often make the mistake of adding mix-ins like chocolate chips or fruit too early; these should be added only in the final two minutes of churning to prevent them from sinking or clogging the paddle.
How To Make Ice Cream: Step by Step
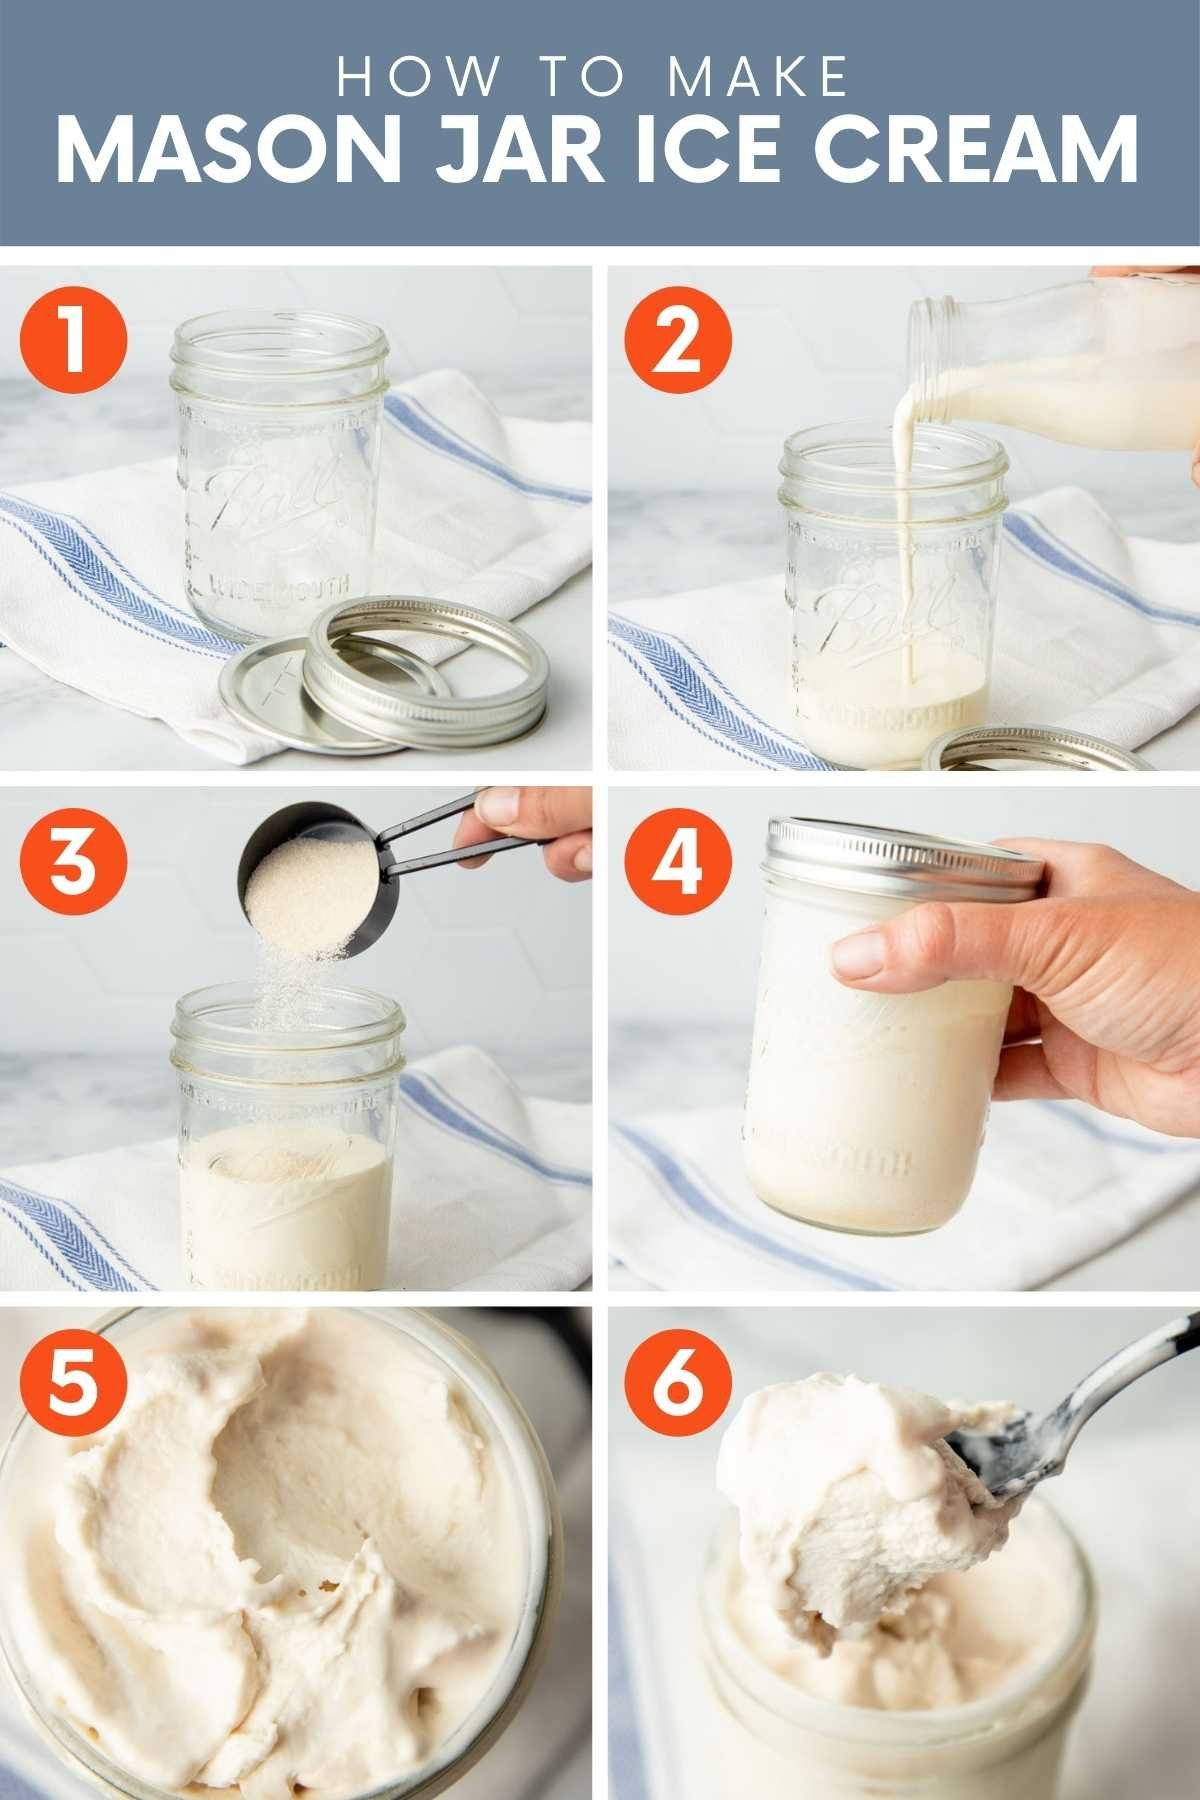
- Whisk two cups of heavy cream, one cup of whole milk, three-quarters of a cup of sugar, and a pinch of salt in a large bowl until the sugar grains disappear.
- Add one teaspoon of vanilla extract to the mixture if you prefer a classic base flavor.
- Cover the bowl and place it in the refrigerator for at least four hours, or until it reaches a temperature of 40°F or lower.
- Remove your freezer bowl from the freezer—it must have been chilling for at least 24 hours—and attach it to your machine.
- Turn the machine on before pouring the chilled base in, as this prevents the mixture from freezing instantly to the sides of the bowl.
- Pour the base into the machine and let it churn for 20 to 25 minutes, or until it reaches the consistency of soft-serve.
- Add your mix-ins, such as half a cup of crushed cookies or nuts, during the last two minutes of the process.
- Transfer the soft ice cream into an airtight container and freeze it for another four hours to allow it to firm up.
The judgement call here is knowing exactly when to stop the churn. You want the texture to be thick and hold its shape on a spoon, but not so thick that the machine begins to strain or click. If the machine starts making a loud grinding noise, stop immediately, as this indicates the ice cream is as firm as the motor can handle.
The variations at a glance
You can adapt the base to suit different dietary needs or flavor profiles.
This pre-chill step prevents the base from turning into a slushy soup before the paddle even begins to aerate the mixture.
| :— | :— | :— | :— | | Alcohol added | Limit to two tablespoons | Low | Won’t freeze |
When adding alcohol, remember that ethanol lowers the freezing point significantly. If you exceed the two-tablespoon limit, the mixture will remain a thick syrup rather than a scoopable dessert. If you must add more, balance the recipe by increasing the fat content with an extra egg yolk or heavier cream.
The details that matter
Preparation and technique
Experienced makers always chill their equipment. The bowl of your ice cream maker must be completely frozen; if you can hear liquid sloshing inside the bowl when you shake it, it isn’t cold enough to use. Placing the bowl in the coldest part of your freezer, usually the back, ensures it stays at the required temperature. Furthermore, using cold ingredients from the start helps the machine work efficiently. If you’re using eggs for a custard base, you must temper them by slowly adding hot milk to the yolks to prevent them from scrambling.
Consistency and storage
The way you store your finished product dictates how long it stays fresh. According to FoodSafety.gov’s cold storage charts, you should keep homemade ice cream in the freezer at 0°F or below to maintain quality. Pressing a piece of plastic wrap directly onto the surface of the ice cream before putting the lid on the container prevents ice crystals from forming on top. This barrier stops air from circulating, which is the main cause of “freezer burn” and hard, icy layers.
What goes wrong, and what to do
| What you notice | What it usually means | What to do first | How to stop it |
|---|---|---|---|
| Icy texture | Base was too warm | Eat immediately | Chill base longer |
| Not freezing | Bowl wasn’t cold enough | Return to freezer | Chill bowl 24h |
| Too hard | Too little sugar | Let it soften | Add more sugar |
| Grainy/Butter | Over-churned | Make milkshakes | Stop churning sooner |
| Large chunks | Mixed in too early | Use smaller pieces | Add at the end |
The most common mistake is failing to check the base temperature before churning. If your mixture is above 40°F, the fat globules melt rather than freeze, resulting in a greasy mouthfeel. Always use a digital thermometer to ensure the base is chilled to at least 38°F.
If your ice cream turns grainy, you have likely churned for more than 25 minutes. This friction generates heat, which melts the structure you just built. Stop the machine the moment the mixture reaches the consistency of soft-serve.
If you’re unsure whether your bowl is ready, listen for the sound of liquid. If you hear sloshing when you shake the bowl, it needs more time in the freezer. A bowl that feels cold to the touch isn’t enough; the internal coolant must be completely solid to maintain the necessary sub-zero temperatures throughout the entire process.
Rules for safe production
You must follow strict hygiene standards to prevent the growth of harmful bacteria, especially when using raw eggs or dairy. If you choose to make a custard base involving raw eggs, you must heat the mixture to 160°F to ensure it’s safe to consume. Never guess the temperature; use a calibrated digital thermometer to verify.
If you’re serving people with compromised immune systems, the USDA recommends using pasteurized eggs or a pre-pasteurized base to eliminate the risk of Salmonella. Always wash your hands and sanitize all mixing bowls and whisks before you begin. If you’re using a machine with a compressor, ensure it has proper ventilation; blocking the vents can cause the motor to overheat and fail. If you detect any unusual electrical smells or see smoke, unplug the unit immediately and contact the manufacturer’s support line. Don’t attempt to repair the electrical components yourself, as this voids the warranty and creates a fire hazard.
What it costs you
The cost of making ice cream is primarily the price of high-quality dairy. Heavy cream is the most expensive ingredient, and prices fluctuate based on your local market and the brand you choose. You can lower your costs by purchasing milk and cream in larger containers rather than small pints.
Time is your second cost. While the machine does the work, the preparation and chilling process takes at least five to six hours of passive time. If you choose to make a cooked custard base, add an extra 30 minutes of active time for heating and cooling the mixture. Equipment costs vary widely; a simple freezer-bowl machine may cost less than a high-end compressor model that requires no pre-chilling. Always compare the power rating of the motor; a stronger motor will churn thicker mixtures more effectively, saving you the frustration of a machine that stalls halfway through the process. Check the manufacturer’s website for the current power specifications of your chosen model.
Keeping it right afterwards
Once you have made your ice cream, the goal is to prevent it from melting and refreezing. Store it in a shallow, airtight container; shallow vessels freeze more evenly than deep ones because they minimize the distance cold air must travel to reach the center. If you notice a thin layer of ice on top, it means air is getting into the container. You can fix this by pressing a piece of plastic wrap directly against the surface before sealing the lid.
You should consume homemade ice cream within two weeks for the best flavor and texture. After that, the quality will drop and it will become increasingly icy regardless of how you store it. This happens because ice crystals grow larger over time, a process called recrystallization.
If you have leftovers that have gone icy, don’t throw them away. Let them soften for 10 minutes at room temperature, then blend them with a splash of milk to create a thick milkshake. Never refreeze ice cream that has completely melted, as this encourages bacterial growth and destroys the texture entirely. If the ice cream has turned into a liquid puddle, it’s time to discard it for safety.
When this is the wrong approach
If you need to produce large quantities for a party, a home machine is the wrong tool because most models require a “recovery time” of 24 hours to re-freeze the bowl. Attempting to run back-to-back batches usually results in a liquid soup that never sets. For large gatherings, look into professional-grade batch freezers or hire a catering service.
If you’re strictly avoiding all sugar for medical reasons, standard recipes won’t work because sugar is essential for the physical structure of the ice cream. It lowers the freezing point to prevent rock-hard ice crystals. In this case, search for recipes that use specific sugar alcohols or stabilizers designed for keto-friendly frozen desserts.
If you don’t have a freezer that stays at 0°F, you’ll never achieve a scoopable result. Most standard kitchen freezers fluctuate too much during defrost cycles. If your freezer runs warmer than 5°F, seek out recipes for “icebox cakes” or parfaits instead. These desserts don’t rely on the precise freezing point of sugar and fat to maintain their structure, saving you from a disappointing, icy mess.
Frequently asked questions
Can I make ice cream without a machine?
Yes, you can make a version by folding whipped cream into a sweetened base and freezing it, but it won’t have the same airy, smooth texture as machine-churned ice cream.
Is it safe to eat homemade ice cream with raw eggs?
No, consuming raw eggs carries a risk of Salmonella, so you must heat any egg-based custard to 160°F to make it safe.
How long does homemade ice cream last in the freezer?
About two weeks is the limit for the best quality, after which the texture will become icy and the flavor will fade.
Why is my ice cream so hard?
Too little sugar or a low fat content often causes ice cream to freeze into a solid block instead of remaining scoopable.
What happens if I add alcohol?
Adding alcohol lowers the freezing point, so if you add too much, the mixture will remain a liquid slush instead of turning into ice cream.
Can I use skim milk instead of cream?
No, the lack of fat will prevent the mixture from whipping properly, resulting in a very icy, thin product that lacks the classic texture.
Does the temperature of the freezer bowl matter?
Yes, the bowl must be at 0°F or below, or the base will melt before it can freeze, leading to a gritty, uneven texture.
What to do next
Start by checking your freezer temperature to ensure it reaches at least 0°F. If your thermometer reads higher, your base will develop large, icy crystals that ruin the texture.
Measure your ingredients precisely using a digital scale rather than volume cups. A slight excess of sugar prevents the mixture from freezing, while too little creates a rock-hard block. Chill your base in the refrigerator for at least four hours before beginning the churn.
If the paddle stops moving or the machine makes a grinding noise, turn it off immediately. This indicates the motor is struggling against an over-thickened mixture. Transfer the base to a shallow container and place it in the freezer to finish firming up. Attempting to force the machine to continue will strip the gears, a mistake that costs the price of a full replacement unit.

Hello, This is Annie Walker, a 38-year-old blogger, founder, and editor of Cookware Guider from NY, USA. I am a cookware fanatic and passionate cooker. I love to cook with different types of cooking appliances (example: all types of cookware, rice cookers, slow cookers, etc) almost every day in my kitchen. I love to share my experience with my readers in my blog. Also, I enjoy helping people to solve their problems through my website. You can follow me on Twitter & Pinterest. To know details about my blog please check the about us page.