
You can create a creamy, dairy-free dessert by freezing ripe fruit and processing it until smooth, as this is how to make banana ice cream in under ten minutes. The process relies on the high sugar content and the pectin in bananas to mimic the texture of traditional churned ice cream.
Your results will change based on the power of your food processor, the ripeness of the fruit, and whether you add extra ingredients like nut butter or cocoa powder.
Who should make banana ice cream
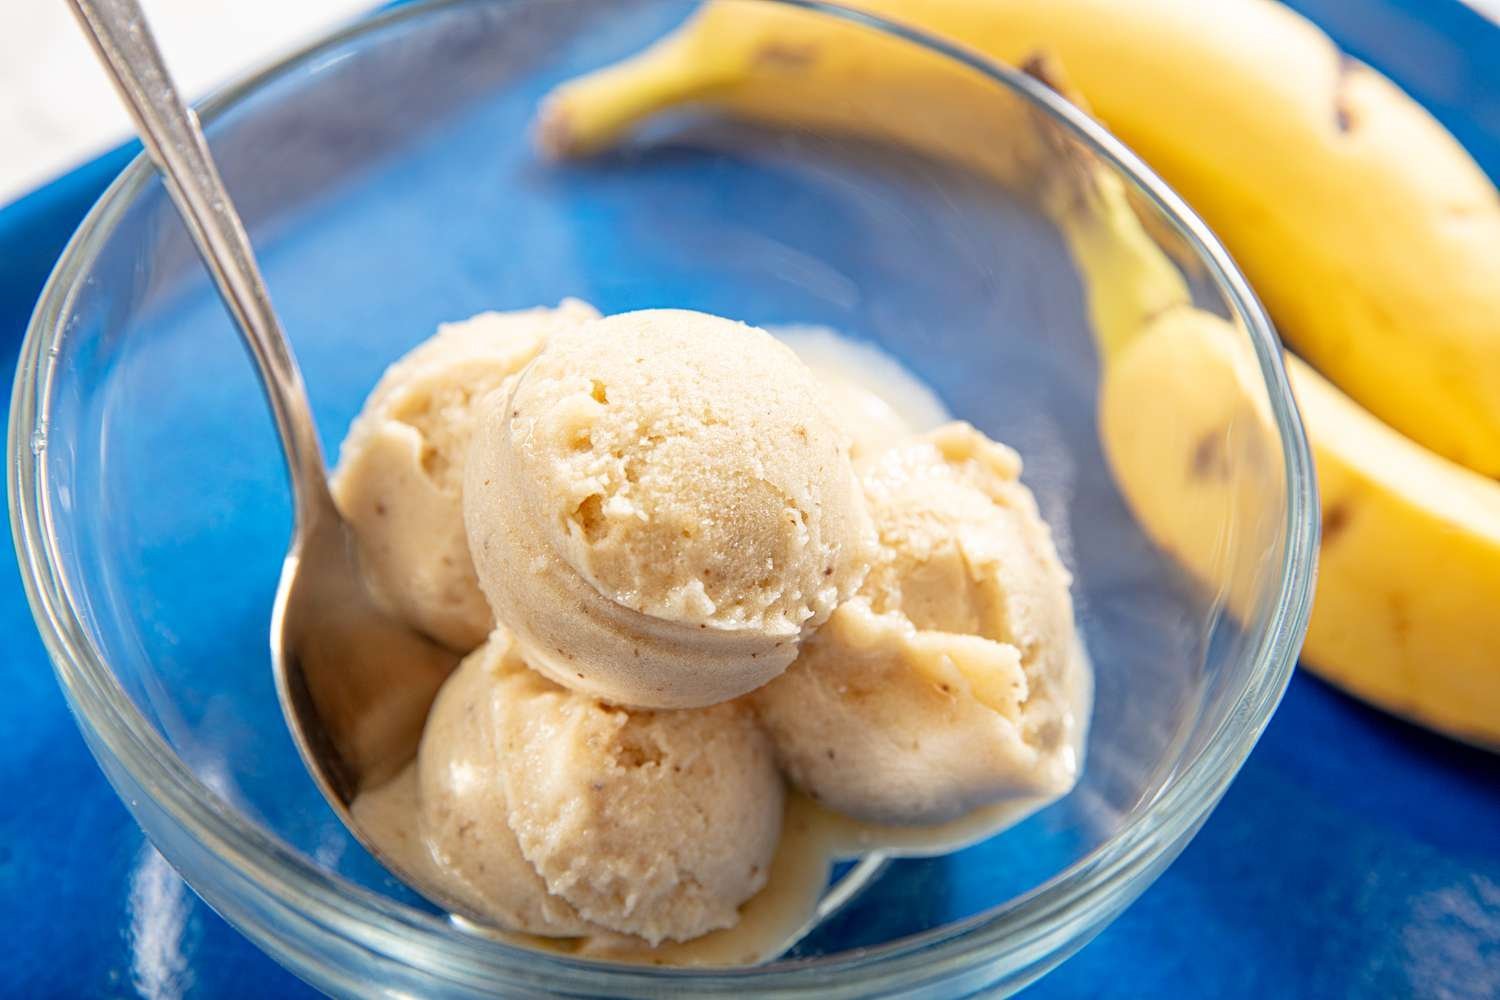
This guide is for home cooks who want a quick, healthy alternative to heavy cream-based desserts without needing an ice cream machine. You might be looking to use up overripe fruit that would otherwise go to waste, or you may be following a vegan or lactose-free diet. This page serves you best if you already own a food processor or a high-speed blender, as the texture depends entirely on the motor’s ability to pulverize frozen solid pieces.
If you’re looking for a recipe that uses heavy cream, eggs, or a traditional custard base, this isn’t the right guide for you. This article assumes you’re using medium-sized bananas that have been peeled and frozen for at least twelve hours. If you try to use fresh, room-temperature fruit, you’ll end up with a smoothie or a banana purée rather than a scoopable dessert. We assume you have basic kitchen equipment and access to a standard freezer. If you have a low-power blender, you may need to add a small amount of liquid, such as almond milk, to help the blades move, though this will change the final consistency.
Factors that change the texture
The success of your dessert depends on several variables that change how the mixture behaves under the blades of your processor.
The ripeness of the bananas is the most critical factor. When bananas are heavily spotted with brown, they contain more natural sugar, which creates a softer, creamier texture when frozen. If you use green-tipped bananas, the result will be icy and less sweet. Always peel your bananas before freezing; if you freeze them in the peel, you’ll find it nearly impossible to remove the skin once they’re rock hard.
The temperature of the fruit is another key point. If the bananas have spent only two hours in the freezer, they will be too soft and will turn into a mushy paste. For the best results, leave them in the freezer for at least twelve to twenty-four hours.
The power of your processor determines how long you need to run the machine. A high-wattage motor breaks down the frozen fruit faster, creating a smooth, velvet-like consistency. If you have a lower-power machine, you’ll need to stop and scrape down the sides more often. People often make the mistake of adding water too early. If the machine struggles, wait thirty seconds to let the fruit soften slightly from the heat of the motor rather than adding liquid, which ruins the thick texture.
Finally, the temperature of your kitchen matters. If your room is very warm, the fruit will begin to melt while you’re still processing it. This creates a runny mess that never sets properly. If you find the mixture is getting too soft, transfer it to a freezer-safe container and place it in the freezer for fifteen minutes before serving.
How To Make Banana Ice Cream: Step by Step
- Peel 4 medium-sized bananas and slice them into 1-inch coins.
- Place the slices in a single layer on a parchment-lined tray and freeze for at least 12 hours.
- Transfer the frozen slices to a food processor or high-speed blender.
- Process on a medium setting for 1 minute until the fruit looks like dry, crumbly pebbles.
- Stop the machine and scrape the sides down with a rubber spatula to ensure all pieces are reached.
- Continue processing for another 2 to 3 minutes, stopping every 30 seconds to scrape the sides again.
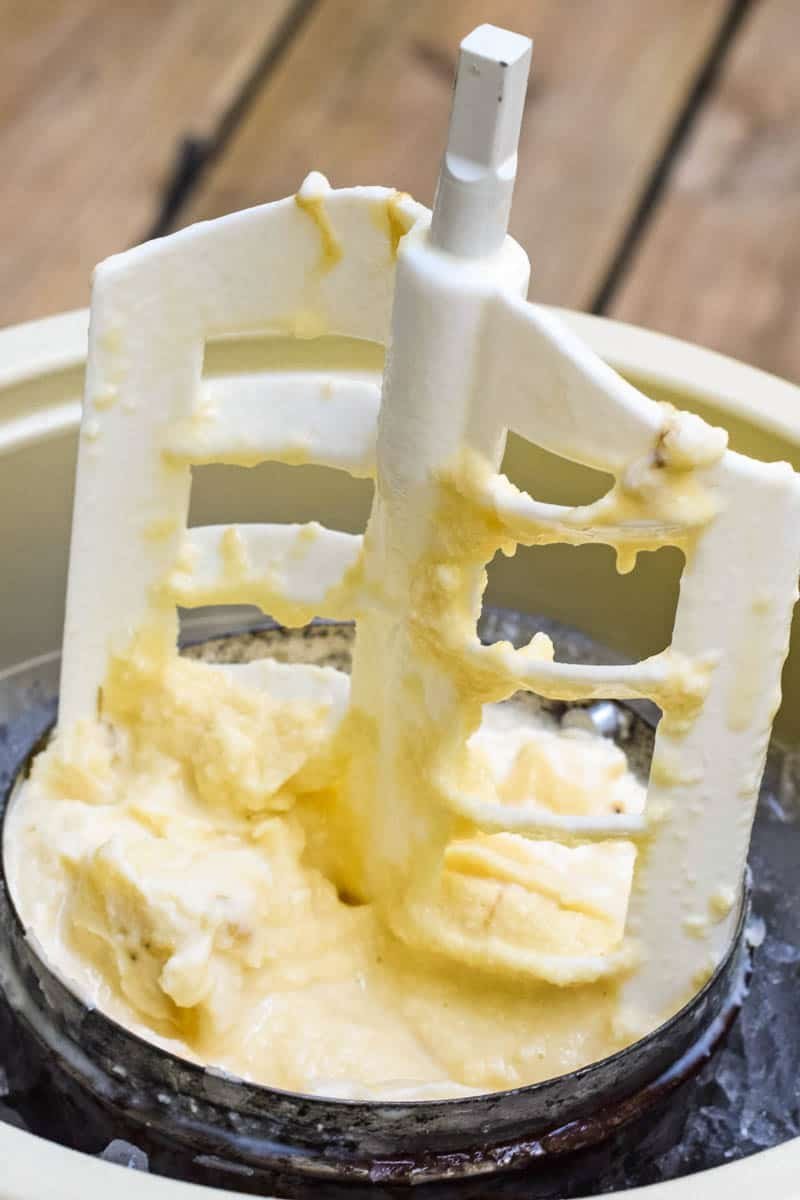
- Observe the change: the mixture will suddenly transform from crumbs into a thick, creamy, soft-serve consistency.
- Add 1 tablespoon of nut butter or cocoa powder if desired, and pulse for 10 seconds to combine.
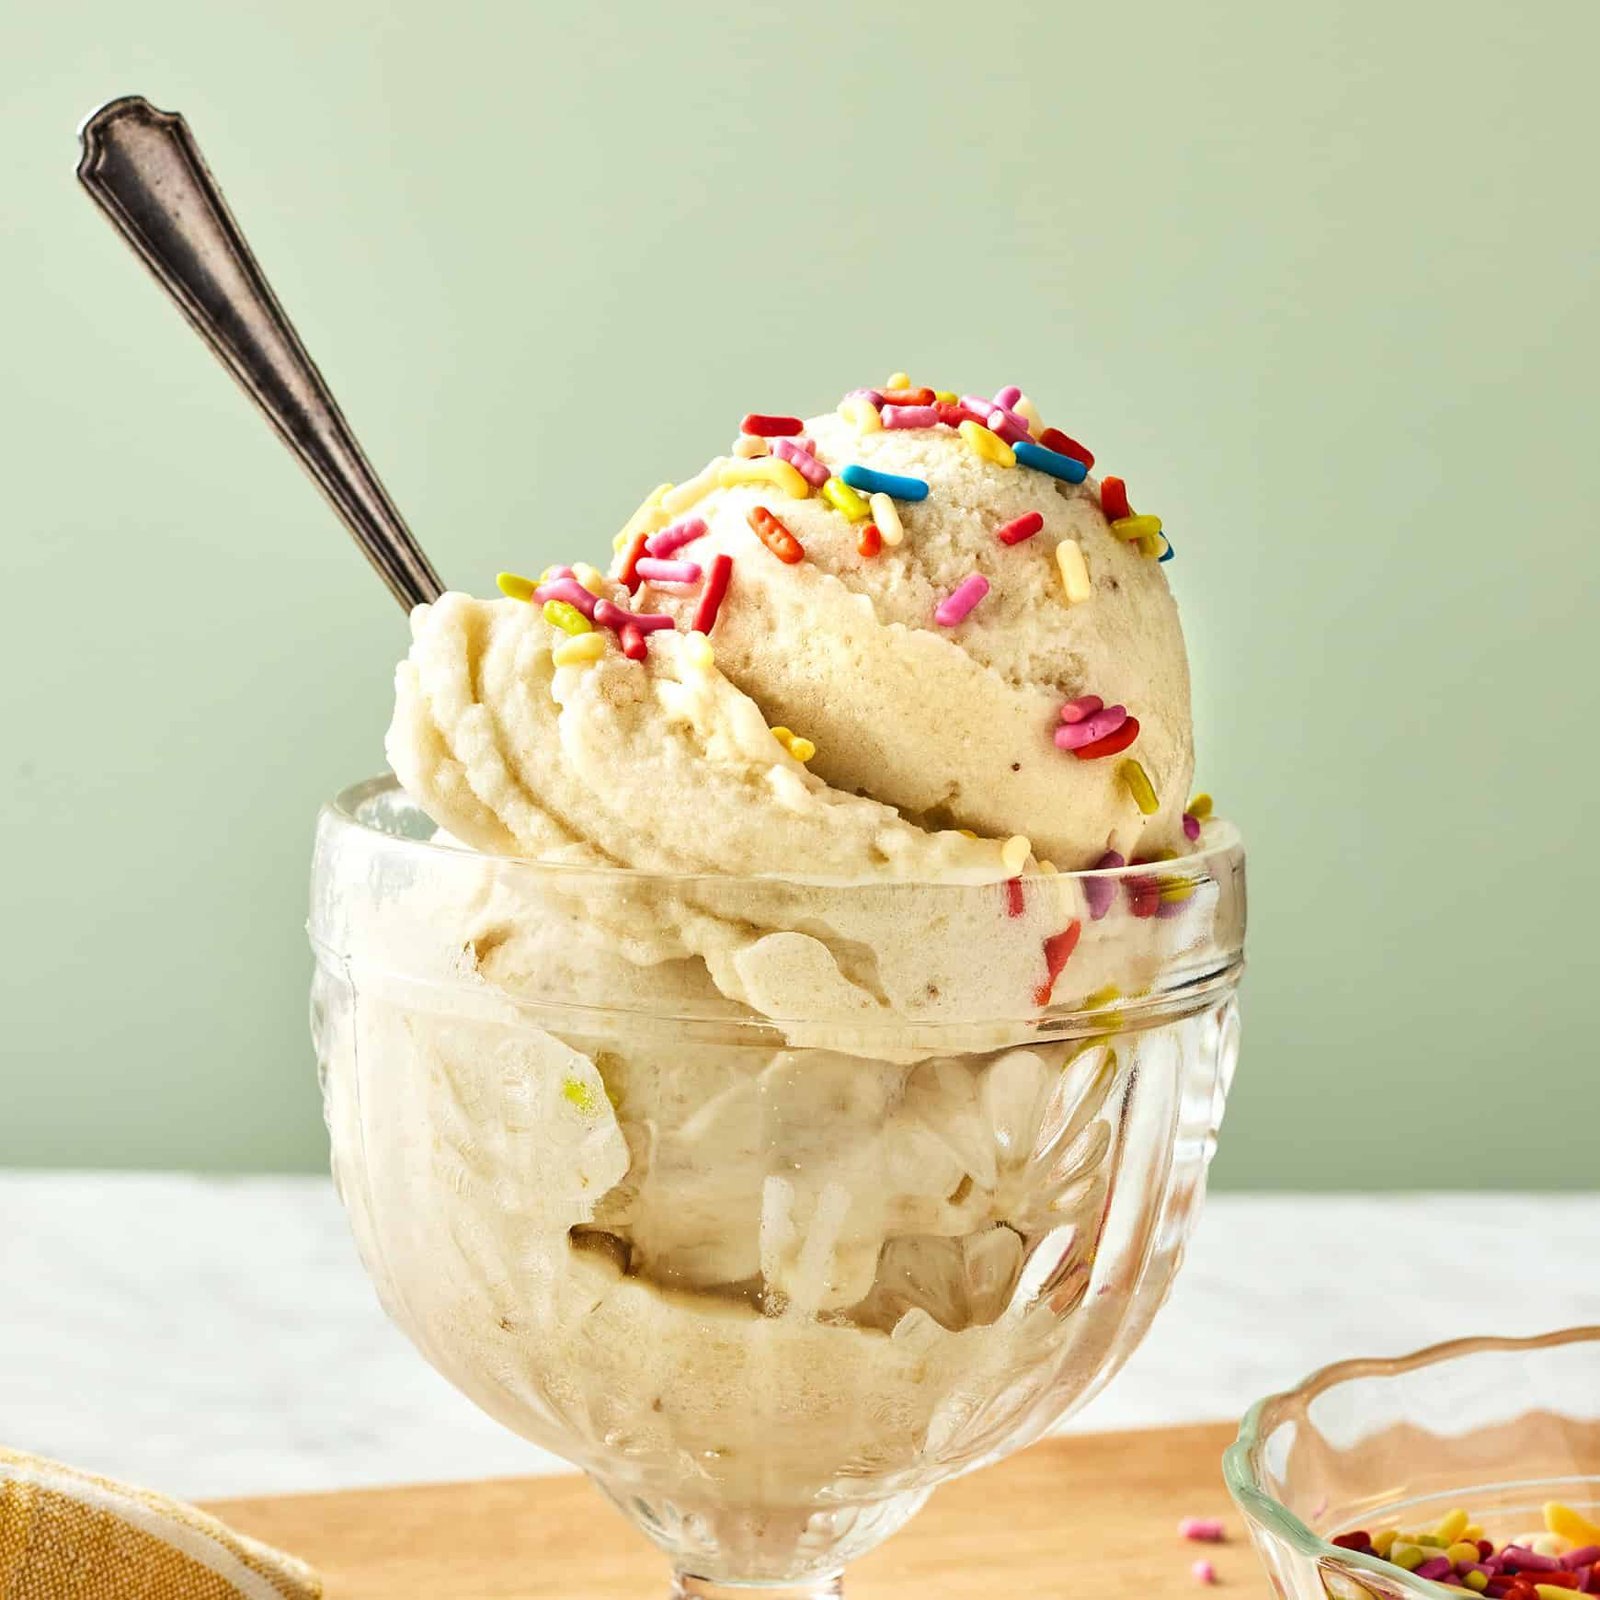
- Serve immediately for a soft-serve texture, or freeze for 1 hour to make it firm enough to scoop.
The judgment call that defines a perfect batch is the moment you stop the motor. If you process for too long, the friction from the blades will heat the fruit and turn it into a thin soup. You must stop as soon as the mixture looks like soft-serve ice cream.
The variations at a glance
You can adapt this base recipe to suit different flavor profiles and dietary needs while maintaining the same frozen structure. Use these adjustments to calibrate your results based on your specific equipment.
| Situation | What to do | What it takes | Watch for |
|---|---|---|---|
| Extra creaminess | Add 1 tbsp nut butter | 30 seconds extra | Texture change |
| Chocolate flavor | Add 1 tbsp cocoa powder | 20 seconds extra | Darker color |
| Fruit swirl | Fold in berry jam | 10 seconds manual | Uneven streaks |
| Protein boost | Add 1 scoop powder | 30 seconds extra | Thicker consistency |
| Thin consistency | Add 1 tbsp milk | 5 seconds pulse | Melting point |
If you’re using a high-speed blender, reduce all mixing times by half to prevent the friction from melting the base. Conversely, standard food processors require the full duration to emulsify fats properly.
A common mistake is adding mix-ins while the motor is at full speed. This often pulverizes ingredients like nuts or berries into a muddy paste. Instead, always drop your speed to the lowest setting before folding in solids. If the mixture becomes too stiff to circulate, add one teaspoon of liquid at a time until the blades catch again.
What separates a good result from a poor one
Preparation and technique
Experienced cooks always freeze their banana slices in a flat, single layer rather than dumping them into a bag in a clump. When slices are clumped together, they form a solid block that’s difficult to process evenly. A single layer ensures that every piece freezes at the same rate and fits easily into the processor bowl. They also ensure the equipment is clean and dry; any residual moisture or heat inside the bowl can prematurely melt the frozen fruit, preventing the emulsion from forming.
Monitoring the process
The sign of a successful batch is the change in sound and movement within the processor. At the start, the machine will make a loud, clattering noise as the frozen chunks hit the walls. As the fruit breaks down, the sound will become a dull, low hum, and you’ll see the mixture begin to stick to the sides of the bowl. This is the moment to stop and scrape. According to FoodSafety.gov’s cold food storage charts, you should keep your freezer at 0°F to maintain the quality of frozen goods, which is vital for the structure of this dessert.
What goes wrong, and what to do
| What you notice | What it usually means | What to do first | How to stop it happening again |
|---|---|---|---|
| Mixture is soupy | Over-processed | Freeze for 30 mins | Pulse in shorter bursts |
| Large chunks remain | Under-processed | Scrape sides down | Slice fruit thinner |
| Blades get stuck | Motor is too weak | Add 1 tsp milk | Let fruit thaw slightly |
| Icy texture | Not frozen enough | Return to freezer | Freeze for 24 hours |
| No flavor | Fruit was unripe | Add a dash honey | Use spotted bananas |
The most common failure is the “soupy” trap. People often assume the machine needs to run longer to achieve smoothness, but once the cell walls of the fruit break down, the mixture loses its structural integrity. If you see the edges liquefying, stop immediately.
For stuck blades, the mistake is forcing the motor. If you hear a high-pitched whine, cut the power instantly to prevent a blown fuse or burnt-out motor. Adding more than one teaspoon of liquid at a time will turn your dessert into a smoothie.
If you’re using frozen bananas, check their color before peeling. If the skin is bright yellow, the starch hasn’t yet converted to sugar. You’ll need twice the sweetener to compensate. If the skin has brown spots, the fruit is ready for blending.
When in doubt, use the “tilt test.” If the mixture slides down the side of the bowl in under three seconds, it’s too warm. Return it to the freezer for exactly thirty minutes. Any longer and you’ll need to thaw it again just to move the blade.
The rules that apply
There are no strict legal regulations for making homemade fruit-based desserts, but you must follow standard hygiene practices to avoid foodborne illness. Always wash your hands and sanitize your equipment before you begin.
If you’re serving this to others, be aware of potential allergens. Nut butters like peanut or almond are major allergens that require clear labeling. The FDA maintains strict guidelines on allergen labeling for packaged goods. Even in a home kitchen, you should inform guests of any added ingredients that might cause a reaction.
A common mistake is assuming that fruit-based desserts are inherently safe for everyone. This oversight can lead to severe reactions. If you use shared equipment, you must sanitize surfaces between tasks to prevent cross-contamination.
The decision rule is simple: if you’re selling or gifting these items, provide a written ingredient list. If you’re serving them in your own home, provide a verbal warning before the first bite. If you have a history of severe allergies, consult your doctor regarding cross-contamination risks when using shared kitchen equipment. When in doubt, label it clearly to keep your guests safe.
What it costs you
The cost is primarily measured in time and the price of the fruit. Since you’re using bananas that are likely too ripe to eat fresh, this is an inexpensive way to create a dessert. A bunch of bananas is very affordable, and you’ll use a small fraction of that cost for a single batch. The main investment is the electricity used by your food processor, which is negligible for a few minutes of operation. Time is the only real currency here: you need to plan ahead by twelve to twenty-four hours for the freezing process. If you’re in a rush and try to use fresh bananas, you lose the effort entirely because the result won’t have the correct texture. Always compare the cost of store-bought dairy-free ice cream, which can be quite expensive per pint, against the very low cost per serving for this homemade version.
Keeping it right afterwards
Once you have processed your fruit, it’s best eaten immediately to enjoy the smooth, soft-serve texture. If you have leftovers, store them in an airtight, freezer-safe container to prevent ice crystals from forming on the surface. You can keep this in the freezer for up to one week before the quality begins to decline.
If it becomes too hard after a few days, simply leave the container on the counter for five to ten minutes until it softens enough to scoop. Don’t use the microwave to speed this up, as the heat will turn the fruit into a thin syrup.
If you notice a change in color to a dark brown, it’s due to oxidation; if the smell is no longer sweet, discard the mixture. Never attempt to refreeze the mixture once it has completely melted. The cell walls of the fruit will collapse during the second thaw, leaving the final result grainy and unpleasant. If you’re unsure if it has thawed too much, check the edges of the container for liquid pools.
When this is the wrong approach
If you’re trying to impress guests who expect a traditional, rich, and creamy dairy dessert, this won’t meet those expectations. The flavor of banana is always present, even when you add cocoa or berries, so it’s a poor choice if you or your guests dislike the taste of bananas. If you need a dessert that must hold its shape for a long time at room temperature, such as for a party, this will melt too quickly. In these cases, look for recipes using coconut cream or traditional dairy bases, which have a higher fat content and remain stable longer. If you have a motor that isn’t strong enough to handle frozen fruit, don’t force it, as you risk burning out the appliance.
Frequently asked questions
Can I use frozen berries instead of bananas?
No, you can’t use berries alone because they lack the starch required to create a creamy texture. You can mix a small amount of frozen berries into the banana base for flavor, but the bananas must be the primary ingredient to achieve the correct soft-serve consistency.
Is it safe to leave the bananas out to thaw?
No, you shouldn’t leave bananas out to thaw because they will lose their structural integrity and become a mushy purée. Process the fruit while it’s still frozen, and if you have leftovers, place them back in the freezer immediately.
How long does the banana ice cream last in the freezer?
About one week is the maximum time you should keep it in the freezer before the texture degrades. After this time, the mixture will likely develop ice crystals and lose its creamy, smooth quality, making it less pleasant to eat.
Why is my mixture turning into a liquid?
The mixture is turning into a liquid because the heat from the food processor blades is melting the frozen fruit. Stop the machine immediately and place the bowl in the freezer for fifteen minutes to firm it up before trying again.
Can I add sweeteners if the bananas aren’t sweet enough?
Yes, you can add honey, maple syrup, or agave, but only add one tablespoon at a time. Too much liquid sweetener will soften the mixture and ruin the texture, so add it gradually while the machine is running to ensure it’s evenly distributed.
Does it matter if the bananas are brown?
No, it doesn’t matter if the bananas are brown; in fact, it’s better. Brown, spotted bananas are much sweeter and softer than yellow or green ones, which makes them perfect for this recipe because they create a smoother, more flavorful result.
What to do next
Start by checking your freezer for overripe bananas. If you have them, peel and slice them now to begin the twelve-hour freezing process.
Once the fruit is solid, use your food processor to pulse the pieces until you see the creamy texture appear. If the machine struggles, stop and wait before adding any liquid.
Most people make the mistake of adding milk or water too early. This creates a watery soup rather than a scoopable consistency. If your processor stalls, wait sixty seconds for the fruit to soften slightly at the edges.
The decision rule is simple: if the mixture looks like dry pebbles, add one teaspoon of almond milk. If it looks like thick paste, don’t add anything. You want the texture of soft-serve ice cream before you stop pulsing.

Hello, This is Annie Walker, a 38-year-old blogger, founder, and editor of Cookware Guider from NY, USA. I am a cookware fanatic and passionate cooker. I love to cook with different types of cooking appliances (example: all types of cookware, rice cookers, slow cookers, etc) almost every day in my kitchen. I love to share my experience with my readers in my blog. Also, I enjoy helping people to solve their problems through my website. You can follow me on Twitter & Pinterest. To know details about my blog please check the about us page.