
You can make ice cream without cream by swapping dairy for coconut milk, almond milk, or pureed bananas to achieve a smooth texture. These alternatives rely on high fat or pectin content to mimic the consistency of traditional churned dairy.
Your final result depends on the base you choose and the type of equipment you use. A standard electric ice cream maker will give you a light, scoopable texture, while a high-speed blender is better for “nice cream” recipes that use frozen fruit as the primary structure.
Who can make ice cream without cream
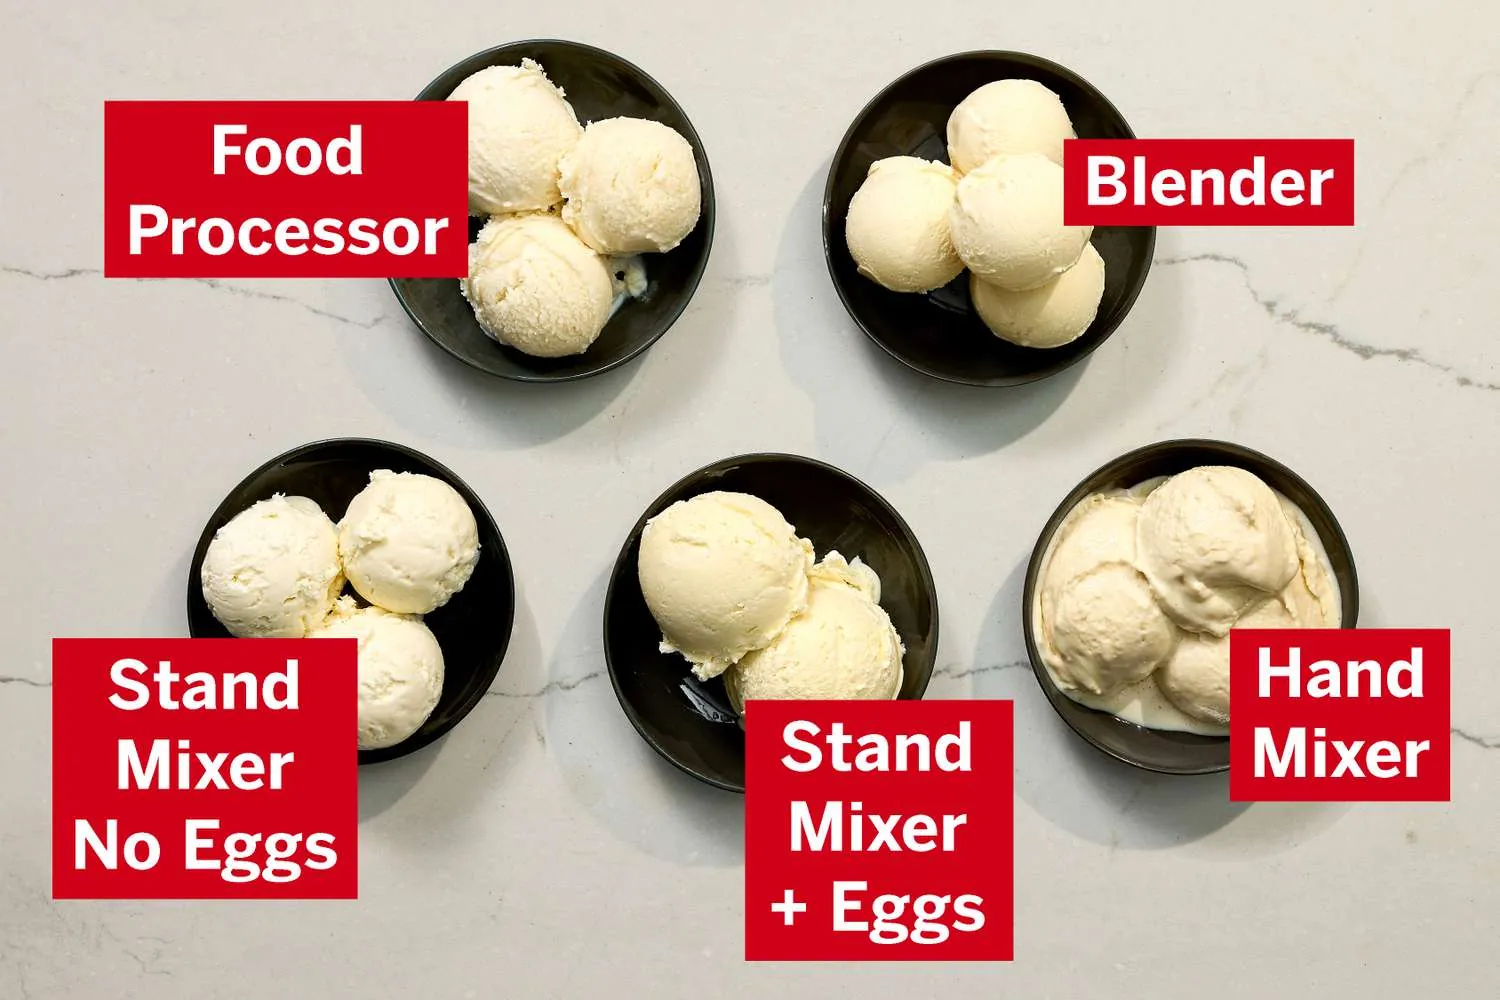
This guide is for home cooks who want to avoid dairy due to allergies, personal diet choices, or because they simply don’t have heavy cream in the fridge. You’re looking for a reliable way to create a cold, sweet treat without needing specialized ingredients from a professional kitchen. This page serves those who have access to basic pantry staples like coconut milk, maple syrup, or frozen fruit.
If you’re a professional pastry chef looking for complex stabilizers or industrial-grade emulsifiers, this information will be too basic for your needs. We assume you’re working in a standard home kitchen with a freezer, a blender, or a countertop ice cream maker. The instructions focus on achieving a creamy mouthfeel using household ingredients. If you don’t own a blender or an ice cream machine, you’ll need to rely on the “no-churn” freezing method, which requires more patience and manual stirring to break up ice crystals. We don’t cover recipes that require specialized chemical additives like liquid nitrogen or commercial stabilizers, as these aren’t accessible to most home users.
Factors that change the texture
The primary factor that changes the texture of your frozen dessert is the fat content of your liquid base. Fat prevents large ice crystals from forming, which keeps the final product soft rather than icy. If you use a base with low fat, such as almond milk, the result will be firmer and more like a popsicle. If you use full-fat canned coconut milk, the result will be much closer to traditional dairy ice cream.
The second factor is the sugar level in your mixture. Sugar lowers the freezing point of water, which ensures the dessert doesn’t turn into a solid block of ice in your freezer. If you reduce the sugar too much, your dessert will be hard to scoop even after it has softened on the counter.
The third factor is the speed of freezing. A mechanical ice cream maker cools the mixture while constantly moving it, which creates smaller air bubbles and a smoother texture. If you freeze your mixture in a flat container in the freezer, the outer edges will freeze much faster than the center. This leads to an uneven texture unless you manually stir the mixture every 30 minutes for the first two hours of the freezing process.
Steps for making dairy-free frozen desserts
- Choose your base: Combine 2 cans (13.5 ounces each) of full-fat coconut milk with 1/2 cup of maple syrup and 1 teaspoon of vanilla extract in a large bowl.
- Whisk the ingredients: Use a wire whisk to combine the coconut milk and syrup until the liquid is smooth and the sugar is fully dissolved.
- Chill the mixture: Place the bowl in the refrigerator for at least 2 hours; this ensures the fat is cold enough to hold air when it starts to freeze.
- Prepare your machine: If using an electric ice cream maker, ensure the freezer bowl has been in the freezer for at least 24 hours before you begin.
- Churn the base: Pour the chilled mixture into the ice cream maker and run it for 20 minutes, or until the mixture reaches the consistency of soft-serve.
- Transfer to a container: Move the mixture into an airtight freezer-safe container and smooth the top with a spatula.
- Harden the dessert: Place the container in the coldest part of your freezer for 4 hours to firm up before serving.
The success of your dessert depends on the temperature of the mixture before it hits the churner. If the base is warm, the machine won’t be able to cool it fast enough to prevent ice crystals, and you’ll end up with a grainy, slushy texture instead of a smooth dessert.
Dairy alternatives at a glance
| Base Type | Preparation Method | Time Required | What to Watch For |
|---|---|---|---|
| Canned Coconut Milk | Churn in machine | 4 hours | High fat content is best |
| Frozen Bananas | High-speed blend | 10 minutes | Blend until perfectly smooth |
| Oat Milk | Add xanthan gum | 6 hours | Can become icy quickly |
| Almond Milk | Mix with avocado | 5 hours | Use ripe, soft avocado |
| Cashew Cream | Soak and blend | 8 hours | Ensure nuts are soft |
Choose based on your texture preference. If you crave a dense, scoopable gelato, prioritize canned coconut milk with at least 18% fat. Lower fat options result in a brittle, crystalline block rather than a creamy scoop.
For those avoiding gums or thickeners, frozen bananas are the only reliable base. You must process them until the mixture passes the “slump test,” where it holds its shape on a spoon without dripping. If it looks grainy, you stopped too early.
The mistake most beginners make is freezing oat or almond bases without an emulsifier. Without xanthan gum or avocado, these milks separate into water and solids at freezing temperatures. Use 1/4 teaspoon of gum per pint to prevent that unpleasant, icy crunch.
If you’re short on time, stick to the banana method. All other bases require a minimum of four hours to set properly in the freezer. If you attempt to serve them sooner, the center will remain a slushy, unappealing liquid. Always soak cashews in boiling water for one hour before blending to ensure they break down into a completely smooth cream.
Details for a perfect finish
Getting the texture right
Experienced makers focus on the air content, which is called “overrun” in professional terms. When you use a machine, it whips air into the mixture as it freezes, which is why store-bought ice cream feels light. If you’re making a no-churn version, you should whip your coconut milk with a hand mixer for 3 minutes before freezing. This adds the necessary air to keep the texture from becoming too dense or hard. Beginners often skip this, leading to a heavy, dense block that feels more like a frozen solid than a scoopable dessert.
Storing for the best quality
The way you store your dessert is just as important as how you make it. Always press a piece of parchment paper directly against the surface of the ice cream before putting the lid on the container. This prevents ice crystals from forming on top of your dessert due to condensation. If you don’t do this, the top layer will become hard and icy within 48 hours. If you notice the texture has become too hard after a week, let the container sit on your counter for 10 minutes before you try to scoop it.
Troubleshooting common issues
| What you notice | What it usually means | What to do first | How to stop it |
|---|---|---|---|
| Grainy texture | Ice crystals formed | Re-blend the mixture | Keep base colder |
| Too hard to scoop | Too little sugar | Let sit 10 minutes | Add more sweetener |
| Separated layers | Fat and water split | Whisk thoroughly again | Use higher fat base |
| Tastes like coconut | Flavor is too strong | Add more vanilla | Use neutral oil |
| Thin consistency | Not enough fat | Add avocado or nuts | Use full-fat milk |
If your ice cream remains grainy after re-blending, the issue is likely a slow freezing process. Ice crystals grow larger when the base spends too much time in the “danger zone” between 32°F and 25°F. To fix this, chill your canister for at least 24 hours before churning.
Many beginners mistake “too hard to scoop” for a freezing temperature issue. In reality, sugar acts as an antifreeze. If your scoop bends the spoon, you lack enough dissolved solids. A simple rule: if the texture is icy rather than hard, you need more fat. If it’s rock-solid, you need more sugar.
Separation often happens when using low-fat dairy substitutes. If you see a distinct liquid layer at the bottom, your emulsion has failed. You can save the batch by adding a tablespoon of sunflower lecithin or an extra egg yolk. Always emulsify your base with a high-speed blender before pouring it into the machine. This prevents the fat from pooling during the initial churn.
Rules for food safety
When you’re preparing food at home, you must follow basic hygiene standards to prevent bacterial growth. The United States Food and Drug Administration notes that while sugar and fat help preserve food, dairy-free alternatives like coconut or nut milks are still prone to spoilage if left at room temperature. Never leave your base sitting on the counter for more than 2 hours. If your kitchen temperature is above 90°F, you should limit this time to 1 hour.
If you’re using raw ingredients like fruit or nuts, ensure they’re washed thoroughly before blending. For anyone with severe nut or coconut allergies, ensure your workspace is sanitized, as cross-contamination is a real risk. Use a separate cutting board for produce to avoid contact with proteins.
If you’re unsure about the safety of an ingredient, check the packaging for storage instructions provided by the manufacturer. Many people mistakenly assume that freezing halts all microbial activity; it only slows it. Quality drops rapidly after this point, and ice crystals will make the texture unappealing. If the mixture develops a sour odor or a fuzzy surface, discard it immediately regardless of the date.
The real cost of your ingredients
The cost of making dairy-free ice cream varies based on your choice of base. Canned coconut milk is generally an affordable option depending on the brand and whether it’s organic. If you use frozen bananas, the cost is significantly lower than using other bases. You can check the current prices at your local grocery store or online retailer to compare the total cost per batch.
The time investment is the hidden cost. While the machine does the work for 20 minutes, the total time from start to finish is usually 6 to 8 hours when you include the chilling and freezing stages. If you’re in a rush, a high-speed blender with frozen fruit is the only way to get a dessert in under 15 minutes. Avoid using expensive nut milks if you’re on a budget, as they often contain mostly water and will require added thickeners, which increases your total effort and cost without necessarily improving the flavor or texture.
Keeping your dessert fresh
Once your dessert is made, it will keep its best texture for about 7 to 10 days in a standard home freezer.
The primary sign that it needs attention is when you see a layer of frost on the surface or when the edges start to feel hard and icy. These crystals indicate that moisture has migrated to the surface, signaling that the container seal is likely compromised.
You can revive a slightly icy dessert by letting it soften for 5 minutes and then giving it a quick stir. However, if the dessert has been in the freezer for more than two weeks, the flavor will likely degrade and the texture will become unpleasantly crystalline.
Always keep the container in the back of the freezer where the temperature remains the most stable. Avoid the door shelves, where temperatures fluctuate significantly every time you open the freezer. This thermal cycling is the leading cause of freezer burn. If your freezer is frost-free, prioritize an airtight glass container over plastic to further slow the dehydration process. If you notice a metallic or off-flavor, the fats have likely oxidized, and the item should be discarded.
When to seek another method
If you’re trying to recreate a specific, high-fat texture like premium dairy ice cream, this method might not satisfy you. A dairy-free base will always have a different melt point and mouthfeel compared to cow’s milk.
If you require a professional-grade result for a special event, look for recipes using egg substitutes or commercial stabilizers like locust bean gum. These require precise measurements and ingredients often found only through specialty suppliers. If your mixture lacks a creamy finish, you’re likely missing a fat-to-water ratio of at least 15 percent.
If you’re working with a severe food allergy, always check labels for hidden dairy derivatives like casein or whey. If you can’t guarantee ingredient safety, purchase a pre-made dessert from a certified manufacturer.
The decision rule is simple: if you’re serving guests with clinical allergies, avoid home-kitchen production entirely. The risk of cross-contamination in a residential space is too high. If you’re cooking for personal enjoyment, accept the texture difference as a trade-off for the convenience.
Frequently asked questions
Can I make ice cream without a machine?
You can make ice cream without a machine by using the “nice cream” method with frozen bananas or by stirring a coconut milk base by hand every 30 minutes for 3 hours. The hand-stirring method breaks up the ice crystals as they form, which creates a texture similar to traditional churned ice cream.
Is it safe to eat dairy-free ice cream?
It’s safe to eat dairy-free ice cream as long as you keep the base chilled below 40°F during the preparation process. The United States Food and Drug Administration recommends keeping all perishable mixtures cold to prevent the growth of bacteria, as even plant-based milks can spoil if left at room temperature.
How long does homemade ice cream last?
Homemade dairy-free ice cream lasts for about 7 to 10 days in a standard home freezer before the texture becomes too icy to enjoy. You can check the quality by looking for large ice crystals on the surface, which indicate that the product has begun to lose its smooth consistency.
Why is my dairy-free ice cream hard?
Your ice cream is likely hard because it lacks enough fat or sugar to prevent large ice crystals from forming during the freezing process. You can fix this by increasing the amount of full-fat coconut milk or maple syrup in your recipe, which lowers the freezing point and keeps the texture soft.
What is the best base for dairy-free ice cream?
Full-fat canned coconut milk is the best base for dairy-free ice cream because its high fat content mimics the mouthfeel of heavy cream. You can also use a mixture of cashews and water to achieve a similar result, though it requires more time to soak and blend the nuts until smooth.
Does it matter if I use light coconut milk?
It matters a great deal because light coconut milk has a high water content, which will result in a very icy and hard frozen dessert. Always use full-fat canned coconut milk to ensure your dessert has the necessary fat to create a creamy, smooth texture that’s easy to scoop.
Conclusion
Start by chilling your base in the refrigerator for at least two hours before you begin the freezing process. You can expect a smooth, scoopable result once the mixture has fully firmed up in your freezer. If the texture remains too hard to scoop after the recommended time, it’s time to check your sugar-to-fat ratio or consult a different recipe that uses more fat.

Hello, This is Annie Walker, a 38-year-old blogger, founder, and editor of Cookware Guider from NY, USA. I am a cookware fanatic and passionate cooker. I love to cook with different types of cooking appliances (example: all types of cookware, rice cookers, slow cookers, etc) almost every day in my kitchen. I love to share my experience with my readers in my blog. Also, I enjoy helping people to solve their problems through my website. You can follow me on Twitter & Pinterest. To know details about my blog please check the about us page.