Sealing wood slices for food safety is a smart way to turn natural wood into practical kitchen tools or serving boards. Whether you plan to use wood slices as plates, cheese boards, or display platters, making them food safe is essential. Many people love the rustic look of wood, but few know how to seal it correctly for food contact. If you skip proper sealing, bacteria can grow in cracks, moisture can cause rot, and strong odors may stick to your wood. Let’s explore how to seal wood slices for food use, with clear steps, examples, and expert tips to help you avoid common mistakes.
Why Wood Slices Need Food Safe Sealing
Wood is a natural material with pores and fibers. These pores can trap food particles and bacteria. When wood slices are not sealed, liquids and oils can soak in, causing stains or unpleasant smells. Also, unsealed wood can dry out, crack, or warp over time.
Food safe sealing makes wood slices durable and hygienic. It creates a barrier so you can safely place cheese, fruit, bread, or other foods directly on the wood without worry. Sealing also makes cleaning easier and protects the wood’s color and texture.
Choosing The Right Wood
Not all wood types are suitable for food contact. Some woods contain toxins or strong flavors that can transfer to food. The best woods for food safe wood slices are:
- Maple: Hard, dense, and naturally antibacterial.
- Beech: Durable and fine-grained, easy to clean.
- Walnut: Attractive color, safe if untreated.
- Cherry: Good strength and smooth texture.
- Oak: Safe, but open grain needs extra sealing.
Avoid soft woods like pine or cedar for food surfaces. They may leak resin or have chemicals harmful to humans.
Data Table: Safe Vs Unsafe Woods
| Wood Type | Food Safe? | Notes |
|---|---|---|
| Maple | Yes | Hard, non-toxic, ideal for boards |
| Beech | Yes | Fine grain, easy to seal |
| Pine | No | Soft, resin can leak |
| Cedar | No | Strong aroma, possible toxins |
| Walnut | Yes | Dark color, rich look |
Preparing Wood Slices Before Sealing
Before you start sealing, wood slices need proper preparation. Many beginners skip this step, but it affects how well the finish lasts.
- Drying: Wood slices should be fully dry. Freshly cut wood can contain up to 50% water. Let slices air dry for several weeks, or use an oven at low heat for faster drying.
- Sanding: Use sandpaper to smooth the surface. Start with a coarse grit (80), then move to finer grits (120, 220) until the slice feels smooth.
- Cleaning: After sanding, wipe away dust with a damp cloth. Avoid soaking the wood; excess moisture can cause warping.
Example: Sanding Steps
- Start with 80-grit sandpaper and sand along the grain.
- Move to 120-grit to remove scratches.
- Finish with 220-grit for a silky surface.
- Wipe with a damp cloth and let dry.
A common mistake is skipping fine sanding. Rough wood holds more bacteria and absorbs sealant unevenly.
Types Of Food Safe Sealants
There are several ways to seal wood slices for food safety. Each method has pros and cons. Let’s look at the most popular options:
- Mineral Oil: Pure, food safe, easy to apply, but needs regular reapplication.
- Beeswax: Natural, food safe, gives a soft finish, often combined with mineral oil.
- Tung Oil: Hardens over time, water-resistant, but only pure tung oil (not mixed with solvents) is food safe.
- Walnut Oil: Natural, dries to a hard finish, but may cause allergies.
- Shellac: Made from lac bugs, food safe when pure, but not waterproof.
- Carnauba Wax: Hard, glossy finish, often blended with beeswax.
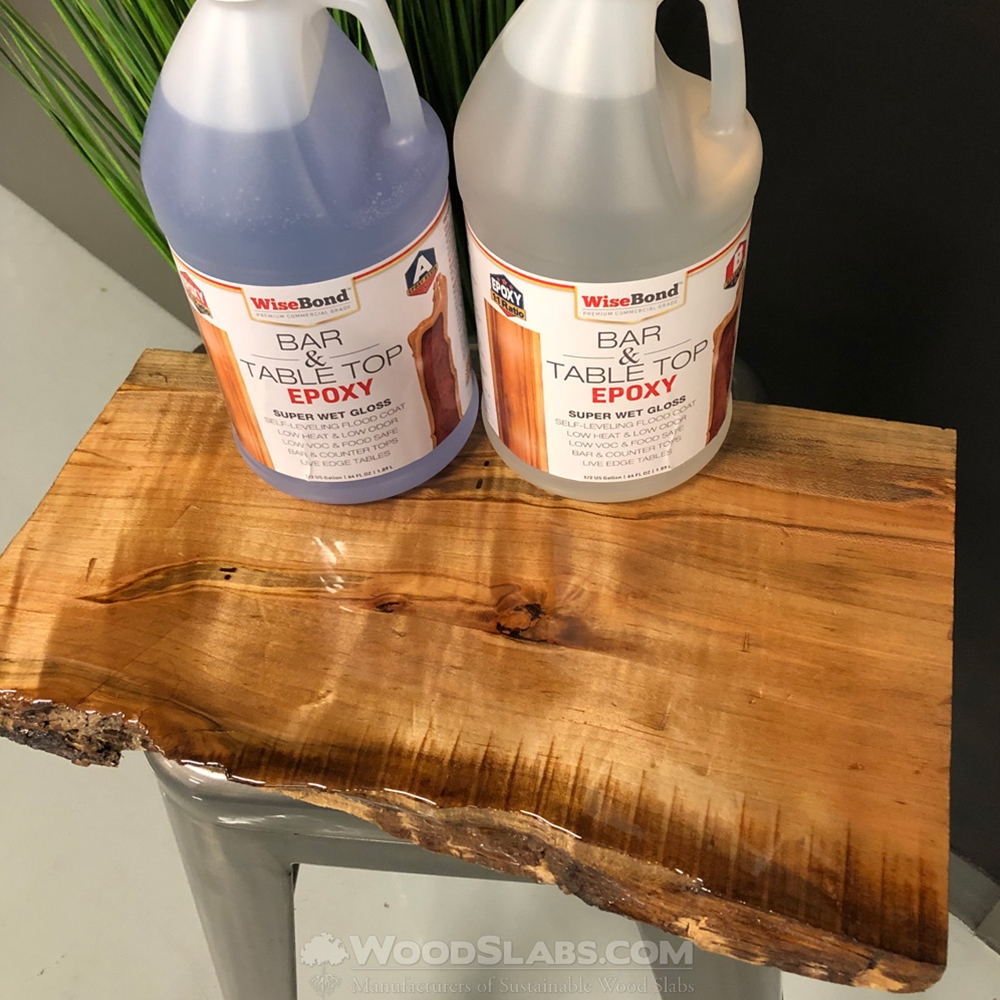
Avoid finishes like polyurethane, lacquer, or varnish unless they are explicitly labeled food safe. Most commercial finishes are not suitable for food contact.
Comparison Table: Food Safe Sealants
| Sealant | Food Safe | Durability | Water Resistance | Maintenance |
|---|---|---|---|---|
| Mineral Oil | Yes | Low | Moderate | Monthly reapplication |
| Beeswax | Yes | Moderate | Low | Quarterly |
| Tung Oil | Yes (pure) | High | High | Annual |
| Walnut Oil | Yes | High | High | Annual |
| Shellac | Yes (pure) | Moderate | Low | Biannual |
Step-by-step Guide: Sealing Wood Slices For Food Safety
Let’s walk through the process of sealing wood slices using mineral oil and beeswax, the most popular and safest method. This process works for serving boards, plates, and kitchen tools.
Materials Needed
- Wood slices (dry, sanded, clean)
- Mineral oil (food grade)
- Beeswax (optional, for extra protection)
- Clean lint-free cloths
- Small brush
- Heat-proof bowl
- Oven or hair dryer (optional)
Step 1: Apply Mineral Oil
Pour a small amount of mineral oil onto the wood slice. Use a clean cloth to spread the oil evenly, working along the grain. Let the oil soak in for at least 4 hours, or overnight for best results. Repeat 2-3 times for deep penetration.
Tip: Warm oil penetrates better. Place the bottle in warm water before use.
Step 2: Buff The Surface
After soaking, wipe off excess oil with a clean cloth. Buff the surface gently to remove sticky residue.
Step 3: Add Beeswax (optional)
For extra protection, melt beeswax in a heat-proof bowl. Mix with a small amount of mineral oil (about 4 parts oil to 1 part wax). Apply the warm mixture to the wood slice with a brush or cloth. Let it cool, then buff until smooth.
Step 4: Cure And Repeat
Let the sealed wood slice cure for 24 hours. If the surface feels dry, repeat the oil and wax application. For new wood slices, sealing 2-3 times is ideal.
Step 5: Test For Water Resistance
After sealing, place a drop of water on the wood slice. If the water beads up and does not soak in, the seal is good. If water absorbs, apply another coat.
Sealing With Pure Tung Oil: Advanced Option
Tung oil is a strong, natural finish that cures to a hard, water-resistant layer. Only pure tung oil (not blended with solvents) is food safe.
- Apply thin coats with a cloth.
- Allow 24 hours between coats.
- Apply 3-5 coats for full protection.
- Cure for a week before using.
Pure tung oil gives a slightly amber finish and is more durable than mineral oil.

Credit: thevixensden.com
Common Mistakes When Sealing Wood Slices
Many beginners make mistakes that reduce the safety and beauty of their wood slices. Here are some issues to avoid:
- Skipping sanding: Rough surfaces hold bacteria and absorb unevenly.
- Using non-food safe finishes: Paints, stains, or regular varnishes are not safe for food contact.
- Applying too much oil or wax: Thick layers stay sticky and attract dust.
- Not allowing proper drying: Sealants need time to cure; rushing the process means poor protection.
- Ignoring maintenance: Even the best finishes need touch-ups.
Example: Sticky Finish
If your wood slice feels sticky days after sealing, you likely applied too much oil or wax, or didn’t buff it properly. Remove excess with a cloth and let it air dry.
How To Maintain Food Safe Wood Slices
Sealing is only the first step. Wood slices need regular care to stay safe and attractive. Here’s how to maintain them:
- Clean after use: Wipe with a damp cloth. Avoid soaking or using harsh soap.
- Dry thoroughly: Moisture causes cracks and mold.
- Reapply oil or wax: Every 1-3 months, depending on usage.
- Store properly: Keep wood slices out of direct sunlight and away from heat sources.
Data Table: Maintenance Frequency
| Usage Level | Reapplication Frequency | Cleaning Method |
|---|---|---|
| Daily | Monthly | Damp cloth, mild soap |
| Weekly | Quarterly | Damp cloth |
| Occasional | Biannual | Dry wipe |
Safety Tips For Food Contact
Here are some practical safety tips for using and sealing wood slices:
- Never use wood slices with deep cracks: Bacteria can hide inside.
- Avoid using wood slices for raw meat: Even sealed wood can absorb juices.
- Do not microwave or dishwash: Heat and water damage the seal.
- Check for allergies: Some sealants (like walnut oil) may cause reactions.
Real-world Examples
Many home cooks and chefs use sealed wood slices for serving. For instance, a cheese board sealed with mineral oil and beeswax will last years with proper care. At farmer’s markets, vendors often use sealed wood slices as display platters.
In all cases, the right sealing method protects both the food and the wood.
A study by the University of Wisconsin found that wood boards sealed with mineral oil resisted bacterial growth better than unsealed boards. They also lasted longer and looked better.
Credit: www.woodslabs.com
Eco-friendly And Vegan Alternatives
If you want a vegan option, use carnauba wax instead of beeswax. Carnauba wax comes from palm leaves and is food safe. Some people also use pure linseed oil, but only the raw, cold-pressed version—not the boiled type, which contains chemicals.
Expert Insights And Non-obvious Tips
- Mixing beeswax with mineral oil gives a smoother, more water-resistant finish than using either alone.
- Letting oil soak overnight helps it penetrate deep, making the seal last longer.
- Sealing the sides and bark is just as important as the flat surface. Bacteria can hide in rough edges.
- Testing with water drops is a quick way to check if your seal is strong.
Many beginners only seal the top surface, but the sides and bottom matter too.
Food Safe Certification And Standards
If you plan to sell wood slices or serve food commercially, look for sealants certified by the FDA or similar agencies. For home use, buy products labeled as “food safe” or “food contact safe.” For more information, visit the FDA Food Safety page.
Frequently Asked Questions
How Do I Know If My Wood Slice Is Completely Sealed?
Place a few drops of water on the surface. If the water beads up and does not soak in, the wood is sealed. If water absorbs, apply another coat of oil or wax.
Can I Use Olive Oil Or Vegetable Oil As A Sealant?
No, these oils spoil over time and leave sticky residue. They also attract bacteria. Always use mineral oil or other oils labeled as food safe and non-drying.
How Often Should I Reapply The Sealant?
This depends on how often you use your wood slice. For daily use, reapply mineral oil monthly. For occasional use, every 3-6 months is enough.
Is Polyurethane Ever Food Safe?
Some polyurethane products are labeled food safe after full curing. However, most contain chemicals and are not recommended for direct food contact. Always check the label and use only products certified for food contact.
What Is The Best Way To Clean Sealed Wood Slices?
Wipe with a damp cloth and mild soap. Avoid soaking in water or putting in the dishwasher. Dry immediately after cleaning to prevent warping or cracking.
Sealing wood slices for food safety is easy if you follow the right steps and use proper materials. With careful preparation, safe sealants, and ongoing maintenance, your wood slices will be both beautiful and hygienic for years to come. Whether you are making serving boards for your kitchen or gifts for friends, a food safe seal protects both your wood and your health.

Credit: www.woodburncorner.com

Hello, This is Annie Walker, a 38-year-old blogger, founder, and editor of Cookware Guider from NY, USA. I am a cookware fanatic and passionate cooker. I love to cook with different types of cooking appliances (example: all types of cookware, rice cookers, slow cookers, etc) almost every day in my kitchen. I love to share my experience with my readers in my blog. Also, I enjoy helping people to solve their problems through my website. You can follow me on Twitter & Pinterest. To know details about my blog please check the about us page.