
Sharpening knives is a skill that can change your cooking, camping, and everyday life. A dull blade is not only frustrating—it’s unsafe and makes every task harder. The Worksharp Knife Sharpener is a tool designed to make sharpening easy and effective, even for people with little experience. Many knife owners buy sharpeners but never learn how to use them correctly. This guide will help you get the most from your Worksharp, whether you own a basic model or one with advanced features. You’ll discover step-by-step instructions, practical advice, and tips that even seasoned users often overlook. By the end, your knives will cut better, last longer, and you’ll feel confident sharpening them whenever needed.
Understanding The Worksharp Knife Sharpener
The Worksharp Knife Sharpener is popular because it combines simplicity with professional results. Unlike old sharpening stones, it uses belts and guides to keep your knife at the right angle. This means anyone can sharpen a blade without years of practice.
Types Of Worksharp Knife Sharpeners
Worksharp offers several models. Each has its own features, but all use a belt system. Here are the most common types:
- Worksharp Knife & Tool Sharpener (Ken Onion Edition): Adjustable angles, variable speed, designed for serious users.
- Worksharp Knife & Tool Sharpener (Original): Fixed angles, easy to use, affordable.
- Worksharp Culinary E5: Created for kitchen knives, simple controls, compact size.
- Worksharp Guided Sharpening System: Manual sharpening with guides, no motor.
- Worksharp Pocket Knife Sharpener: Portable, for quick touch-ups.
Each model fits different needs, but the sharpening process is similar. The main difference is the number of belt types, angle adjustments, and speed controls.
What Makes Worksharp Unique
Most sharpeners rely on stones or rods. Worksharp uses flexible abrasive belts. These belts remove metal smoothly and create a consistent edge. The guides keep your knife at the right angle, preventing mistakes. You can also sharpen other tools like scissors, axes, and garden tools.
Key features include:
- Adjustable angle guides (on some models)
- Multiple belt grits for different sharpening stages
- Motorized or manual options
- Safe and easy for beginners
A common mistake is ignoring belt grit. Beginners often use the wrong belt or skip steps, which can damage the blade.
Preparing Your Knife And Worksharp Sharpener
Before sharpening, you need to set up your workspace and inspect your knife. Proper preparation leads to better results and less risk.
Setting Up Your Workspace
Find a stable surface with good lighting. Keep the sharpener away from water and electrical hazards. If you’re using a motorized model, plug it into a safe outlet.
- Place the sharpener on a flat table
- Keep belts, guides, and cleaning tools nearby
- Wear safety glasses if sharpening damaged blades
Inspecting Your Knife
Look for chips, bends, or heavy rust. If your knife has deep damage, you may need to repair it before sharpening.
- Clean the blade with soap and water
- Dry it thoroughly
- Check for cracks or broken tips
Selecting The Right Belt
Worksharp sharpeners come with several belts:
- Coarse (P80): Repairs chips, shapes very dull blades
- Medium (P220): General sharpening
- Fine (6000 grit): Polishing, finishing the edge
Choose the belt based on your knife’s condition. For a regular dull kitchen knife, start with medium. For a damaged blade, use coarse first. Always finish with a fine belt.
Non-obvious tip: If you sharpen often, the fine belt alone might be enough. Save coarse belts for rare repairs.
Setting The Correct Sharpening Angle
Angle is critical in knife sharpening. Worksharp makes this easy with guides, but you need to choose the best angle for your knife.
Why Angle Matters
A lower angle (15–17 degrees) gives a sharper edge but is less durable. Higher angles (20–25 degrees) last longer but are less razor-sharp.
- Kitchen knives: 15–20 degrees
- Pocket knives: 20–25 degrees
- Hunting knives: 22–25 degrees
Adjusting The Guide
Most Worksharp models have angle guides. The Ken Onion Edition lets you dial the exact angle. The original model uses fixed guides.
- Set the guide to your chosen angle
- Lock it in place before sharpening
- Double-check the angle before you start
Practical example: If you sharpen a Japanese chef knife, use 15 degrees. For a rugged outdoor knife, choose 22 degrees.
Common mistake: Using the wrong angle can make your knife weak or dull quickly. Always check your manual for recommended angles.
Sharpening Step-by-step: Using The Worksharp Knife Sharpener
Now you’re ready to sharpen. Follow these steps for the best results.
Step 1: Insert The Belt
Choose the correct belt and install it:
- Open the belt cover (if your model has one)
- Slide the belt over the pulleys
- Make sure it’s tight but not twisted
Step 2: Set The Angle Guide
Adjust the guide to your chosen angle. For models without a dial, use the fixed guide.
Step 3: Power On And Check Speed
Turn on the sharpener. If your model has speed control, use low speed for fine belts and high speed for coarse belts.
Step 4: Hold The Knife Correctly
Grip the knife handle firmly. Place the blade against the guide, heel first.
- Keep your fingers away from the belt
- Hold the blade flat against the guide
Step 5: Pull The Knife Through
Start at the heel and pull the blade smoothly toward the tip. Let the belt do the work.
- One pass should take 2–3 seconds
- Do not press hard—light pressure is best
Repeat this step 5–6 times per side for a dull blade. For maintenance, 1–2 passes per side is enough.
Step 6: Switch Sides
After a few passes, switch to the other side. The guide keeps your angle steady.
Step 7: Change Belts For Finishing
Once you finish with the coarse or medium belt, switch to the fine belt for polishing. Repeat the same number of passes.
Step 8: Test Your Edge
Check the sharpness by slicing paper or shaving hair off your arm (carefully). If it’s not sharp enough, repeat the finishing step.
Non-obvious insight: For best results, use a slightly slower speed with the fine belt. This gives a smoother edge.
Step 9: Clean Your Knife
Wipe off metal dust with a damp cloth. Dry the blade fully.

Credit: worksharptools.com
Sharpening Specialty Knives And Tools
Worksharp is not just for kitchen knives. You can sharpen a range of tools.
Sharpening Serrated Knives
Serrated knives need special care. Use the fine belt and sharpen only the flat side. Avoid the teeth.
- Hold the knife at the guide
- Use gentle passes
- Do not over-sharpen
Sharpening Scissors
Many Worksharp models have a scissor guide. Place the scissor blade in the guide, sharpen one side, then switch.
Sharpening Axes And Garden Tools
Use the coarse belt. Hold the tool firmly, follow the edge shape, and use slower passes.
Example: For a garden hoe, sharpen both sides evenly. For an axe, follow the original bevel.
Sharpening Pocket Knives
Use a higher angle for durability. The steps are the same as for kitchen knives, but you may need fewer passes.
Common mistake: For small blades, avoid too many passes. Over-sharpening can change the blade shape.
Maintaining And Replacing Sharpening Belts
Belts wear out over time. Using a worn belt leads to poor sharpening.
How To Know When To Replace A Belt
- Belt looks smooth or shiny
- Sharpening takes longer
- Edge is not as sharp
Replacing A Belt
- Remove the old belt
- Check the pulleys for dust or debris
- Install a new belt as shown earlier
Non-obvious tip: Keep extra belts on hand. Replace them before they are completely worn.
Cleaning The Sharpener
Dust and metal particles can build up. Once a month:
- Unplug the sharpener
- Wipe down all surfaces
- Remove belts and clean pulleys
- Use compressed air for hard-to-reach spots
Data point: Belts typically last for 50–100 sharpening sessions, depending on blade size and steel type.
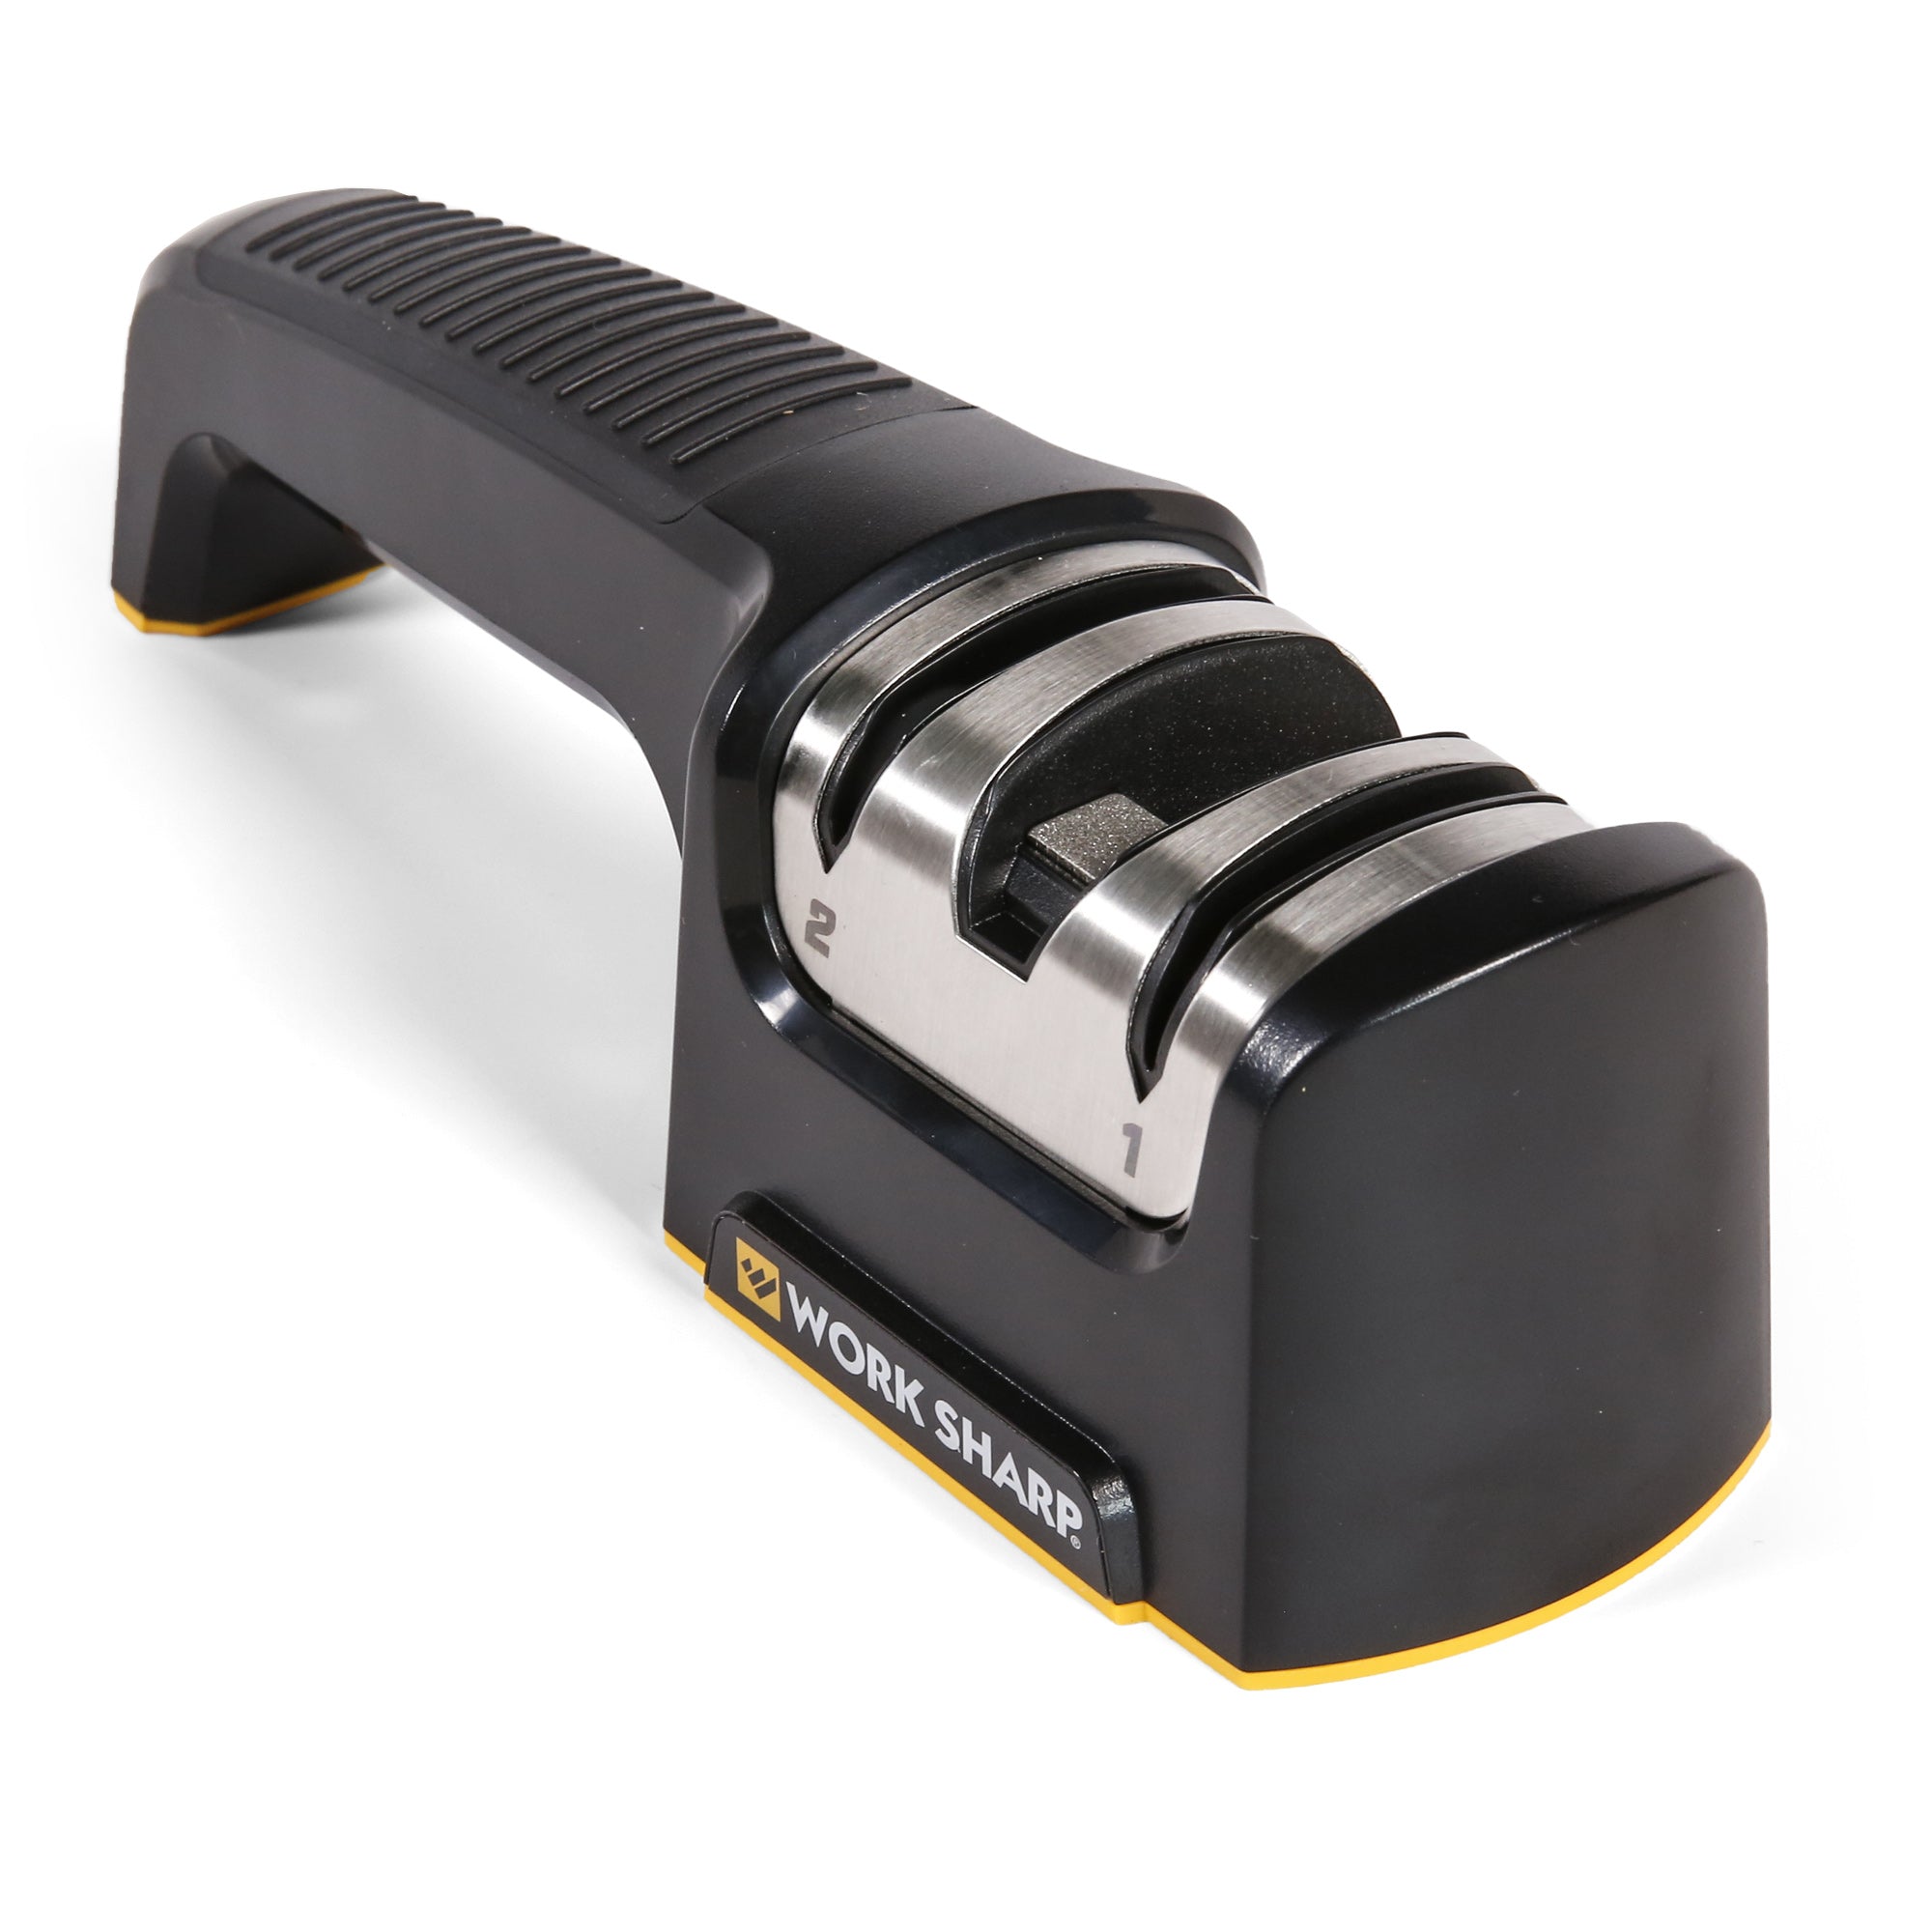
Credit: worksharptools.com
Comparing Worksharp Knife Sharpeners To Other Methods
Many people wonder if Worksharp is better than stones or pull-through sharpeners. Here’s a comparison:
| Method | Ease of Use | Edge Quality | Speed | Suitable For |
|---|---|---|---|---|
| Worksharp | Very easy | Consistent, high | Fast (5-10 min) | Kitchen, outdoor, tools |
| Sharpening stone | Hard (needs skill) | Excellent (with practice) | Slow (15-30 min) | Any knife |
| Pull-through sharpener | Easy | Fair | Very fast (2-5 min) | Kitchen knives |
| Electric sharpener | Easy | Good | Fast (5-8 min) | Kitchen knives |
Worksharp stands out for its ability to sharpen many types of blades and tools. The guides and belts give a smooth, consistent edge.
Advanced Tips For Better Sharpening Results
Once you know the basics, you can improve your sharpening with a few advanced techniques.
Use The Marker Trick
Draw a line along the knife edge with a permanent marker. After a sharpening pass, check if the marker is gone. This shows if you’re hitting the whole edge.
Micro-bevels
Some experts add a tiny bevel at a higher angle after sharpening. This makes the edge stronger, especially for outdoor knives.
- Sharpen at your chosen angle
- Finish with 1–2 passes at a slightly higher angle
Sharpening Hard Steels
If your knife has very hard steel (like S30V or D2), use more passes and a slower speed. Hard steels need extra time but stay sharp longer.
Polishing The Edge
For a mirror finish, use the fine belt and finish with a leather strop (if available). This reduces roughness and helps slicing.
Avoid Overheating
If you sharpen too fast, the blade can get hot. This harms the steel.
- Use slow speed
- Take breaks between passes
Example: If your knife feels warm, pause for a minute.
Safety Tips When Using Worksharp
Sharpening tools can be dangerous if used wrong. Stay safe with these steps:
- Always keep fingers away from the belt
- Wear safety glasses, especially with damaged blades
- Unplug the sharpener when changing belts
- Keep children and pets away from the workspace
- Do not use near water
Non-obvious tip: If you sharpen long blades, keep the point away from your body at all times.
Common Mistakes To Avoid
Even experienced users make mistakes. Here are some to watch out for:
- Using too much pressure: Let the belt do the work
- Ignoring angle guides: Leads to uneven edges
- Skipping the finishing belt: Edge won’t be smooth
- Not cleaning the sharpener: Dust affects performance
- Using old belts: Results in poor sharpening
Data point: Surveys show that 30% of Worksharp users forget to change their belts, causing dull edges.
Troubleshooting Sharpening Problems
If your knife is not sharp or the edge looks uneven, try these solutions:
Edge Not Sharp Enough
- Use more passes with the fine belt
- Check if the belt is worn
- Try a lower angle for kitchen knives
Uneven Edge
- Make sure you’re pulling evenly from heel to tip
- Use the marker trick to check coverage
- Adjust your grip
Belt Slipping
- Make sure the belt is installed tightly
- Check pulleys for debris
- Replace worn belts
Blade Getting Hot
- Use slower speed
- Take breaks between passes
Knife Feels Rough
- Finish with extra passes on the fine belt
- Try a leather strop after sharpening
Maintaining Your Knives After Sharpening
Sharpened knives stay sharp longer with proper care.
Storage
- Use a knife block or sheath
- Avoid tossing knives in drawers
Cleaning
- Wash by hand, never in the dishwasher
- Dry right after cleaning
Regular Touch-ups
- Use the fine belt for quick maintenance
- Sharpen every 1–2 months if used often
Honing
- Use a ceramic rod or honing steel between sharpenings
- This keeps the edge straight
Non-obvious insight: Honing does not sharpen—it aligns the edge. Sharpen only when the knife feels dull.
Comparing Worksharp Models: Which Is Right For You?
If you’re shopping for a Worksharp sharpener, here’s a comparison of popular models:
| Model | Best For | Angle Range | Belts Included | Price (USD) |
|---|---|---|---|---|
| Ken Onion Edition | Enthusiasts, professionals | 15–30 degrees | 5 types | ~$130 |
| Original Knife & Tool | Home users | 20–25 degrees (fixed) | 3 types | ~$80 |
| Culinary E5 | Kitchen knives | 15–20 degrees | 3 types | ~$100 |
| Guided Sharpening System | Manual sharpening | 17–20 degrees | N/A | ~$60 |
| Pocket Sharpener | Travel, quick touch-ups | Fixed | N/A | ~$30 |
Practical advice: If you sharpen many types of knives and tools, the Ken Onion Edition offers flexibility. For basic kitchen use, the Culinary E5 is compact and easy.
Environmental And Economic Benefits Of Sharpening
Sharpening knives saves money and reduces waste. You won’t need to buy new knives as often. Proper sharpening extends blade life by years.
Data point: Well-maintained knives can last 10–20 years or longer. Dull knives often get thrown away, adding to landfill waste.
Economic tip: Buying a Worksharp sharpener pays for itself in saved knife replacements after 2–3 years.
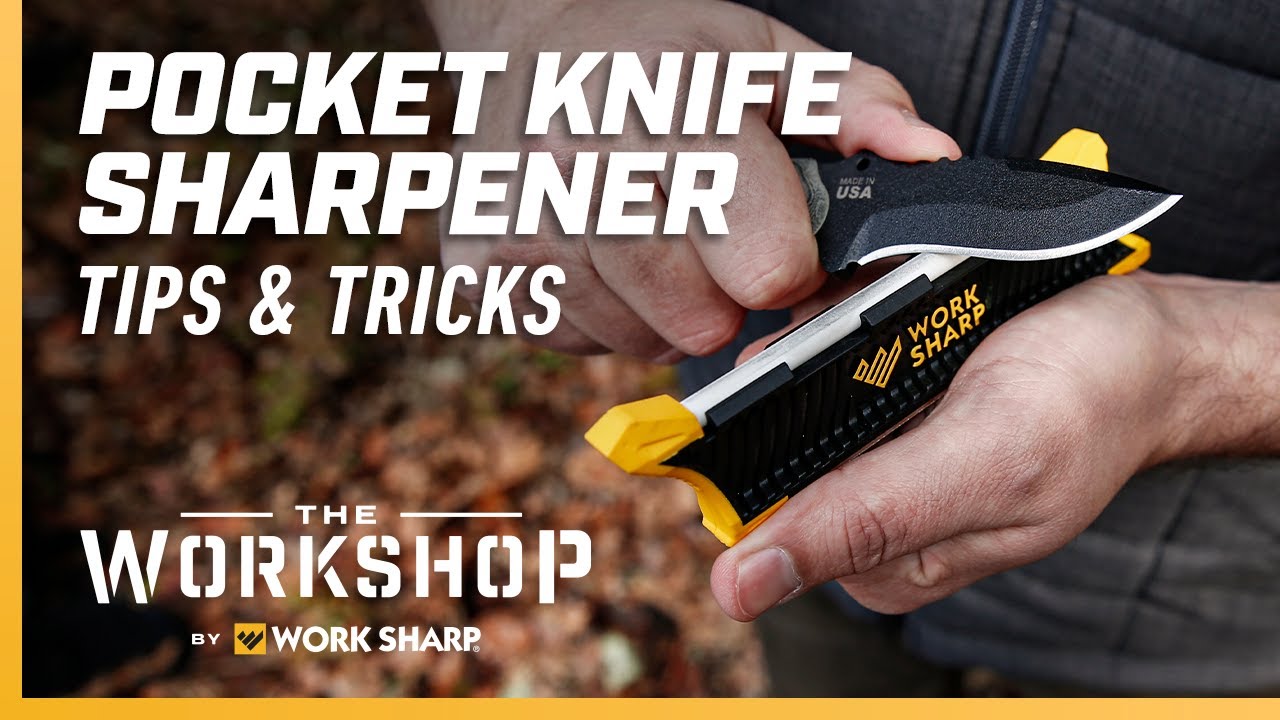
Credit: www.youtube.com
Where To Learn More
If you want extra help, Worksharp offers videos and manuals. You can find more information at their official website: Worksharp Tools. For sharpening theory and professional tips, see guides at Wikipedia.
Frequently Asked Questions
What Knives Can I Sharpen With Worksharp?
You can sharpen kitchen knives, hunting knives, pocket knives, and even serrated knives. Most models also handle scissors, axes, and garden tools. Always check your model’s manual for supported blade types.
How Often Should I Sharpen My Knives?
For regular kitchen use, sharpen every 1–2 months. Outdoor knives need sharpening after heavy use. If your knife feels dull or struggles to cut, it’s time to sharpen.
Can Worksharp Damage My Knife?
If you follow the angle guides and use the correct belt, Worksharp is safe. Avoid too much pressure and don’t over-sharpen. Using worn belts or wrong angles can cause harm, so check your setup each time.
How Long Do Sharpening Belts Last?
Belts usually last 50–100 sharpening sessions, depending on blade size and hardness. Replace belts when they look smooth or fail to sharpen effectively.
Is Worksharp Better Than A Sharpening Stone?
Worksharp is easier and faster for most people. Stones can produce a sharper edge, but require skill and practice. For consistent results without training, Worksharp is ideal.
—
A sharp knife is more than a tool—it’s a pleasure to use and safer for every task. The Worksharp Knife Sharpener turns sharpening from a chore into a simple routine. By learning the right setup, angles, and steps, you’ll keep your blades ready for anything. Remember, regular maintenance and using the right belt make all the difference. With these techniques, your knives will last for years and perform at their best. If you ever need extra guidance, resources like Wikipedia can help you deepen your sharpening skills.

Hello, This is Annie Walker, a 38-year-old blogger, founder, and editor of Cookware Guider from NY, USA. I am a cookware fanatic and passionate cooker. I love to cook with different types of cooking appliances (example: all types of cookware, rice cookers, slow cookers, etc) almost every day in my kitchen. I love to share my experience with my readers in my blog. Also, I enjoy helping people to solve their problems through my website. You can follow me on Twitter & Pinterest. To know details about my blog please check the about us page.