
You can perform a full sanitation of your appliance using a mixture of two tablespoons of white vinegar per gallon of warm water to remove mineral buildup and mold. How To Clean Frigidaire Ice Maker effectively requires this mild acidic solution to break down deposits without damaging the plastic components or internal seals.
The process you follow depends on whether your unit is a standalone ice machine or an integrated freezer model. This guide covers the standard procedures for most residential units, but you should always check your specific model’s owner manual at the Frigidaire official support site to confirm if any proprietary cleaning agents are required for your particular water filtration system.
Who should clean their Frigidaire ice maker
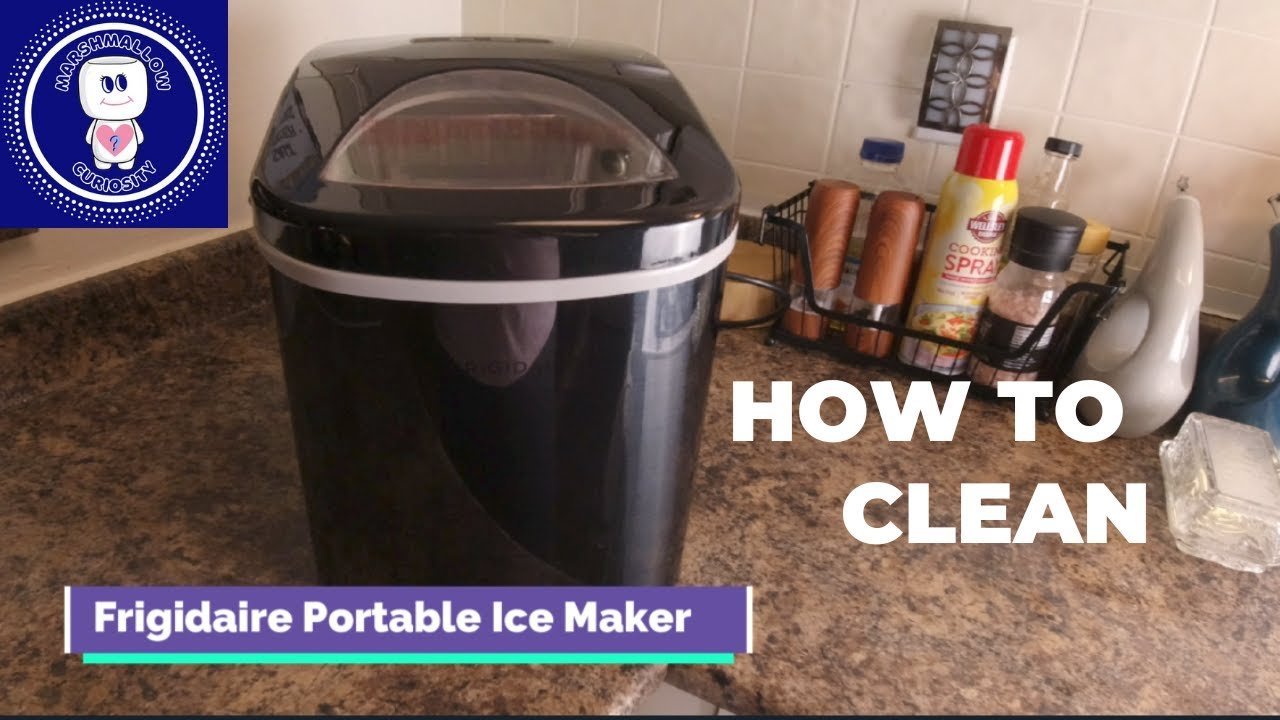
This page is intended for homeowners who notice a bad taste in their ice, slow production, or visible white flakes inside the ice bin. These users typically own a refrigerator with an integrated ice maker or a dedicated under-counter unit. You likely have basic household tools like a soft cloth, white vinegar, and a small brush on hand.
If you’re a technician or someone dealing with a complete mechanical failure where the unit doesn’t cycle at all, these instructions won’t solve your problem. This content assumes the machine is still receiving power and water but is simply dirty or suffering from minor mineral scale. If your unit is leaking water or making loud grinding noises, stop using it immediately and contact a certified repair professional, as these issues often indicate a broken motor or a failing water inlet valve. We assume you have already cleared the ice bucket and disconnected the water supply if your model requires it. If you aren’t sure how to shut off the water, look for the shut-off valve behind the refrigerator or under the kitchen sink before starting.
Factors affecting the cleaning process
The primary factor determining your cleaning success is the hardness of your local water supply. High mineral content, or hard water, causes calcium to build up on the ice mold and the water distribution tube much faster than in homes with soft water. You can determine your water hardness by checking your local water utility report or using a simple test strip.
Another variable is the age of your water filter. If you haven’t changed the filter in more than six months, cleaning the ice maker will only provide a temporary fix because the filter is no longer trapping the minerals that cause the buildup. Always check the status light on your refrigerator control panel; if it’s red, replace the filter before you begin the deep clean.
The frequency of your cleaning cycle is also critical. If you wait until you see visible mold or taste issues, the minerals are likely already etched into the plastic. We recommend a regular cleaning interval for most users. If you have extremely hard water, you may need to clean it more often to prevent permanent damage to the ice mold coating.
People often make the mistake of using harsh chemicals like bleach or ammonia. This is a significant error because these chemicals can degrade the plastic tubing and leave toxic residues that enter your future ice cubes. If you accidentally use a harsh cleaner, discard the next five full batches of ice to ensure the lines are flushed, and contact the manufacturer if the plastic begins to show signs of pitting or discoloration.
How To Clean Frigidaire Ice Maker: Sanitation Steps
- Locate the power switch for your ice maker and turn it to the off position to prevent the unit from cycling while you’re working.
- Remove the ice bin from the freezer compartment and dump all existing ice into the sink.
- Wash the ice bin using a solution of one tablespoon of mild dish soap mixed with one quart of warm water, then rinse and dry it completely.
- Use a soft-bristled toothbrush dipped in your vinegar solution to gently scrub the ice mold and the water distribution tube.
- Wipe the interior freezer walls around the ice maker with a clean cloth dampened with the vinegar solution to remove any mildew growth.
- Rinse all surfaces you scrubbed with a separate cloth dampened only with clean, cool water to remove any lingering vinegar residue.
- Reinstall the dry ice bin into the freezer and turn the power switch back to the on position.
- Wait for the unit to cycle and discard the first two full batches of ice produced, as these may contain leftover cleaning solution.
The key judgment call is ensuring all parts are bone-dry before you put them back. If moisture remains on the bin or the mold, it will instantly freeze and create a clump of ice that prevents the harvesting arm from rotating. If you see frost forming immediately after reassembly, you haven’t dried the components well enough.
Cleaning variations by appliance type
The following table outlines the differences between common setups. Always verify your specific model requirements on the Frigidaire website before starting.
| Situation | Cleaning Method | Time Required | What to Watch For |
|---|---|---|---|
| Standard Freezer | Manual wipe-down | 30 minutes | Residual vinegar smell |
| Under-counter | Vinegar flush cycle | 60 minutes | Drain line blockage |
| External Dispenser | Flush water lines | 45 minutes | Air in the tubes |
| Built-in Filter | Replace filter first | 15 minutes | Proper seal seating |
When cleaning a standard freezer, avoid using abrasive sponges that scratch the plastic liner. If you notice a lingering vinegar scent, wipe the interior again with a solution of one tablespoon of baking soda per quart of water.
For under-counter units, the most common mistake is ignoring the drain line. If the water doesn’t clear within 60 minutes, check for a kink in the hose behind the kickplate. A blocked line often causes internal pooling that leads to mold growth.
If your appliance features an external dispenser, you must purge at least two gallons of water to remove trapped air. Failing to do this causes sputtering and uneven flow rates.
Finally, always check the filter seal on built-in models. If you feel resistance while twisting, stop immediately. Forcing the filter can crack the housing, costing you a full replacement of the entire water manifold assembly.
Maintaining performance levels
Removing mineral buildup
The most common sign of trouble is white, chalky flakes appearing in your water or ice. These are calcium deposits that form when water evaporates in the mold. You should use the vinegar solution to dissolve these specifically, as they won’t wash away with soap and water alone. Never use a metal tool to scrape these deposits, as you’ll scratch the protective coating on the mold, which causes ice to stick and prevents the harvest cycle from finishing.
Preventing mold growth
Mold thrives in the cold, damp environment of the freezer if organic matter is present. Always ensure that no food items are touching the ice bin, as they can introduce bacteria or moisture that leads to mold. If you notice a musty smell, check the door seal of your freezer. If the seal is loose or cracked, warm air enters the unit, causing condensation that promotes mold growth. If the seal is damaged, replace it immediately to keep the interior environment stable.
Troubleshooting common errors
| What you notice | What it means | What to do first | How to stop it |
|---|---|---|---|
| Slow production | Filter is clogged | Replace water filter | Change filter timely |
| Bad taste | Mineral buildup | Run cleaning cycle | Use filtered water |
| Ice clumping | High humidity | Check door seal | Keep freezer closed |
| No ice made | Power is off | Toggle power switch | Check circuit breaker |
| White flakes | Hard water | Scrub with vinegar | Install softener |
If your ice production drops, check the water pressure first. A flow rate below 20 PSI prevents the mold from filling, mimicking a clogged filter. If the pressure is fine, the inlet valve is likely failing.
When ice clumps together, test your door seal with a dollar bill. Close the door on the bill; if it slides out with zero resistance, your seal is compromised. This gap lets in warm air, causing partial melting and refreezing.
For white flakes, distinguish between scale and plastic debris. If the flakes dissolve in vinegar, it’s mineral buildup. If they remain solid, you have a degrading internal component. Ignoring this leads to permanent damage in the pump.
Finally, if the machine makes no ice but the power is on, check the bin sensor. A stuck paddle prevents the cycle from triggering. Clear any frost buildup around the sensor arm to restore normal operation.
Standards and safety rules
The United States Environmental Protection Agency provides guidelines on safe drinking water, which includes the quality of ice produced by residential appliances. Frigidaire requires that you use only approved water filters to maintain the warranty and the safety of your ice. Using unapproved filters can lead to contaminants entering your ice supply, which the manufacturer doesn’t cover under any warranty claims.
If you need to replace internal electrical components like the water inlet valve or the heating element, you must disconnect the refrigerator from the wall outlet. Working with internal electrical wiring poses a risk of shock. If you aren’t comfortable handling these parts, contact a licensed technician. The Frigidaire manual for your model will list the specific part numbers you need; never substitute these with generic parts, as they may not meet the safety specifications required for the cooling system.
A common mistake is assuming that any part with the correct physical dimensions will function safely. This assumption often leads to premature compressor failure or electrical shorts. If the replacement part doesn’t have the exact OEM part number listed in your manual, don’t install it. Using non-compliant components voids your warranty and creates a significant fire hazard.
Financial considerations
Cleaning your ice maker yourself is inexpensive, usually costing only the price of a bottle of white vinegar and a new filter. A standard water filter is a cheap part depending on your model, and you should check the Frigidaire store for the current price of your specific filter type.
The cost of neglecting this maintenance is much higher, as a failed ice maker assembly is often less than a new unit to replace, plus the labor fees of a professional technician. If you ignore the filter change, you risk clogging the solenoid valve, which can lead to costly repairs.
The time you spend is your biggest investment. Most homeowners spend about forty-five minutes on the process. If you have an older unit with significant mineral buildup, you might need to repeat the vinegar soak twice, which adds another twenty minutes of waiting time.
Use this decision rule: if your ice cubes taste metallic or appear cloudy, perform the deep clean immediately. If the cubes are clear but the flow is slow, prioritize replacing the filter first. Keeping the unit clean extends its life by several years, making the small time investment worthwhile compared to the cost of a full unit replacement.
Routine care and upkeep
After you finish the cleaning, the best way to keep the machine running well is to use it regularly. Ice makers that sit idle for weeks tend to develop internal clogs because the stagnant water can encourage mineral settling. If you plan to be away from home for more than one week, turn the ice maker off and empty the bin to prevent ice from freezing into a solid block.
Check the ice bin once a month for any signs of frost buildup. If you see frost, it’s a sign that the freezer door isn’t sealing perfectly or you’re opening it too often. Simply remove the frost with a plastic scraper and ensure the door closes firmly. If the unit ever stops producing ice, the first step is to verify that the temperature in the freezer is at or below zero degrees Fahrenheit. If the freezer is too warm, the ice maker may not cycle. Verify the freezer temperature if the unit isn’t producing ice.
When to seek help
If you have performed the manual cleaning steps and the ice maker still fails to produce ice or produces ice with a metallic taste, the issue likely lies within the internal water lines or the solenoid valve. Don’t attempt to take apart the internal motor or the water valve assembly yourself, as these contain springs and seals that are difficult to reassemble.
If you hear loud clicking or grinding noises during the harvest cycle, the gear assembly is likely stripped. This is a mechanical failure that requires a replacement part and specialized tools to install. At this point, you should stop troubleshooting and contact the manufacturer or a local appliance repair service. Forcing a broken gear to cycle can damage the entire ice production unit, leading to a much more expensive repair bill.
Does my ice maker need a special cleaner?
No, you don’t need a special cleaner. A simple mixture of vinegar and water is the standard recommendation for removing mineral deposits in Frigidaire appliances. Always consult your specific model’s manual to ensure no specific chemical warnings exist for your version, but for almost all residential units, vinegar is safe and effective.
How long does it take to reset?
The ice maker will usually start producing new ice within four to six hours after you turn it back on. The exact time depends on your freezer temperature and the ambient room temperature. If it doesn’t start after eight hours, check the power switch and the water supply valve again.
Can I use bleach to kill mold?
No, you should never use bleach. It’s too harsh for the plastic components and can leave toxic residue in your ice. If you have severe mold that doesn’t come off with the vinegar solution, the affected parts should be replaced rather than treated with strong chemicals.
How often should I clean the lines?
You should clean the lines and the mold assembly regularly. If your home has hard water, check the system as part of your usual clean. You can tell it needs cleaning if you see white flakes in the ice or if the ice production speed starts to drop noticeably.
Is it safe to use a screwdriver to remove ice?
No, never use a metal screwdriver or knife to chip away ice. You’ll easily puncture the plastic mold or damage the heating element used for the harvest cycle. Always use warm water or the vinegar solution to melt the ice naturally, which protects the integrity of the machine’s surface.
Why is my ice tasting like my freezer?
Ice absorbs odors from food stored in the freezer. Keep your ice bin covered if possible, and ensure no open food containers are stored nearby. If the taste persists after a deep clean, check your water filter; an old filter often fails to remove odors from the incoming water supply before it freezes.
Start by turning off the power and clearing the bin completely. Once you have cleaned the surfaces with the vinegar solution and ensured everything is dry, turn the power back on and wait for the first two cycles to finish. If the ice looks clear and tastes fresh, your maintenance is complete and the system is ready for normal use.
Related guides
- How To Clean Stainless Steel Cookware For The First Time: Ultimate Guide
- Why Is My Knife Not Sharpening? Top Causes and Solutions
- How To Clean Stainless Steel Cookware With Vinegar: Easy & Effective Tips

Hello, This is Annie Walker, a 38-year-old blogger, founder, and editor of Cookware Guider from NY, USA. I am a cookware fanatic and passionate cooker. I love to cook with different types of cooking appliances (example: all types of cookware, rice cookers, slow cookers, etc) almost every day in my kitchen. I love to share my experience with my readers in my blog. Also, I enjoy helping people to solve their problems through my website. You can follow me on Twitter & Pinterest. To know details about my blog please check the about us page.