
Tempering a cast iron frying pan is a skill that can transform your cooking experience. Many people love cast iron pans because they last for generations, cook food evenly, and improve with use. But when you first buy a cast iron pan, or if you find an old rusty one, it needs a special process before you cook with it. This process is called tempering or seasoning. It makes the pan non-stick, prevents rust, and helps your food taste better. If you want your cast iron pan to serve you well for decades, learning to temper it properly is essential. Let’s go step by step to make your pan ready for years of tasty meals.
What Does Tempering Mean For Cast Iron?
Tempering, or seasoning, means coating your cast iron pan with a thin layer of oil and heating it so the oil bonds to the metal. This creates a protective layer that stops food from sticking and shields the pan from water and air, which cause rust. Many people mix up seasoning with just adding oil, but true seasoning is a chemical reaction called polymerization. The oil changes when heated and sticks to the surface, making it smooth and shiny.
There are a few things beginners often miss:
- Seasoning isn’t permanent—it needs refreshing, especially after acidic foods or scrubbing.
- Using the wrong oil or not heating enough can lead to sticky pans or weak seasoning.
Understanding these points helps avoid common mistakes.
Tools And Materials Needed
Before you start, gather the right tools:
- Cast iron frying pan
- Mild dish soap (for new or rusty pans)
- Non-metal scrub brush or sponge
- Clean, lint-free cloth or paper towels
- High-smoke-point oil (like flaxseed, grapeseed, or canola oil)
- Oven (preheated to 450–500°F/232–260°C)
- Aluminum foil
Not all oils work well. For example, olive oil has a low smoke point and can leave a sticky surface. Flaxseed oil creates a strong, hard seasoning but can flake if used too thickly. Canola and grapeseed are affordable and reliable for most kitchens.
Here’s a quick comparison of popular oils for seasoning:
| Oil Type | Smoke Point | Best For |
|---|---|---|
| Flaxseed | ~450°F (232°C) | Hard, durable seasoning |
| Grapeseed | ~420°F (216°C) | Everyday use, easy to find |
| Canola | ~400°F (204°C) | Budget-friendly, reliable |
| Vegetable | ~400°F (204°C) | General seasoning |
| Olive | ~375°F (191°C) | Not recommended for seasoning |
Preparing Your Cast Iron Pan
If your pan is brand new, you may only need a light wash. If it’s old or rusty, extra steps are required.
- Wash the pan: Use mild dish soap and a scrub brush. Don’t worry—using soap just this once won’t hurt.
- Remove rust: For rusty pans, scrub with a non-metal brush or steel wool. Rinse well and dry completely.
- Dry the pan: Heat it on the stove for a few minutes to remove all moisture. Even a little water left behind can cause rust under the seasoning.
- Check for old seasoning: If the pan is sticky or uneven, strip it off with soap and scrubbing, or use an oven’s self-cleaning cycle for severe buildup.
Many beginners skip the drying step. Even a small amount of moisture can ruin your first seasoning layer.
How To Temper A Cast Iron Frying Pan: Step-by-step
Here’s the full process to temper your pan:
- Preheat your oven to 450–500°F (232–260°C). High heat is necessary for the oil to bond correctly.
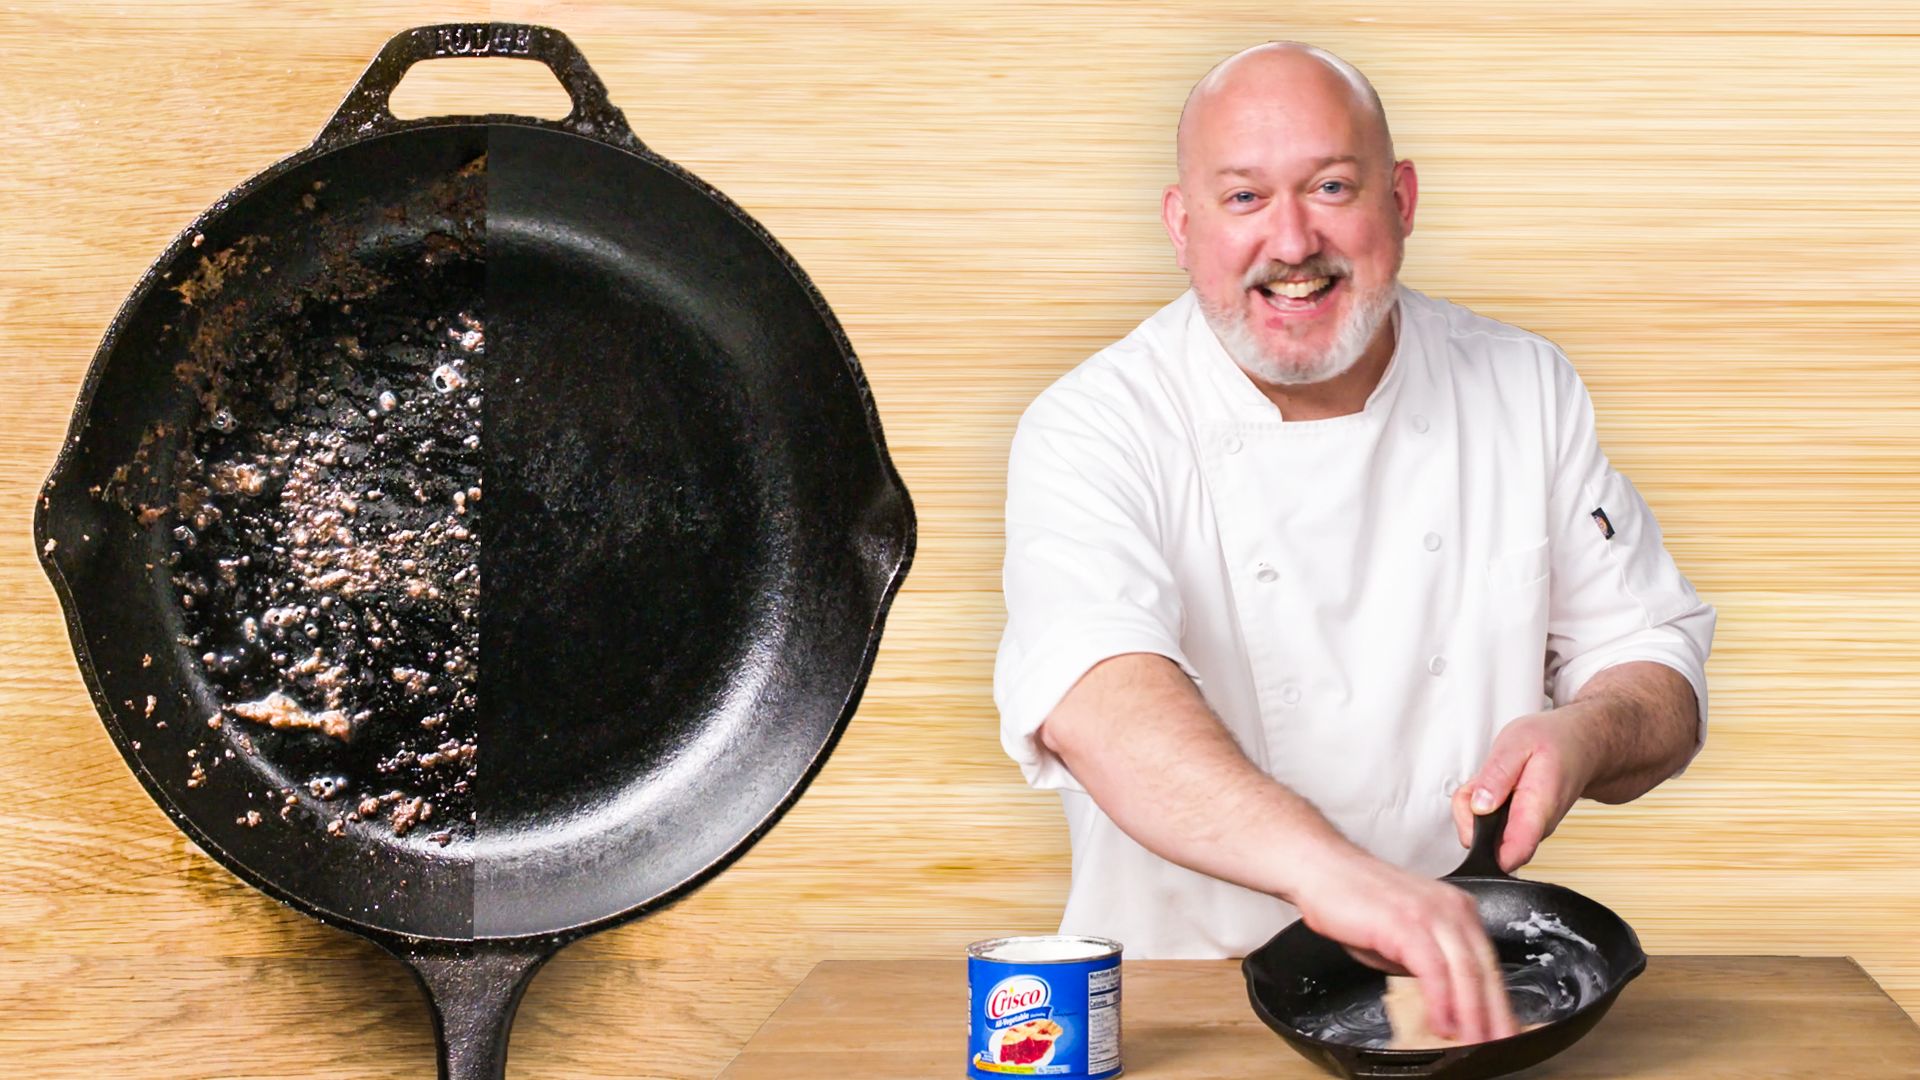
- Apply a thin layer of oil to the entire pan—inside, outside, and handle. Use a small amount; wipe off all excess with a cloth or paper towel. Too much oil leads to a sticky surface.
- Polish the pan until it looks almost dry. The pan should not look wet or greasy.
- Place the pan upside down on the middle oven rack. Put a sheet of aluminum foil on the rack below to catch drips.
- Bake for 1 hour. Don’t open the oven during this time—the high heat is crucial for proper seasoning.
- Turn off the oven and let the pan cool inside. This helps the seasoning layer set.
- Repeat 2–3 times for best results. One layer is good, but several thin layers make the seasoning tougher and more non-stick.
A practical tip: The first time you use the pan after seasoning, cook something fatty, like bacon or fried potatoes. This boosts the non-stick coating.
Here’s a summary of the process:
| Step | Action | Why It Matters |
|---|---|---|
| 1 | Wash and dry pan | Removes factory oils or rust |
| 2 | Apply thin oil layer | Builds protective coating |
| 3 | Bake in hot oven | Bonds oil to metal |
| 4 | Cool in oven | Prevents cracks or weak spots |
| 5 | Repeat as needed | Makes seasoning stronger |

Credit: www.bbcgoodfood.com
Common Mistakes To Avoid
Even experienced cooks sometimes make mistakes when tempering cast iron. Here are the most frequent ones:
- Using too much oil: A thick layer will not bond well and creates a sticky, uneven surface.
- Not cleaning the pan fully: Leftover food or rust weakens the seasoning and can make it flake off.
- Skipping the drying step: Moisture leads to rust under the seasoning.
- Not heating the pan hot enough: The oil must reach its smoke point to form a hard, smooth layer.
- Using low-smoke-point oils: These can turn gummy or burn instead of forming a good seasoning.
A non-obvious insight: Many people give up on a pan after it gets sticky or rusty. Almost any cast iron can be rescued with patience and proper re-seasoning.
Maintaining Your Seasoned Cast Iron Pan
Once your pan is seasoned, care is simple but important.
- Clean gently: After each use, wipe with a paper towel or rinse with hot water. Avoid soap unless absolutely needed.
- Dry immediately: Never let water sit on the pan. Heat on the stove for a minute to ensure all moisture is gone.
- Oil lightly: After drying, wipe a thin layer of oil on the surface. This keeps the seasoning strong.
- Store in a dry place: Humid kitchens can cause rust, even on seasoned pans.
Never soak your pan or put it in the dishwasher. If rust appears, scrub it off and repeat the seasoning process.
Here’s a maintenance comparison:
| Action | Good For Pan? | Notes |
|---|---|---|
| Hand wash, no soap | Yes | Keeps seasoning strong |
| Light soap wash | Sometimes | Okay for deep cleaning or new pans |
| Dishwasher | No | Strips seasoning, causes rust |
| Soaking in water | No | Major rust risk |
| Oiling after use | Yes | Extends seasoning life |
Credit: www.epicurious.com
When To Re-season Your Pan
Even well-cared-for pans sometimes need re-seasoning. Signs include:
- Food starts sticking
- Surface looks dull or gray
- Rust spots appear
- Seasoning flakes or peels
If you see any of these, repeat the tempering process. One advantage of cast iron is its ability to recover from almost any damage. Unlike non-stick pans, you don’t have to throw it away—just season again.
Extra Tips For Successful Seasoning
- Ventilate your kitchen: High-heat seasoning can produce smoke. Open windows or use a fan.
- Don’t rush between layers: Let the pan cool fully before adding more oil and repeating the baking.
- Use the pan often: Regular cooking with a little oil improves seasoning naturally.
- Avoid acidic foods (like tomato sauce) in the first few uses. Acid can strip new seasoning.
One often-missed tip: If you want the darkest, shiniest finish, use very thin layers of oil and repeat the process four or five times. The patience pays off with a nearly non-stick surface that lasts.
How Tempering Affects Cooking Results
A well-tempered cast iron pan can outperform many modern non-stick pans. Here’s what you’ll notice:
- Even heating: Cast iron holds heat better, so food cooks more evenly.
- Naturally non-stick: Proper seasoning makes eggs and pancakes slide right off.
- Better flavor: Some chefs believe a seasoned pan adds a unique depth to food.
However, new seasoning is not as slippery as an old, well-used pan. Don’t be discouraged if the first few uses are not perfect. With time and regular use, the pan will improve.
According to a study on cookware surfaces, properly seasoned cast iron can reach a water contact angle above 90°, meaning liquids bead up and food is less likely to stick. This rivals many synthetic non-stick coatings without any chemicals.
For more details on the science behind seasoning, see this Wikipedia article on seasoning cookware.
Frequently Asked Questions
How Often Should I Season My Cast Iron Pan?
For most home cooks, seasoning every few months is enough if you cook regularly and maintain the pan. If you notice food sticking or see rust, season it again.
Can I Use My Cast Iron Pan On An Induction Or Glass Stove?
Yes! Cast iron works on all stove types, including induction and glass. Just be gentle on glass tops—cast iron is heavy and can scratch if dragged.
Why Does My Pan Get Sticky After Seasoning?
Sticky pans usually mean too much oil was used or the oven was not hot enough. Remove sticky residue with a scrub pad and hot water, then re-season with a thinner oil layer.
Is It Safe To Use Soap On My Cast Iron?
A little soap is safe, especially for new pans or after cooking strong-smelling foods. Just rinse well, dry immediately, and apply oil. Avoid regular soap use to keep the seasoning strong.
What Should I Do If My Pan Gets Rusty?
Don’t worry! Scrub off the rust with steel wool, rinse, dry completely, and repeat the seasoning process. Most pans can be saved, even from heavy rust.
With patience and proper care, your cast iron frying pan can become your favorite tool in the kitchen. Tempering is a simple process, but it makes a world of difference. Once you master it, you’ll enjoy easy cleanup, better-tasting food, and a pan that can last a lifetime.
:max_bytes(150000):strip_icc()/GettyImages-614986450-2000-f7ac499e535845c2903ff48843e0b142.jpg)
Credit: www.southernliving.com

Hello, This is Annie Walker, a 38-year-old blogger, founder, and editor of Cookware Guider from NY, USA. I am a cookware fanatic and passionate cooker. I love to cook with different types of cooking appliances (example: all types of cookware, rice cookers, slow cookers, etc) almost every day in my kitchen. I love to share my experience with my readers in my blog. Also, I enjoy helping people to solve their problems through my website. You can follow me on Twitter & Pinterest. To know details about my blog please check the about us page.