
Cooking pork chops can feel intimidating for many home cooks. Overcooking turns them dry and tough, while undercooking isn’t safe. But pan frying offers a solution that’s both quick and delicious. Whether you want a simple weeknight dinner or a special meal, mastering the pan fry method for pork chops is a valuable skill. In this guide, you’ll learn everything you need—ingredients, techniques, common mistakes, and even how to fix errors. Along the way, you’ll discover practical tips that even many experienced cooks miss.
Why Pan Fry Pork Chops?
Pan frying is one of the best ways to prepare pork chops for several reasons. First, it creates a flavorful crust while keeping the meat juicy inside. Unlike baking or grilling, pan frying allows you to control the heat directly and adjust as you go. It’s also a fast method—most pork chops cook in under 20 minutes.
Many restaurants use this technique because it enhances the natural flavor of pork. The Maillard reaction (a chemical change when meat browns) adds a rich, savory taste you can’t get with other methods. Pan frying works well for both bone-in and boneless chops, and it requires very little equipment.
Choosing The Right Pork Chops
Not all pork chops are created equal. The cut, thickness, and fat content all affect the final result. Here’s what to look for when shopping:
Types Of Pork Chops
| Type | Description | Best For |
|---|---|---|
| Rib Chop | Bone-in, tender, some fat along the edge | Juicy, flavorful pan frying |
| Loin Chop | May be bone-in or boneless, leaner | Quick, lean meals |
| Shoulder Chop | More fat, some gristle, usually bone-in | Longer cooking, more flavor |
| Sirloin Chop | Bone-in, less tender | Braising or slow cooking |
For pan frying, rib chops and loin chops are best. Bone-in chops stay juicier, but boneless chops cook faster.
Thickness Matters
The ideal thickness for pan frying is ¾ inch to 1 inch. Thicker chops (over 1¼ inches) are harder to cook evenly, while thin chops (under ½ inch) dry out quickly. If your pork chops are too thick, slice them horizontally for even cooking.
What To Avoid
- Chops with little or no fat: Fat adds flavor and keeps the meat moist.
- Chops with uneven thickness: They cook unevenly.
- Pre-seasoned or brined chops: You lose control over salt and flavor.
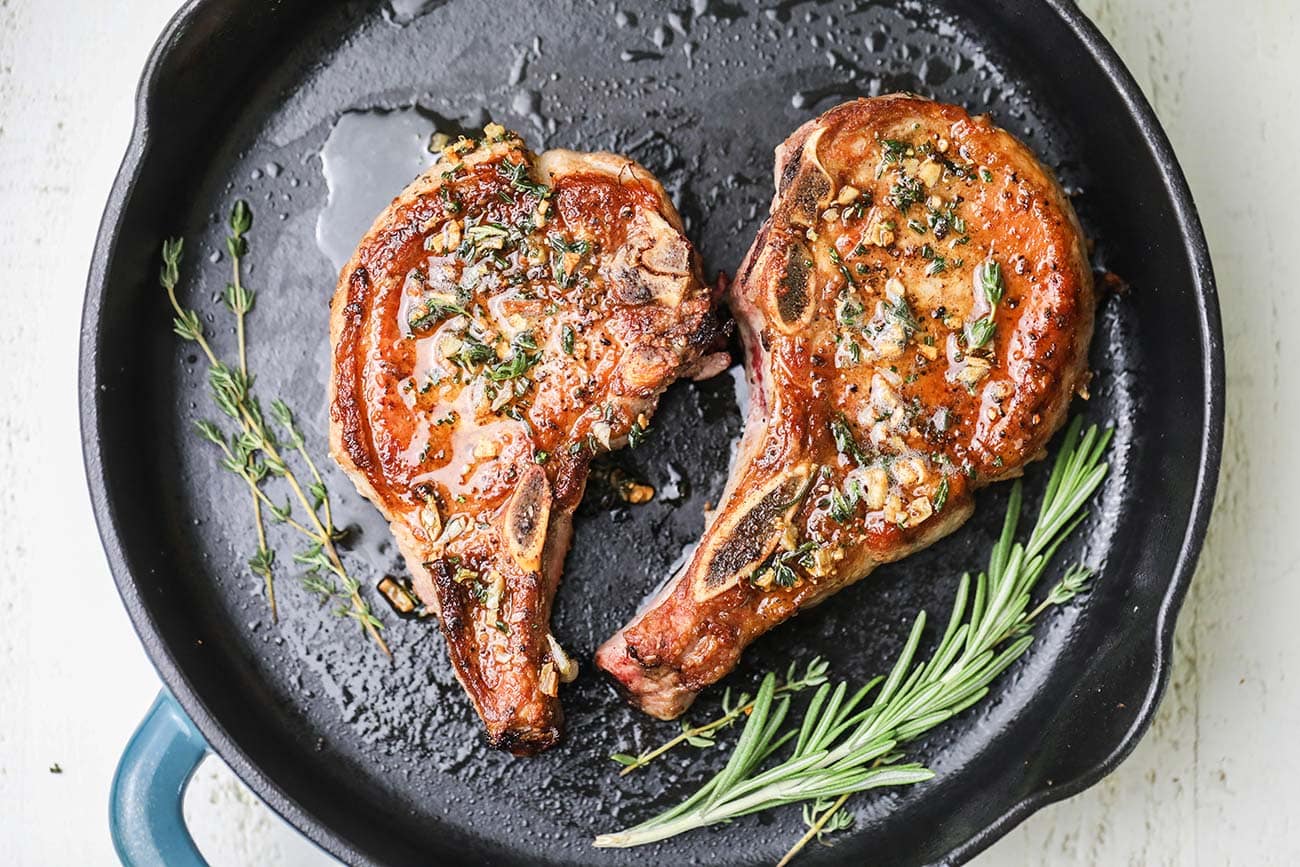
Credit: sunkissedkitchen.com
Ingredients And Prep
Proper preparation makes a big difference. Here’s what you’ll need for classic pan fried pork chops:
Ingredients
- 2 to 4 pork chops (¾ to 1 inch thick)
- 1½ teaspoons kosher salt
- ½ teaspoon black pepper
- 1 teaspoon garlic powder (optional)
- ½ teaspoon paprika (optional)
- 2 tablespoons vegetable oil or canola oil
- 2 tablespoons unsalted butter
- 2 to 3 garlic cloves, crushed (optional)
- 2 sprigs fresh thyme or rosemary (optional)
These quantities work for 2 to 4 chops. Adjust based on your needs.
Prepping The Pork Chops
- Pat dry: Use paper towels to dry the surface. This step helps the crust form.
- Trim excess fat: Leave a thin strip of fat for flavor, but remove large chunks.
- Season well: Sprinkle salt, pepper, and other spices on both sides. Let the chops sit for 15–30 minutes at room temperature. This helps the seasoning penetrate and ensures even cooking.
Pro tip: Don’t skip drying the pork. Moisture on the surface turns to steam and prevents browning.
Choosing The Right Pan
The pan you use affects the result. For best results, choose a heavy-bottomed skillet. Cast iron is the gold standard for pan frying because it holds heat evenly and helps create a great crust. Stainless steel also works well.
Nonstick pans are easier to clean but don’t brown as well. If using nonstick, preheat gently to avoid damaging the coating.
Pan size matters: The chops should fit in a single layer with a little space between them. Crowding lowers the temperature, leading to steaming, not frying.
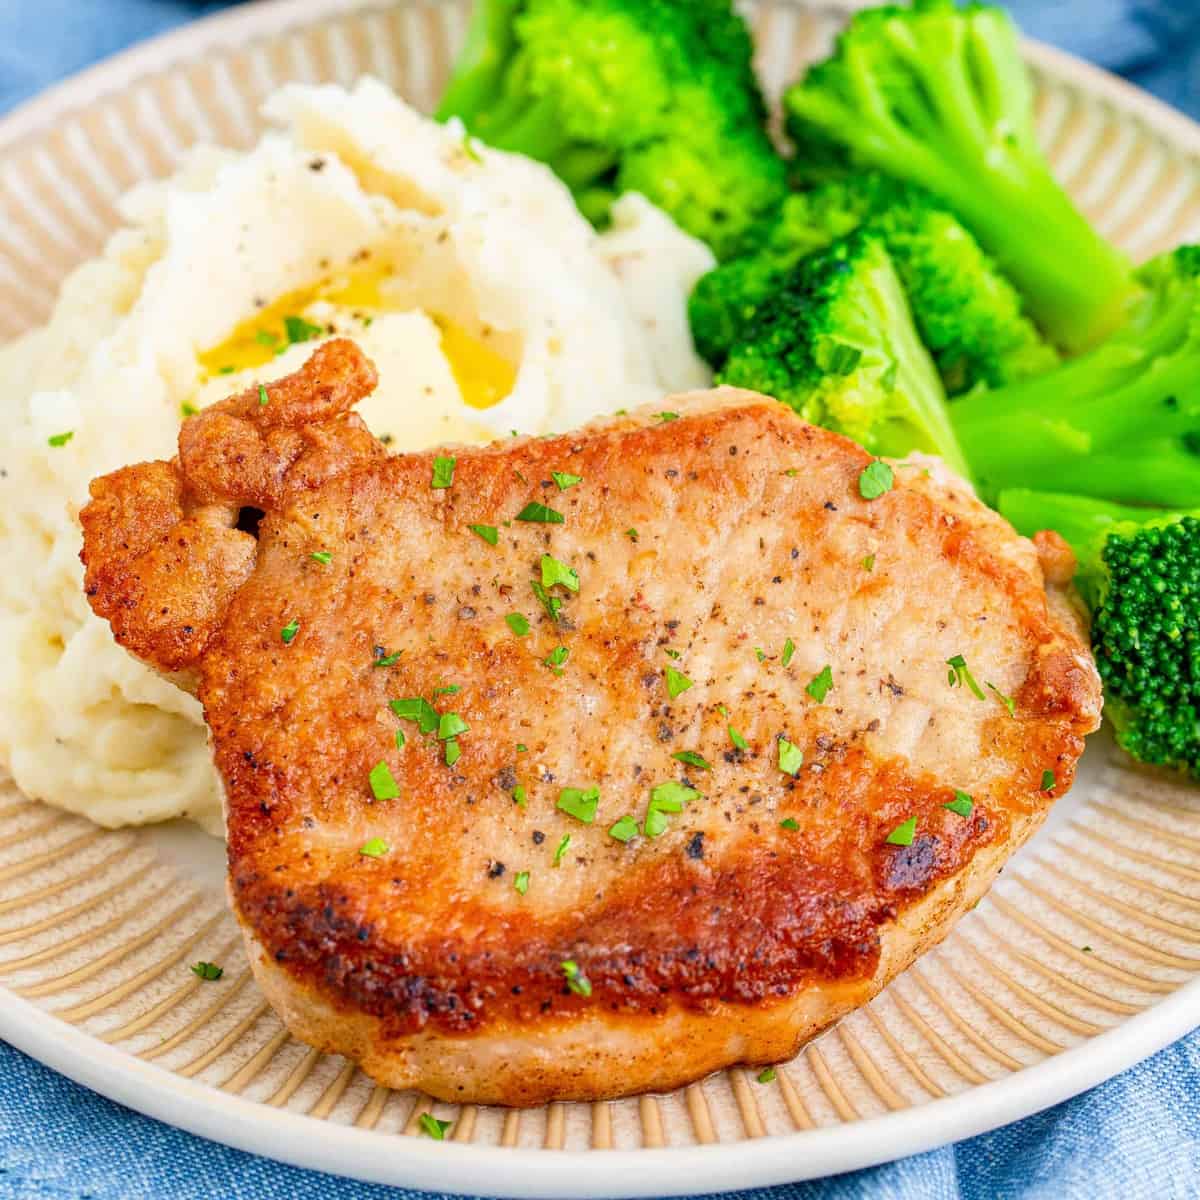
Credit: www.thecountrycook.net
The Pan Frying Process
Now let’s walk through the full process, step by step.
Step 1: Preheat The Pan
Place your skillet over medium-high heat. Let it heat for at least 2–3 minutes. You want the pan hot enough that water droplets sizzle on contact.
Why this matters: A hot pan starts the browning process instantly. Starting with a cold pan causes sticking and uneven cooking.
Step 2: Add Oil
Pour in the vegetable oil. Swirl to coat the bottom. Wait until the oil shimmers—this means it’s hot enough.
Step 3: Add Pork Chops
Carefully lay the pork chops in the pan, placing them away from you to avoid splatters. Don’t crowd the pan; work in batches if needed.
Listen: The chops should sizzle right away. If not, remove and let the pan heat more.
Step 4: Sear The First Side
Let the pork chops cook without moving them for 3–5 minutes. The goal is a deep golden-brown crust. Don’t press down—this squeezes out juices.
Check the crust: After 3 minutes, lift one edge with tongs. If it’s still pale, give it more time.
Step 5: Flip And Add Butter
Turn the chops. Add butter, crushed garlic, and herbs (if using) to the pan. Tilt the pan and use a spoon to baste the chops with melted butter for extra flavor.
Step 6: Finish Cooking
Cook the second side for 2–4 minutes. If your chops are thick, you may need to lower the heat to medium. Continue basting.
For thick chops, you may need to finish them by standing them on the fat edge for a minute or two to render the fat.
Step 7: Check Doneness
Use an instant-read thermometer to check the temperature. Insert into the thickest part (not touching bone). The USDA recommends a safe minimum of 145°F (63°C). Remove at 140°F and rest—the temperature will rise slightly as they sit.
If you don’t have a thermometer, cut into the center—the juices should run clear, and the meat should be pale pink.
Step 8: Rest The Pork
Transfer the chops to a plate. Let them rest for at least 5 minutes. This helps the juices redistribute, making the meat tender and juicy.
Avoid this mistake: Cutting right away causes juices to spill out, leaving the pork dry.
How To Get The Perfect Crust
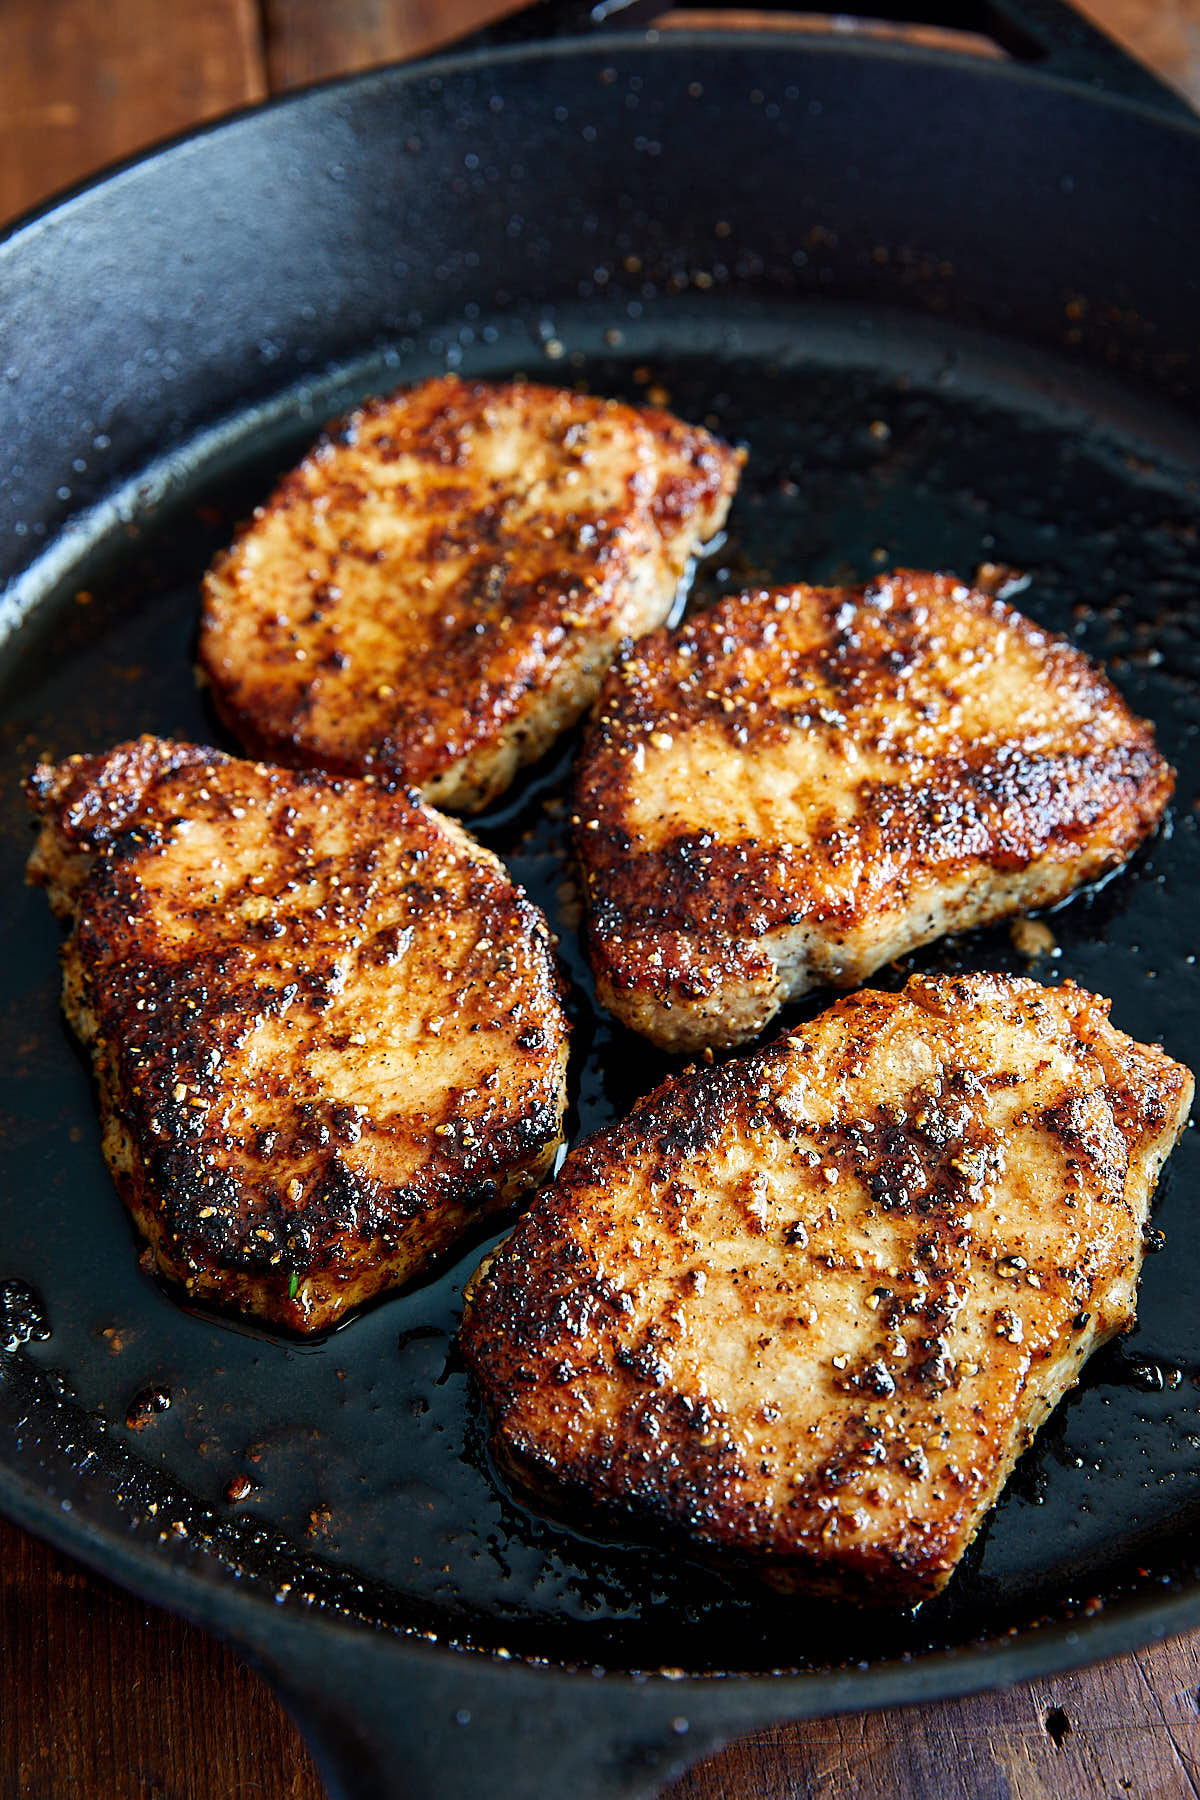
A crisp, golden crust is the mark of a well-fried pork chop. Here’s how to achieve it:
- Dry thoroughly: Moisture is the enemy of browning.
- Don’t move the chops: Let them sear undisturbed.
- Use enough heat: Medium-high is key. Too low, and the meat steams.
- Avoid overcrowding: Give each chop space.
Credit: cravingtasty.com
Common Mistakes (and How To Fix Them)
Even experienced cooks make errors with pork chops. Here’s what to watch for:
- Dry, tough pork: Usually from overcooking. Use a thermometer and rest the meat.
- No crust: The pan wasn’t hot enough or the meat was wet.
- Sticking to the pan: If the meat resists when you try to flip, wait another minute. The crust will release naturally.
- Uneven cooking: Caused by uneven thickness. Pound thicker chops to an even width before cooking.
- Undercooked near the bone: Bone-in chops sometimes need a minute or two more. Stand them on the fat edge or cover loosely for the last minute.
Flavor Variations
Pan fried pork chops are a blank canvas. Try these easy flavor upgrades:
- Spice rubs: Add smoked paprika, cumin, or chili powder to your seasoning.
- Breaded pork chops: Dredge in flour, dip in beaten egg, and coat with breadcrumbs before frying for a crispy crust.
- Sauces: Deglaze the pan with a splash of white wine or chicken broth. Stir in Dijon mustard, cream, or fresh herbs for a quick pan sauce.
- Asian twist: Marinate in soy sauce, ginger, and garlic for 30 minutes before cooking.
Insight: Resting the pork in a seasoned marinade (even for 20 minutes) can improve both tenderness and flavor—just pat dry before frying.
Serving Suggestions
Pork chops pair well with many sides. Here are a few classic and modern options:
- Mashed potatoes: Creamy potatoes balance the richness of the pork.
- Roasted vegetables: Carrots, Brussels sprouts, or green beans add color and nutrients.
- Apple slaw: The sweetness of apple and crunch of cabbage complement the savory chop.
- Gravy or pan sauce: Use pan drippings to make a quick sauce.
Try slicing leftover pork chops thin for sandwiches or salads.
Pan Frying Vs. Other Methods
How does pan frying compare to grilling, baking, or air frying? Here’s a quick look:
| Method | Pros | Cons |
|---|---|---|
| Pan Frying | Quick, flavorful crust, easy to monitor | Can get smoky, needs attention |
| Grilling | Charred flavor, good for outdoor cooking | Less control over heat, possible dry spots |
| Baking | Even cooking, hands-off | No crust, can dry out easily |
| Air Frying | Less oil, crispy outside | Limited space, crust not as rich |
Nutrition And Health Tips
Pork is a good source of protein, B vitamins, and minerals like selenium and zinc. The main health concern is fat content, especially in fattier cuts.
Healthier Pan Frying
- Use less oil or substitute with a high-oleic sunflower oil for lower saturated fat.
- Trim visible fat but leave a thin layer for flavor.
- Serve with vegetables and whole grains for a balanced meal.
Portion Control
A standard pork chop (about 4–6 ounces cooked) is a healthy serving. Larger portions add calories quickly.
How To Store And Reheat Leftover Pork Chops
Cooked pork chops can be stored safely and enjoyed later.
Storage
- Refrigerate: Store in an airtight container within 2 hours of cooking. Use within 3–4 days.
- Freeze: Wrap tightly and freeze for up to 2 months. Thaw overnight in the refrigerator.
Reheating
Pork dries out easily when reheated. For best results:
- Place pork chops in a skillet with a splash of broth or water.
- Cover and heat over low until just warmed through.
- Avoid microwaving—this can make the meat tough.
Extra tip: Slicing the pork before reheating helps it warm evenly and stay juicy.
Advanced Tips For Even Better Pork Chops
Ready to take your pork chops to the next level? Try these advanced methods:
- Brining: Soak pork chops in a saltwater solution (1/4 cup salt per quart water) for 30 minutes to 2 hours. This boosts juiciness and flavor.
- Sous vide finish: Cook chops in a sous vide bath at 140°F for 1 hour, then sear quickly in a hot pan for a perfect crust.
- Compound butter: Mix softened butter with herbs or spices. Place a pat on each chop to melt as they rest.
- Meat mallet: Gently pound thicker parts for even cooking and tenderness.
Non-obvious insight: Let your pork chops reach room temperature before pan frying. This small step helps them cook more evenly from edge to center.
Quick Reference: Pork Chop Pan Frying Cheat Sheet
Here’s a summary for when you’re in a hurry:
| Step | Details |
|---|---|
| 1. Dry & Season | Pat dry, season with salt and spices, let rest 15–30 min |
| 2. Preheat Pan | Medium-high, add oil |
| 3. Sear First Side | 3–5 min, don’t move the meat |
| 4. Flip & Butter | Add butter, garlic, herbs, baste |
| 5. Finish & Rest | 2–4 min, check temp (145°F), rest 5 min |
Frequently Asked Questions
What Oil Is Best For Pan Frying Pork Chops?
Use a neutral oil with a high smoke point like vegetable, canola, or sunflower oil. Olive oil can burn at high temperatures, so it’s less ideal for searing. Add butter for flavor after flipping the chops.
How Do I Know When Pork Chops Are Done Without A Thermometer?
Look for clear juices and a pale, slightly pink interior. The meat should feel firm but not hard. Still, a thermometer is the best way to ensure safety and juiciness.
Can I Pan Fry Frozen Pork Chops?
It’s not recommended. Frozen pork chops cook unevenly and can become tough outside before the center is done. Thaw in the refrigerator overnight for best results.
How Do I Prevent Pork Chops From Sticking To The Pan?
Dry the chops well and heat the pan until very hot before adding meat. Don’t move them until a crust forms—they’ll release more easily when ready to flip.
Are Pan Fried Pork Chops Healthy?
Pan fried pork chops can be part of a healthy diet when cooked with minimal oil and served with vegetables. Choose leaner cuts and control portion sizes. For more on pork nutrition, visit the National Pork Board.
Cooking pork chops doesn’t have to be complicated or stressful. With the right cut, good technique, and a little practice, you can make juicy, flavorful pork chops in your own kitchen. Pan frying brings out the best in pork, offering a quick and satisfying meal for any night of the week.

Hello, This is Annie Walker, a 38-year-old blogger, founder, and editor of Cookware Guider from NY, USA. I am a cookware fanatic and passionate cooker. I love to cook with different types of cooking appliances (example: all types of cookware, rice cookers, slow cookers, etc) almost every day in my kitchen. I love to share my experience with my readers in my blog. Also, I enjoy helping people to solve their problems through my website. You can follow me on Twitter & Pinterest. To know details about my blog please check the about us page.