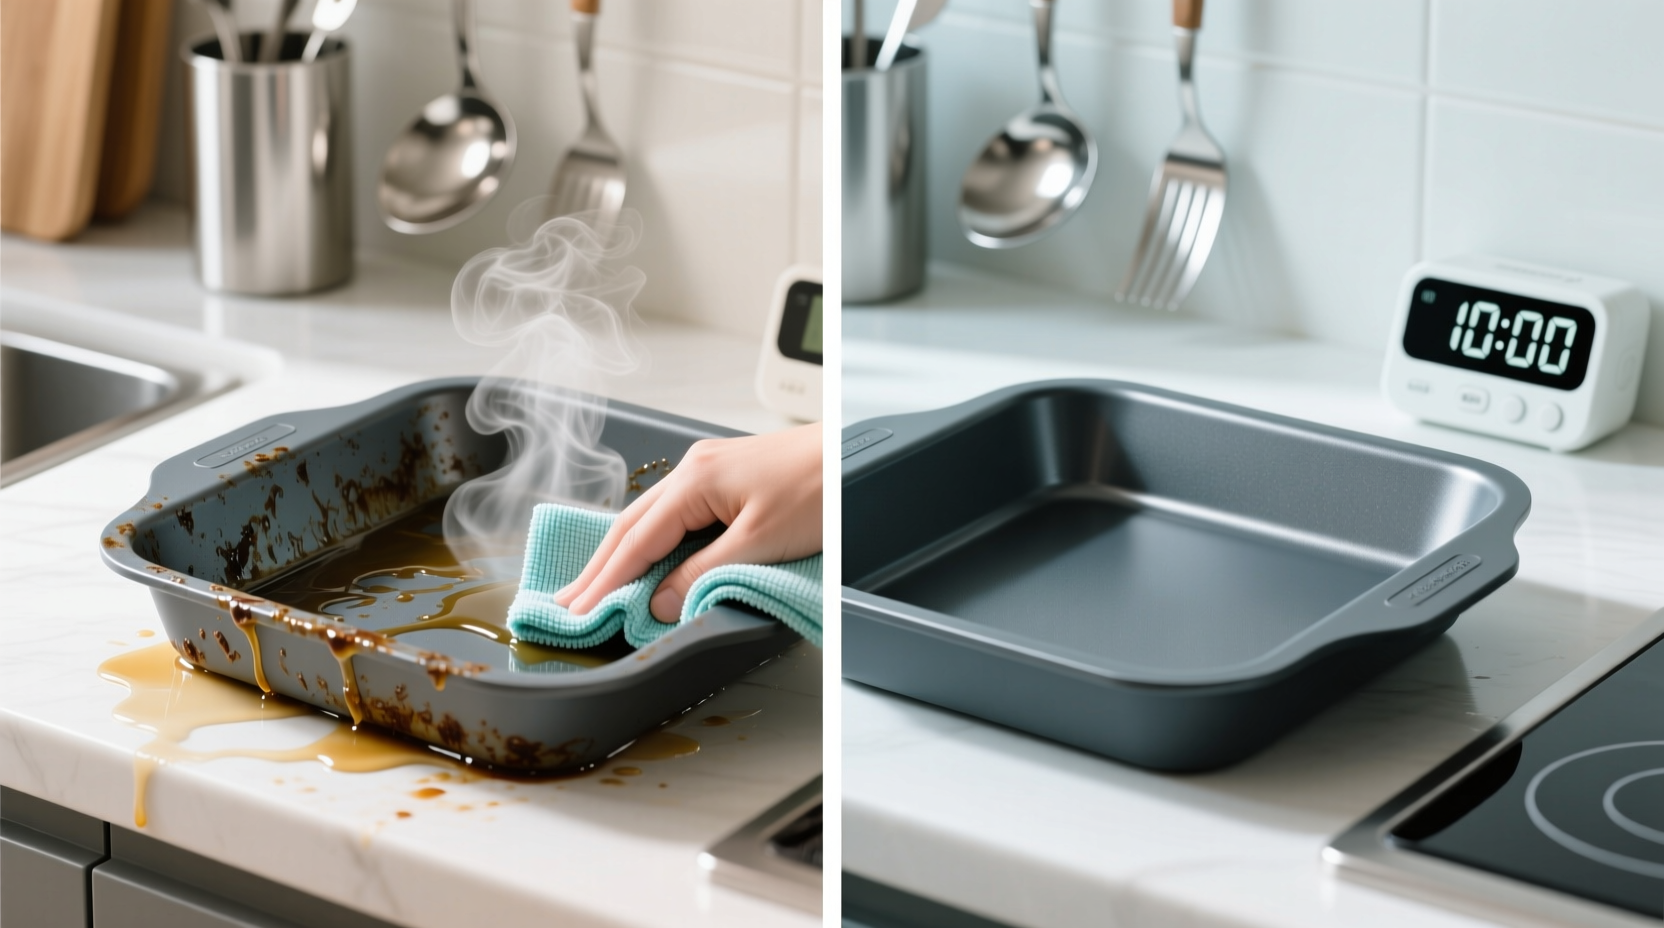
Cleaning greasy silicone bakeware can feel frustrating, especially when sticky residue refuses to go away. Silicone pans, mats, and molds are loved for their non-stick properties and flexibility, but they often attract and hold onto grease in a way that regular scrubbing can’t fix.
If you’ve ever baked brownies in a silicone pan and found it still oily after washing, you’re not alone. This guide will show you step-by-step methods to get your silicone bakeware truly clean, restore its non-stick surface, and keep it looking new—without damaging the material.
Why Silicone Bakeware Gets Greasy
Silicone is naturally non-porous, but in practice, oils can cling to the surface and build up with repeated baking. High-fat foods, butter, and cooking sprays tend to leave a thin film that’s hard to see but easy to feel. Over time, this residue can affect the non-stick ability and even give off unwanted odors.
Most dish soaps aren’t designed to break down baked-on grease, and the flexibility of silicone means residue hides in corners and creases. That’s why silicone needs a little extra attention compared to metal or glass pans.
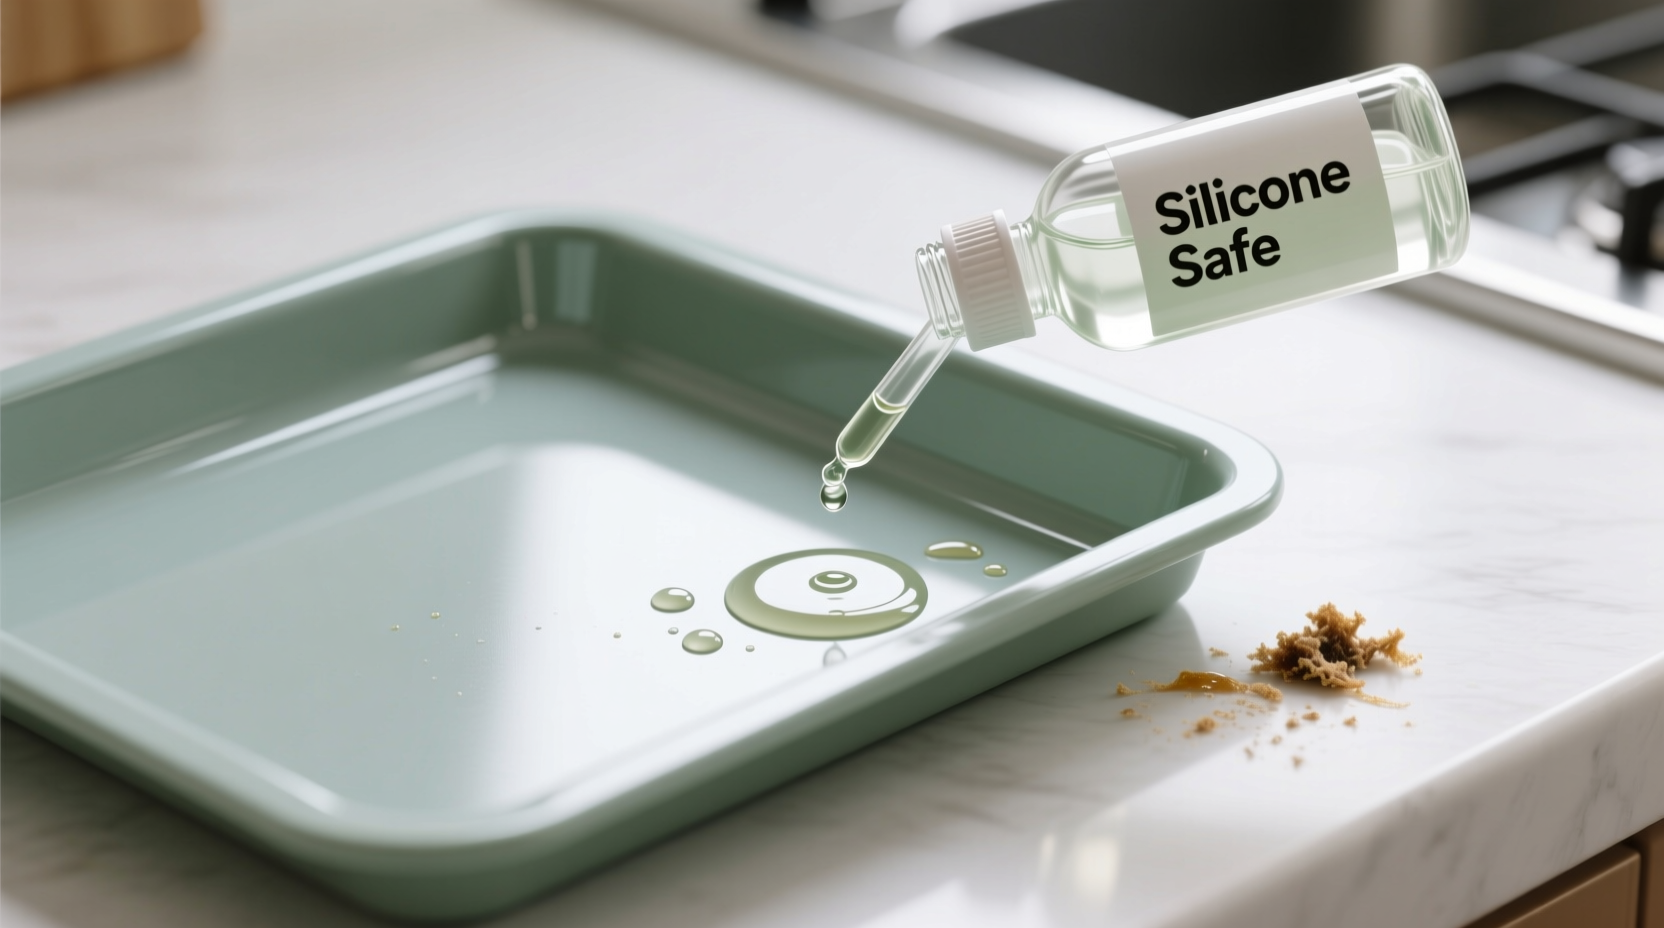
Essential Tools And Cleaners
Before you start, make sure you have these items ready:
- Mild dish soap (degreasing formula works best)
- Baking soda
- White vinegar (optional for deep cleaning)
- Soft sponge or cloth
- Soft-bristled brush (like a toothbrush)
- Paper towels or lint-free cloths
- Dishwasher (if your silicone is dishwasher-safe)
Avoid using anything sharp or abrasive, like steel wool, as it can damage or tear silicone.
Credit: lifetips.alibaba.com
Step-by-step: Basic Cleaning After Every Use
Regular cleaning prevents grease from building up. Here’s how to do it right after baking:
- Cool and Rinse: Let the bakeware cool slightly, then rinse with warm water to remove crumbs and loose residue.
- Soapy Wash: Apply a few drops of degreasing dish soap to a soft sponge. Scrub all surfaces, especially corners.
- Pay Attention to Creases: Use a soft brush for detailed areas, like grooves in muffin pans.
- Rinse Thoroughly: Silicone can hold onto soap, so rinse under running water until it squeaks.
- Dry Completely: Wipe with a lint-free cloth or air dry. Grease can hide in water spots, so make sure it’s fully dry before storing.
Pro tip: If your silicone still feels greasy after this, don’t worry—move on to the deeper cleaning methods below.
Deep Cleaning: Removing Stubborn Grease
Sometimes, regular soap isn’t enough. Here’s how to tackle tough, sticky residue:
Baking Soda Scrub
Baking soda acts as a gentle abrasive and cuts through grease without scratching.
- Sprinkle Baking Soda: Cover greasy areas with a thin layer of baking soda.
- Add Water: Dampen with a little water to make a paste.
- Scrub: Use a soft brush or sponge to work the paste into the silicone.
- Let Sit: Leave the paste for 15–30 minutes.
- Rinse Well: Wash away the baking soda with warm water and dish soap.
- Check for Residue: If it still feels greasy, repeat the process.
Vinegar Soak
For severe buildup or odors, try a vinegar soak.
- Mix Solution: Combine equal parts white vinegar and hot water in a large bowl or sink.
- Soak Bakeware: Submerge the silicone for 30–60 minutes.
- Scrub: After soaking, scrub with baking soda paste as above.
- Rinse and Dry: Rinse thoroughly and dry before using again.
Non-obvious insight: Some stains and odors are caused by leftover sugar or fat caramelizing at high heat. Vinegar helps break these down better than soap alone.
Silicone Bakeware Cleaning Methods Compared
See how different cleaning methods stack up for removing grease:
| Method | Effectiveness | Best For | Potential Issues |
|---|---|---|---|
| Dish Soap & Sponge | Basic | Light grease, daily cleaning | May leave residue |
| Baking Soda Scrub | High | Stubborn, sticky grease | Needs thorough rinsing |
| Vinegar Soak | Very High | Odors, severe buildup | Strong smell, needs airing |
| Dishwasher | Moderate | Most silicone items | Doesn’t always remove grease |
How To Clean Silicone Bakeware In The Dishwasher
Most silicone bakeware is dishwasher-safe, but there are a few things to keep in mind:
- Place silicone on the top rack.
- Use a hot water cycle with a strong detergent.
- Avoid loading with heavily greased items that might transfer oil.
- For extra dirty pieces, scrub with baking soda first before running through the dishwasher.
Non-obvious insight: Silicone can trap food odors if placed near strong-smelling items like onion choppers in the dishwasher. Wash separately for best results.
Credit: lifetips.alibaba.com
What To Do When Grease Won’t Come Off
If you’ve tried everything and your bakeware is still sticky, don’t panic. There are a few advanced tricks:
Boiling Water Method
- Fill a large pot with water.
- Bring to a boil, then submerge the silicone for a few minutes.
- Remove carefully (use tongs) and scrub with baking soda after cooling slightly.
Oven Heat Treatment
This can help “bake out” stubborn grease.
- Preheat your oven to 350°F (175°C).
- Place clean, dry silicone on a baking sheet.
- Heat for 10 minutes.
- Let cool, then wash as usual.
This method can restore the non-stick surface, but don’t use it on silicone with metal or plastic inserts.
Common Mistakes When Cleaning Silicone Bakeware
Many home bakers accidentally make cleaning harder by:
- Using cold water: Hot water breaks down grease faster.
- Skipping the rinse: Soap or cleaner left behind can attract more grease.
- Using harsh scrubbers: Steel wool or scouring pads can damage silicone, creating tiny tears for grease to hide.
- Not drying completely: Damp silicone can develop musty odors over time.
If you notice a white, chalky film after washing, this is often mineral buildup from hard water. A quick vinegar soak usually removes it.

Credit: www.reddit.com
Preventing Grease Build-up
Keeping your silicone bakeware clean is easier if you take a few preventive steps:
- Avoid cooking sprays: These can leave a hard-to-remove film. Use a light brush of oil or butter instead.
- Wipe after each use: Even if you use the dishwasher, wipe down with a paper towel before washing.
- Rotate pans: Don’t always use the same side for baking. This helps reduce uneven wear and grease buildup.
- Store dry and flat: Storing damp or stacked bakeware can trap moisture and grease.
How Often Should You Deep Clean?
A quick wash after every use is usually enough. For heavy bakers, a deep clean (baking soda scrub or vinegar soak) once a month keeps your pans in top shape. If you notice odors or stickiness, deep clean sooner.
When To Replace Silicone Bakeware
Silicone bakeware lasts for years if cared for properly, but it’s not indestructible. Replace your pans if you see:
- Cracks or tears: These can harbor bacteria and leak batter.
- Permanent stains: Some discoloration is normal, but sticky or burned spots that won’t clean may affect food taste.
- Loss of flexibility: Old silicone can become stiff or brittle.
Real-world Example: Restoring An Old Silicone Muffin Pan
Imagine you find an old silicone muffin pan in your cupboard. It’s sticky and smells faintly of last year’s garlic bread. Here’s how you might restore it:
- Rinse with hot water and scrub with dish soap.
- Sprinkle baking soda inside each cup, add a drop of water, and let sit for 30 minutes.
- Scrub with a toothbrush, rinse, and check for stickiness.
- If still greasy, soak in a vinegar-water bath for an hour.
- Rinse, dry, and bake in the oven at 350°F for 10 minutes.
- Wash once more with soap and let air dry.
Most pans will come out clean, odor-free, and ready for baking again.
Comparing Silicone With Other Bakeware Materials
How does cleaning silicone compare to popular materials like metal or glass?
| Bakeware Type | Cleaning Ease | Grease Retention | Durability |
|---|---|---|---|
| Silicone | Moderate | High (if not cleaned well) | Flexible, long-lasting |
| Non-stick Metal | Easy | Low | Prone to scratches |
| Glass | Easy | Low | Brittle, heavy |
| Ceramic | Moderate | Medium | Can chip easily |
Key Takeaways For Spotless Silicone Bakeware
- Use degreasing dish soap and a soft brush for everyday cleaning.
- Tackle stubborn grease with a baking soda scrub or vinegar soak.
- Deep clean monthly or when you notice stickiness or odors.
- Avoid harsh cleaners and always dry completely.
- Replace bakeware if you see cracks, tears, or permanent stains.
With these habits, your silicone bakeware will last for many years and keep every batch of brownies, muffins, or cookies tasting just as they should.
For more science on silicone kitchen tools, you can visit the Wikipedia Silicone Cookware article.
Frequently Asked Questions
Why Does My Silicone Bakeware Stay Sticky After Washing?
Sticky residue often comes from oil or butter that regular soap can’t remove. Try a baking soda scrub or vinegar soak to cut through the grease.
Can I Use Bleach Or Strong Chemicals On Silicone?
No. Bleach and harsh chemicals can damage silicone and shorten its life. Stick to dish soap, baking soda, and vinegar.
Is Silicone Bakeware Safe In The Dishwasher?
Yes, most silicone is dishwasher-safe. Place it on the top rack and rinse before washing for best results.
Will Using Cooking Spray Ruin My Silicone Bakeware?
Cooking sprays can leave a stubborn film on silicone. Instead, use a small amount of oil or butter, or skip extra greasing if your bakeware is truly non-stick.
How Do I Remove Odors From Silicone Pans?
Soak in a solution of equal parts vinegar and water for one hour, then wash as usual. Air dry completely before storing to prevent musty smells.
By following these steps and tips, you’ll find cleaning greasy silicone bakeware is easier than you thought—and your pans will stay in perfect shape for every baking adventure.

Hello, This is Annie Walker, a 38-year-old blogger, founder, and editor of Cookware Guider from NY, USA. I am a cookware fanatic and passionate cooker. I love to cook with different types of cooking appliances (example: all types of cookware, rice cookers, slow cookers, etc) almost every day in my kitchen. I love to share my experience with my readers in my blog. Also, I enjoy helping people to solve their problems through my website. You can follow me on Twitter & Pinterest. To know details about my blog please check the about us page.