
You make royal icing by whisking one pound of powdered sugar with three tablespoons of meringue powder and six tablespoons of warm water until the mixture reaches a stiff, glossy peak. This process creates a durable, hardening frosting that’s ideal for decorating cookies or intricate piping work.
Your results depend on the humidity in your kitchen, the speed of your mixer, and the specific brand of meringue powder you use. Adjusting the water volume slightly is common when you need a thinner consistency for flooding or a thicker one for detailing.
Ideal Users for Royal Icing
This recipe serves home bakers who want a professional finish on sugar cookies or gingerbread houses. If you’re a beginner looking for a soft frosting that stays creamy, this isn’t the right choice for you; royal icing dries rock-hard, which is great for durability but not for texture.
You should choose this method if you plan to stack your cookies or ship them as gifts. The structural integrity of the icing allows it to withstand handling once it has fully cured. However, if your goal is a quick topping for cupcakes that remains soft to the bite, you’ll be better served by a traditional buttercream or a glaze.
This guide assumes you’re using a standard electric stand mixer. If you’re mixing by hand, you’ll need to increase your preparation time by about ten minutes to ensure the sugar is fully dissolved and the air is properly incorporated. Bakers working in very humid climates may find that the icing takes longer to set, requiring a fan or a dehumidifier to ensure a smooth, hard finish.
Factors Influencing Success
The quality of your meringue powder is the first factor. Always check the label on your container, as some brands require different water ratios; if the package suggests a specific measurement for a medium-stiff consistency, prioritize those instructions over general recipes.
Mixing speed is the second factor. Start on low speed to incorporate the sugar, then move to medium-high for five to seven minutes. If you whip the mixture too fast for too long, you’ll trap too many air bubbles, which leads to a pitted surface on your finished cookies.
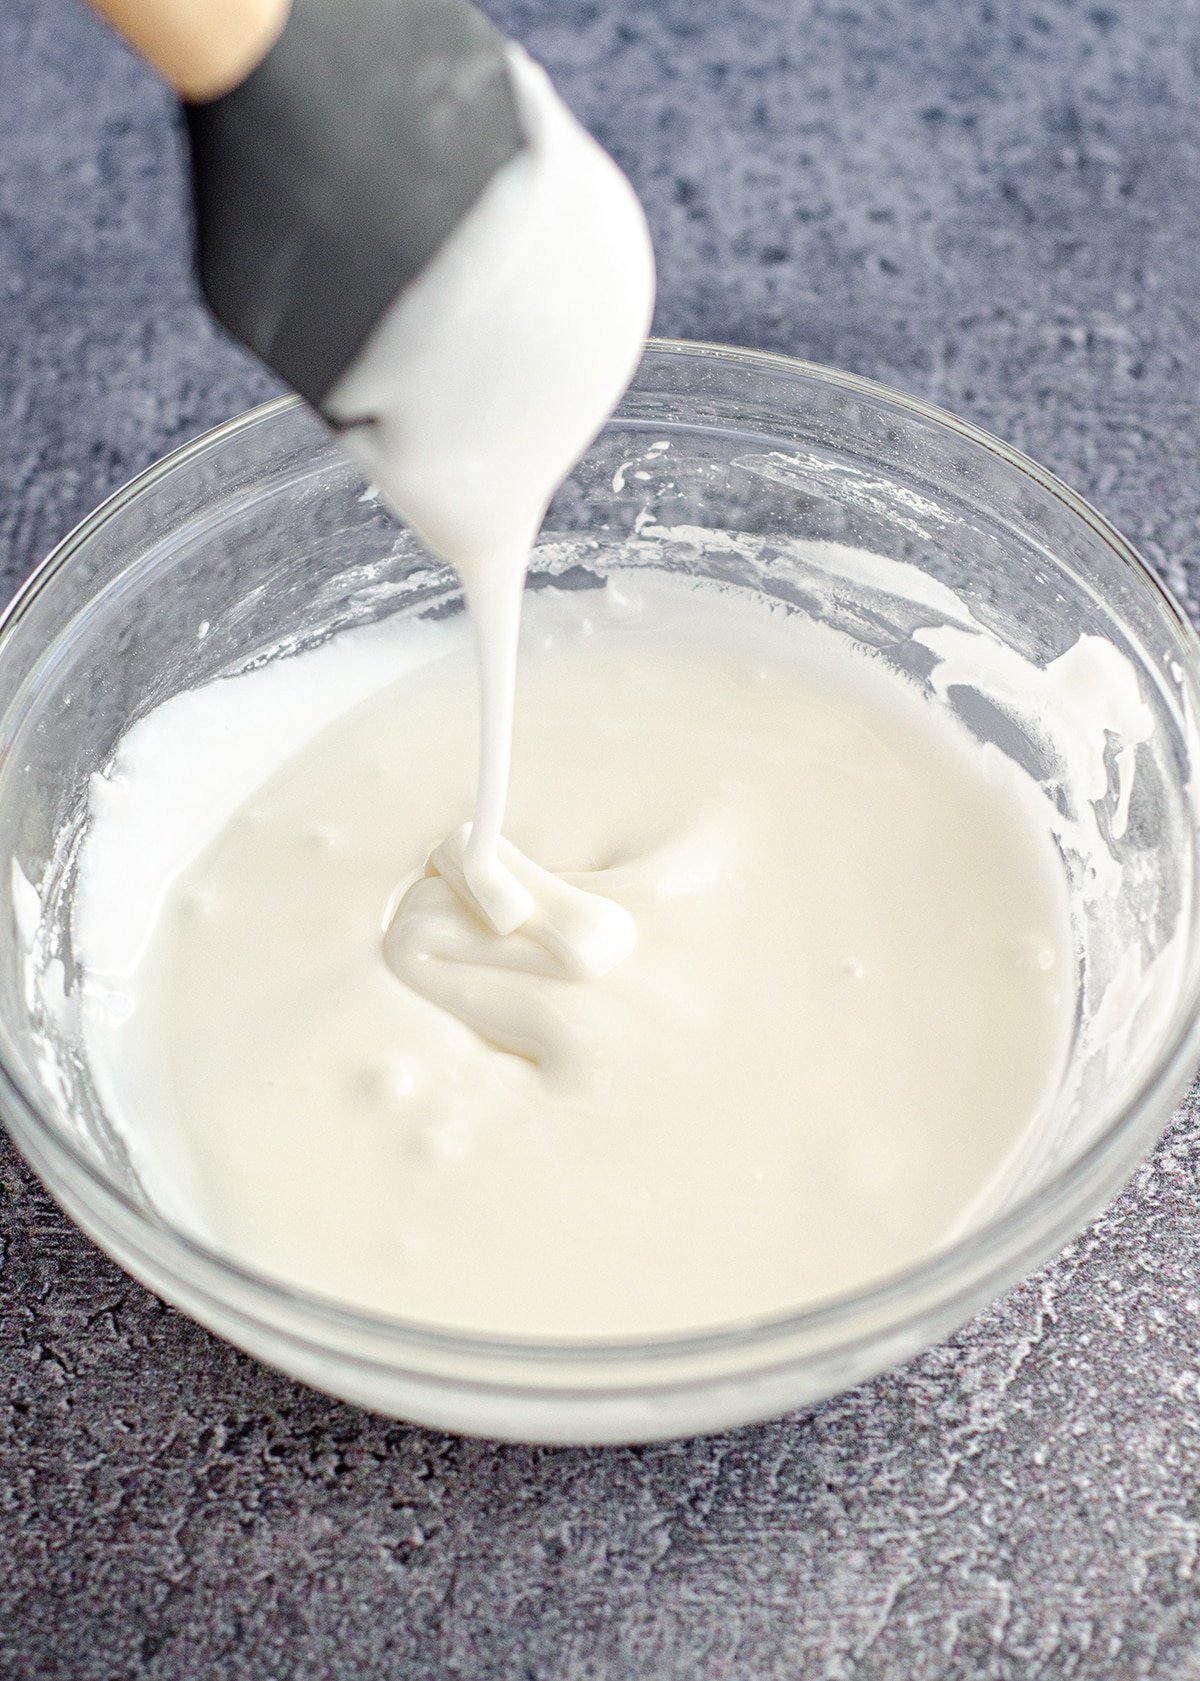
Consistency is the third factor. You can test your icing by lifting your whisk; the icing should stand straight up without drooping. If it flops over, it’s too thin, and you should add one tablespoon of powdered sugar at a time. If it’s too dry to pipe, add a teaspoon of water.
The temperature of the room is the fourth factor. Royal icing is sensitive to moisture in the air. If your kitchen is above sixty percent humidity, the icing may remain tacky for hours. Using a small desk fan near your drying rack will help the icing set faster.
Storage is the final factor. Royal icing dries out very quickly when exposed to air. Keep your bowl covered with a damp paper towel at all times while you’re working, or transfer it to a piping bag immediately to prevent a hard crust from forming inside the bowl.
How Do You Make Royal Icing: Step-by-Step
- Pour one pound of sifted powdered sugar into your clean mixing bowl.
- Add three tablespoons of meringue powder to the sugar and whisk them together by hand to ensure they’re evenly combined.
- Add six tablespoons of warm water to the dry mix and start your mixer on the lowest speed setting.
- Once the sugar is wet, increase the mixer speed to medium-high for six minutes until the icing becomes glossy and bright white.
- Stop the mixer and check the peak; it should be stiff enough to hold its shape when you lift the paddle.
- Add food coloring by the drop, mixing by hand with a spatula, until you reach your desired shade.
- Transfer the icing to a piping bag or an airtight container immediately to stop it from hardening.
The main judgment call is the final consistency. A stiff peak is necessary for borders, but you’ll need to thin the mixture with a few extra drops of water if you intend to flood or fill in your designs. Always test a small amount on a piece of parchment paper before applying it to your main project. If you’re using professional-grade gel colors, be aware that they can alter the consistency, so add them slowly. If you have a nut allergy, check the facility information on your meringue powder container, as some brands are processed in plants that handle common allergens.
Consistency and Usage Table
| Situation | Consistency | Water Adjustment | Usage |
|---|---|---|---|
| Outlining | Stiff | None | Creating borders |
| Flooding | Runny | Add more | Filling shapes |
| Lettering | Medium | Small amount | Writing names |
| Details | Stiff | None | Piping flowers |
| Stenciling | Thick | None | Applying patterns |
To test your consistency, pull a spoon through the icing and count to ten. If the surface doesn’t smooth out completely within that window, the mixture is too stiff for flooding. Beginners often make the mistake of adding water too quickly, which ruins the entire batch. Add water by the teaspoon, never the tablespoon, to maintain control.
If you’re piping delicate flowers, use a stiff consistency that holds a sharp peak when you lift the spatula. If the peaks droop or curl, the icing will lose its shape on the cake.
When flooding, aim for a “ten-second” consistency. This means the lines you drag through the icing disappear in exactly ten seconds. If they vanish faster, the icing is too thin and will overflow the borders. If they linger, you’ll see visible ridges on your finished surface. Always keep a damp paper towel over your bowls to prevent the icing from drying out while you work.
Achieving a Professional Finish
Controlling the Surface Quality
Beginners often struggle with craters or “pitting” on the surface of their cookies. This usually happens because the icing was over-mixed, trapping excess air that rises to the top as it dries. To avoid this, mix on a lower speed toward the end of your prep time and tap your piping bag against the counter to release large bubbles. If you see bubbles in your bowl, stir the icing gently with a silicone spatula for two minutes to pop them before you start piping.
Drying and Hardening Conditions
The environment where you store your cookies while they dry is just as important as the recipe itself. Place your decorated items in a single layer on a flat surface away from direct sunlight. A dry, cool room is ideal; if you live in a coastal area with high humidity, place the cookies inside an oven that’s turned off but contains a small bowl of desiccant or even just a fan blowing nearby. Never cover the cookies with plastic wrap while they’re drying, as this traps moisture and prevents the icing from forming its characteristic hard shell.
Common Issues and Fixes
| What you notice | What it usually means | What to do first | How to stop it |
|---|---|---|---|
| Icing is grainy | Sugar not dissolved | Keep mixing | Sift sugar well |
| Surface cracks | Dried too fast | Lower room heat | Keep out of sun |
| Icing stays soft | Too much humidity | Use a fan | Use dehumidifier |
| Craters form | Too much air | Stir by hand | Don’t over-mix |
| Colors bleed | Too much water | Add more sugar | Use less liquid |
Grainy icing often stems from sugar particles that never fully integrated into the liquid base. If you feel grit against the side of the bowl, stop your electric mixer immediately. Switch to a silicone spatula and stir by hand for three minutes. This mechanical friction breaks down clumps without introducing excessive air.
Surface cracks are a sign of moisture escaping too rapidly from the top layer. If your kitchen temperature exceeds 75 degrees Fahrenheit, the icing sets before the interior can stabilize. Move your drying rack to a cooler, shaded corner of the room to ensure an even cure.
Craters, or “pitting,” occur when trapped air bubbles rise to the surface and pop. Many bakers make the mistake of using a high-speed whisk for too long. If you see tiny pinholes, your icing is over-aerated. To fix this, tap the bowl firmly against the counter ten times to force the air upward.
Finally, color bleeding is almost always a ratio error. If your gel dye is too thin, it destabilizes the structure. Use a toothpick to add color in tiny increments rather than pouring it directly. If the icing looks translucent, you have already crossed the threshold; add one tablespoon of powdered sugar to regain the necessary body.
Regulatory Standards
Food safety for royal icing centers on the use of pasteurized egg products. The American Egg Board recommends using meringue powder or pasteurized dried egg whites rather than raw eggs to avoid the risk of salmonella. If you choose to use fresh egg whites, you must ensure they reach a safe internal temperature or are used in a recipe that includes a sufficient amount of acid, such as cream of tartar, though the FDA generally advises against raw egg consumption for vulnerable populations.
Always check the specific guidance on the packaging of your meringue powder, as some brands include stabilizers that aren’t vegan or gluten-free. If you’re preparing these for sale at a bake sale or market, check your local health department’s website for specific labeling requirements regarding allergens and the use of dried egg products.
A common mistake is assuming that the high sugar content in royal icing acts as a preservative. It does not. Sugar draws moisture from the air, which can actually facilitate bacterial growth if the egg whites weren’t properly pasteurized. If your icing remains tacky after 24 hours, discard the batch immediately.
Follow this rule: if your icing will be consumed within 48 hours, refrigeration is optional but recommended. Once fully dried, decorated cookies are shelf-stable for several weeks when kept in an airtight container at room temperature.
Financial and Time Investment
The cost of making royal icing is low, as it primarily consists of sugar and water. A one-pound bag of powdered sugar is quite inexpensive, while a container of meringue powder is a larger initial investment. However, because you only use a few tablespoons per batch, the per-cookie cost is negligible.
The real currency here is time. Preparing the icing takes about ten minutes, but the drying time is the true investment; you should allow at least eight hours, or overnight, for the icing to harden completely.
A common mistake is rushing this phase due to impatience. If you package or stack the cookies before they’re fully set, the finish will smudge or crack, ruining hours of decorative work.
Thicker, larger cookies hold more moisture and may take longer to dry than small, thin ones. If your kitchen humidity exceeds 50 percent, add an extra two hours to your drying window to ensure a stable surface.
Use this simple decision rule: if the icing feels tacky to a light touch, wait another hour. If it feels firm and cold, it’s ready for storage.
Maintaining Your Supplies
Once your work is finished, you can store leftover royal icing in an airtight container for up to two weeks in the refrigerator. Before you use it again, let it come to room temperature and stir it gently to remove any separation.
If you notice a thin layer of liquid on top, simply whisk it back into the mixture. If the icing has hardened in the container, it’s best to discard it rather than adding water, as it will likely remain lumpy. Adding water to old icing often ruins the consistency, leading to uneven lines that break while you pipe.
Always mark the date on your container so you know exactly when it was made. If the icing develops an off-smell or changes color, it’s time to discard it and start a fresh batch.
Keeping your piping tips clean is also vital. Soak them in warm, soapy water immediately after use to prevent hardened sugar from clogging the small openings. If you wait more than thirty minutes, the sugar crystallizes inside the tip. This creates a blockage that forces you to use excessive pressure, which inevitably leads to hand cramps or a blowout of your piping bag. If you can’t wash them right away, submerge the tips in a bowl of water to keep the sugar dissolved until you’re ready to scrub.
When to Avoid This Method
Royal icing isn’t the right choice if you’re decorating a cake that needs to be refrigerated for long periods, as the moisture in the fridge will soften the icing and cause the colors to bleed. Instead, use a crusting buttercream or a fondant finish for refrigerated desserts. If you’re creating a dessert for someone with a severe egg allergy, this recipe isn’t suitable, even with meringue powder, as most powders contain dried egg whites. In this case, look for a “vegan royal icing” recipe that uses aquafaba, which is the liquid from a can of chickpeas, as a direct substitute. If you need to cover a large surface area quickly, such as an entire cake, this icing will set too fast to allow for a smooth finish; a pourable ganache or a standard glaze is the better tool for that task.
Can I use liquid food coloring?
Yes, but use it sparingly. Liquid colors contain a high percentage of water, which will quickly change the consistency of your icing from stiff to runny. Always use gel or paste food coloring to keep the texture stable while achieving the deep colors you want.
Is it safe to eat raw?
Yes, because royal icing is made with meringue powder rather than fresh raw eggs. Meringue powder is pasteurized, which eliminates the risks associated with raw egg whites. Always check the label on your specific brand of meringue powder to confirm it’s pasteurized and safe for consumption.
How long does it last?
Royal icing lasts for about two weeks when stored in an airtight container in the refrigerator. If you keep it at room temperature, it will begin to crust over and harden, but it can be rehydrated or kept covered to remain usable.
Why is my icing dull?
Your icing may appear dull if the powdered sugar you used contained cornstarch or if the room was too humid while it dried. To get a high-gloss finish, ensure you’re using a high-quality powdered sugar and allow the cookies to dry in a low-humidity, temperature-controlled environment.
Can I freeze the icing?
Yes, you can freeze royal icing for up to three months. When you’re ready to use it, thaw it in the refrigerator overnight, then bring it to room temperature and stir it thoroughly. You may need to add a few drops of water to restore the proper consistency.
Does it need to be refrigerated?
No, you don’t need to refrigerate cookies decorated with royal icing once they have fully dried. They’re shelf-stable for several weeks when kept in an airtight container at room temperature. Refrigeration is only for the icing while it’s still in the bowl before you use it.
Start by gathering your ingredients and ensuring your bowl is completely free of oil or grease, as any fat will prevent the icing from whipping up properly. Once you have reached a stiff peak, test the consistency by piping a small line on a practice sheet. If it holds its shape, you’re ready to begin decorating your cookies. If the icing starts to flatten, add more sugar.
Related guides
- Best Air Fryer Recipes For Beginners 2026: Top Easy Picks to Buy
- How Sml Make Diarrhea As Chocolate Icing: The Ganache Recipe
- Best Instant Pot Recipes For Beginners: Easy, Tasty Meals Made Simple

Hello, This is Annie Walker, a 38-year-old blogger, founder, and editor of Cookware Guider from NY, USA. I am a cookware fanatic and passionate cooker. I love to cook with different types of cooking appliances (example: all types of cookware, rice cookers, slow cookers, etc) almost every day in my kitchen. I love to share my experience with my readers in my blog. Also, I enjoy helping people to solve their problems through my website. You can follow me on Twitter & Pinterest. To know details about my blog please check the about us page.