
Sharpening your kitchen knives with a hand held knife sharpener is a skill that can make cooking easier, safer, and more enjoyable. Many people struggle with dull blades, which not only slow down food prep but can also be dangerous. While electric sharpeners and professional services exist, a hand held sharpener offers a practical, affordable solution you can use anytime. But using it correctly is key. If you misuse a sharpener, you may damage your knife or fail to restore its edge.
This guide will help you understand how to use a hand held knife sharpener like a pro. You’ll learn about different sharpener types, step-by-step instructions, common mistakes, and how to maintain your knives for lasting sharpness. Even if you’re a complete beginner, you’ll find clear advice and useful examples.
Let’s dive in and make your knives sharper than ever.
Why Knife Sharpness Matters
A sharp knife is more than just a kitchen tool—it’s a safety feature. Dull knives require more force, increasing the risk of slips and accidents. Sharp knives cut with precision, making food prep faster and cleaner. In fact, studies show that knife injuries often result from dull blades, not sharp ones.
Chefs agree: a sharp knife is essential for slicing vegetables, cutting meat, and even preparing fruit. If you’ve ever struggled to dice an onion or fillet a fish, a sharper blade can make all the difference. Sharp knives also help preserve food’s texture and appearance. For example, a sharp blade slices tomatoes cleanly, while a dull one crushes them.
Types Of Hand Held Knife Sharpeners
Hand held knife sharpeners come in several styles. The two main types are pull-through sharpeners and manual sharpening stones (often called whetstones). Each has its strengths, and the right one for you depends on your needs and skill level.
Pull-through Sharpeners
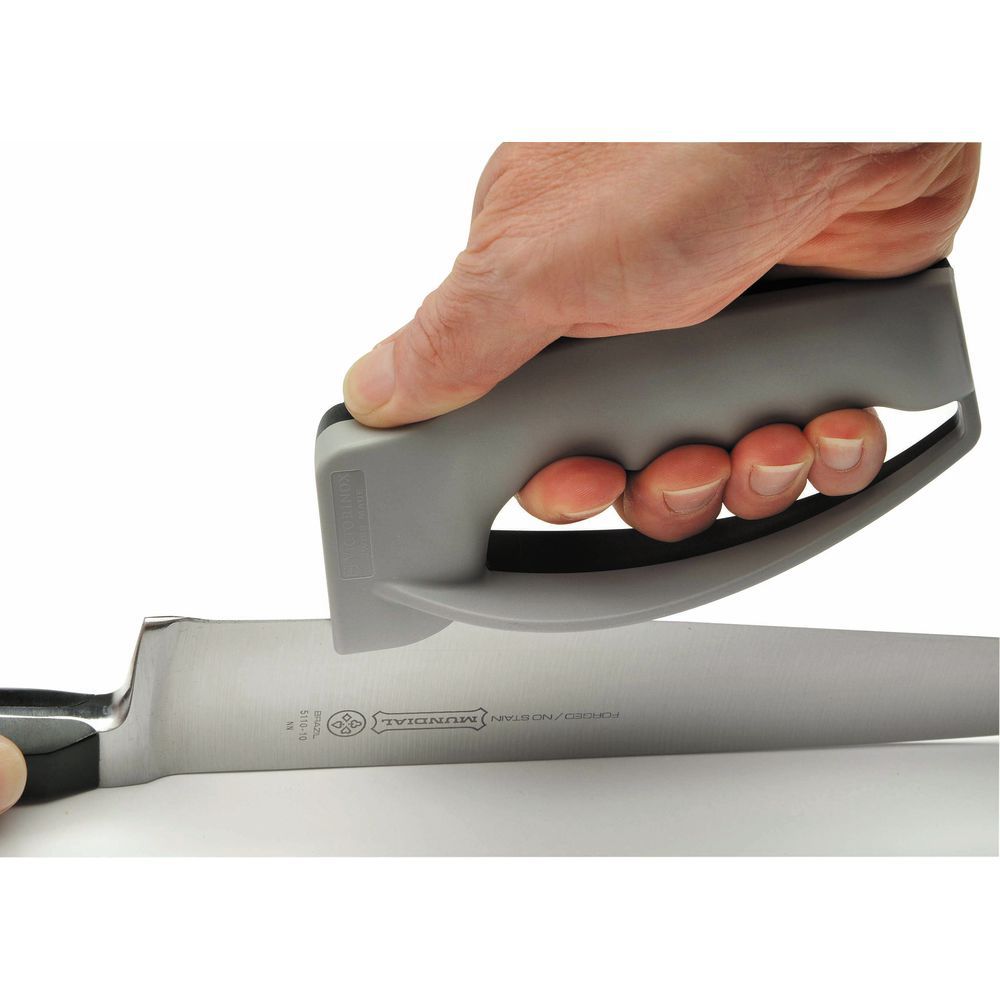
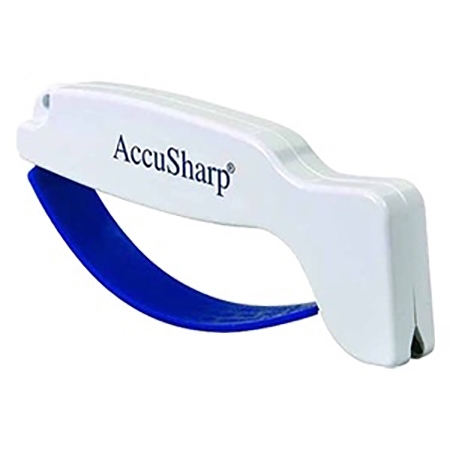
A pull-through sharpener has preset sharpening angles and is easy to use. You simply place the blade in the slot and pull it through. Most models have two slots: one for coarse sharpening and another for fine honing. These are best for beginners and those who want quick results.
Sharpening Stones (whetstones)
Whetstones require more skill. You must hold the knife at the correct angle and run it across the stone. This method allows for more control and can restore even very dull blades. Whetstones come in different grit levels—lower numbers are coarser, higher numbers are finer.
Ceramic And Diamond Sharpeners
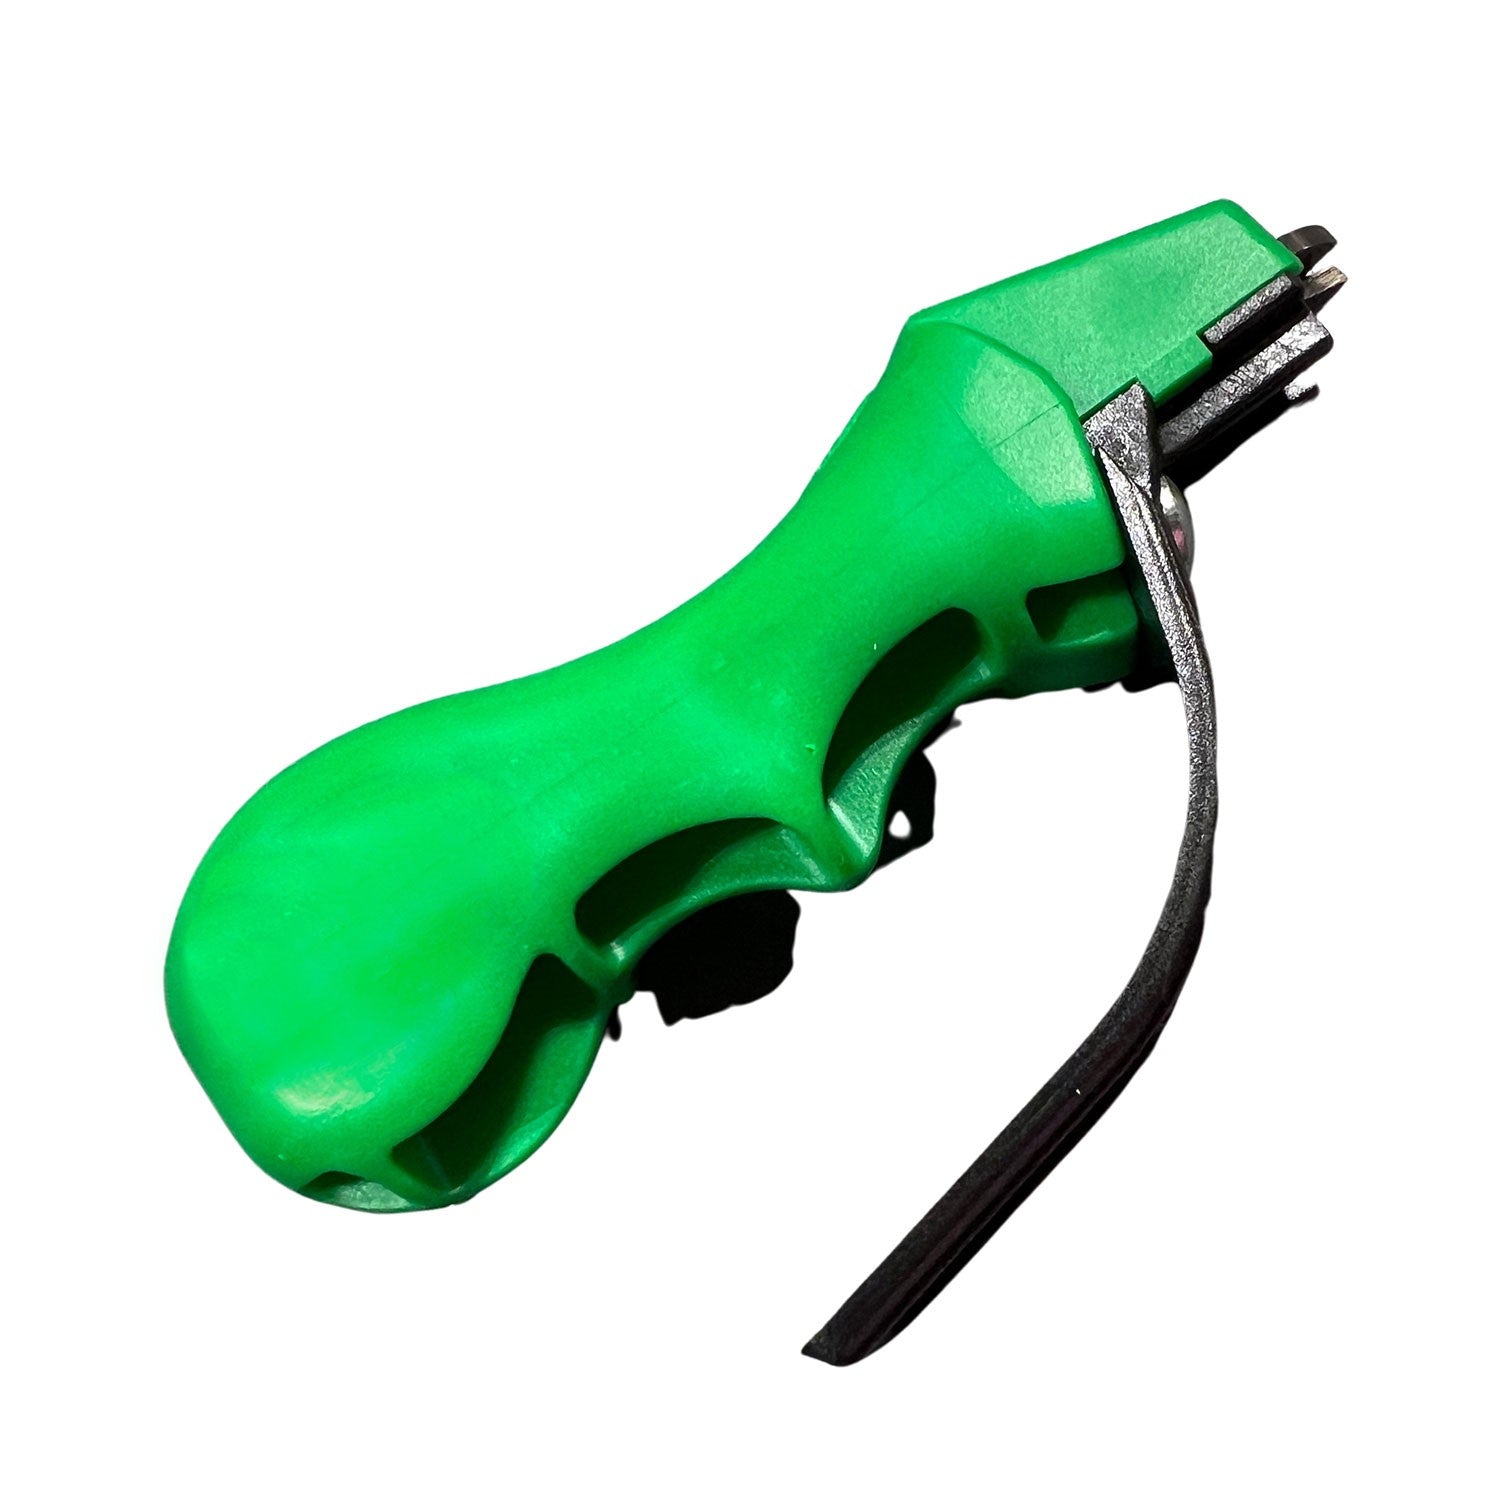
Some hand held sharpeners use ceramic rods or diamond surfaces. These materials are durable and effective for both sharpening and honing. Ceramic is gentler, while diamond is more aggressive.
Here’s a comparison of the main types:
| Sharpener Type | Ease of Use | Control | Maintenance | Typical Price |
|---|---|---|---|---|
| Pull-Through | Very Easy | Low | Low | $10–$30 |
| Whetstone | Moderate | High | Medium | $20–$70 |
| Ceramic/Diamond | Easy | Medium | Low | $15–$50 |
Credit: www.hubert.com
How Hand Held Knife Sharpeners Work
The basic idea is simple: a sharpener removes a thin layer of metal from the blade, creating a new, sharp edge. Most sharpeners use abrasive surfaces—like ceramic, diamond, or carbide—to grind the blade. Pull-through sharpeners set the angle for you, while whetstones require manual positioning.
The angle is important. Most kitchen knives are sharpened at 15–20 degrees. If the angle is too wide, the blade stays dull; too narrow, and it becomes fragile.
A pull-through sharpener usually has two slots:
- Coarse slot: Removes more metal, for very dull knives.
- Fine slot: Polishes and hones, for regular maintenance.
Whetstones are used with water or oil for lubrication. The knife is drawn across the stone at a steady angle, alternating sides.
Step-by-step Guide: Using A Hand Held Knife Sharpener
Let’s break down the sharpening process for both pull-through sharpeners and whetstones. With practice, you can sharpen any kitchen knife safely and effectively.
Using A Pull-through Sharpener
- Place the sharpener on a stable surface. A non-slip mat helps.
- Hold the sharpener firmly with one hand. Use your dominant hand for the knife.
- Insert the blade into the coarse slot. Make sure it’s straight and centered.
- Pull the knife through the slot. Apply gentle, even pressure. Repeat 3–5 times.
- Switch to the fine slot. Repeat the process for a polished edge.
- Wipe the blade clean. Use a damp cloth to remove metal particles.
- Test the sharpness. Try slicing a piece of paper or tomato.
Using A Whetstone
- Soak the whetstone in water. Most stones need 10–15 minutes. Some use oil.
- Place the stone on a stable surface. A rubber mat prevents slipping.
- Hold the knife at a 15–20 degree angle. Use a guide if needed.
- Draw the blade across the stone. Start at the heel and move to the tip. Apply moderate pressure.
- Repeat on both sides. Alternate sides for even sharpening.
- Move to a finer grit stone. For polishing, repeat the steps.
- Clean the blade and stone. Rinse away debris.
Here’s a comparison of the sharpening process:
| Step | Pull-Through Sharpener | Whetstone |
|---|---|---|
| Setup | Place on table | Soak stone |
| Angle | Preset | Manual (15–20°) |
| Sharpening | Pull through slot | Draw across stone |
| Finishing | Fine slot | Fine grit stone |
Credit: kasco.com
Common Mistakes To Avoid
Many beginners make simple errors that can ruin a knife or make sharpening harder. Here are some pitfalls to watch for:
- Using too much force. Excess pressure can damage the blade or sharpener.
- Wrong angle. On whetstones, inconsistent angles result in uneven edges.
- Skipping the fine slot or grit. This leaves the edge rough and can cause chipping.
- Sharpening dirty knives. Dirt and oil can clog the sharpener and reduce effectiveness.
- Neglecting safety. Fingers too close to the blade can lead to injury.
A non-obvious tip: always check your sharpener’s instructions. Some models have specific directions for blade types (straight, serrated, etc.). Using the wrong slot or technique can dull the blade.
How Often Should You Sharpen Your Knife?
The frequency depends on how much you use your knives. For home cooks, sharpening every 2–3 months is a good rule. If you cook daily, consider monthly sharpening. Regular honing (using a honing rod) can help maintain the edge between sharpenings.
Professional chefs often sharpen knives weekly. If your knife struggles to cut tomatoes or slips on onions, it’s time to sharpen.
Here’s a quick guide:
| Usage Level | Sharpening Frequency | Honing Frequency |
|---|---|---|
| Home cook (light) | Every 3 months | Weekly |
| Home cook (heavy) | Monthly | Twice a week |
| Professional chef | Weekly | Daily |
Knife Maintenance After Sharpening
Sharpening is only part of knife care. Proper maintenance keeps your blades sharp longer and prevents damage.
- Clean knives after each use. Hand wash and dry immediately; avoid dishwashers.
- Store knives safely. Use a knife block, magnetic strip, or blade guards.
- Use cutting boards. Wood or plastic is best. Avoid glass or stone, which dull blades quickly.
- Avoid twisting motions. Cut straight; twisting can chip the edge.
A subtle but crucial insight: never let knives sit wet. Moisture leads to rust, especially on carbon steel blades.
Sharpening Different Knife Types
Not all knives are the same. Some need special care:
- Serrated knives: Use a sharpener designed for serrations or a ceramic rod. Do not use pull-through sharpeners unless specified.
- Japanese knives: Often sharpened at a narrower angle (12–15°). Use a fine whetstone for best results.
- Specialty knives: Cleavers, fillet knives, and others may require unique angles or sharpening tools. Always check manufacturer instructions.
Safety Tips When Using A Hand Held Knife Sharpener
Knife sharpening is safe if you follow basic rules:
- Keep fingers away from the blade. Hold the sharpener by the handle or designated grip.
- Use a stable surface. Prevent slipping by using a mat or towel.
- Don’t rush. Go slowly, especially on whetstones.
- Inspect the knife. Look for cracks or chips before sharpening.
Many accidents happen when people rush or try to sharpen knives on unstable surfaces. Always set up your workspace carefully.
Choosing The Right Hand Held Knife Sharpener
With many options available, it’s important to pick the best sharpener for your needs. Consider these factors:
- Knife type: Straight vs. serrated, Western vs. Japanese.
- Sharpening angle: Some sharpeners fit only certain angles.
- Material: Ceramic and diamond last longer but cost more.
- Ease of use: Beginners benefit from pull-through models.
A common mistake is buying a sharpener that doesn’t fit your knife. For example, Japanese knives often need a sharper angle than Western knives.
If possible, try the sharpener in-store. Ask for a demonstration or check user reviews. For more detailed comparisons, visit Consumer Reports.
Real-life Examples: Sharpening In Action
Let’s look at two scenarios:
Example 1: Pull-through Sharpener
Maria cooks for her family daily. Her chef’s knife became dull after months of use. She bought a pull-through sharpener and followed these steps:
- Placed the sharpener on her kitchen counter.
- Inserted the knife into the coarse slot, pulled through four times.
- Repeated with the fine slot.
- Tested the sharpness by slicing a tomato—smooth, clean cut.
Maria noticed that her knife was much easier to use and safer for chopping vegetables.
Example 2: Whetstone Sharpening
David enjoys cooking as a hobby. He wanted a more refined edge for his Japanese knife. Using a whetstone:
- Soaked the stone for 15 minutes.
- Held the knife at a 15-degree angle.
- Drew the blade across the stone, alternating sides.
- Finished with a fine grit stone.
- Used the knife to slice sashimi—perfect, even cuts.
David learned that patience and proper angle were crucial for the best results.
Environmental Impact And Longevity
Sharpening your knives extends their lifespan and reduces waste. Dull knives are often thrown away, contributing to landfill. Using a hand held sharpener means you buy fewer knives and create less waste.
A study found that regular sharpening can double a knife’s lifespan. That means less money spent and a smaller environmental footprint.
Credit: www.superiorinstrument.com
Advanced Tips For Experienced Users
If you’re comfortable with basic sharpening, consider these advanced tips:
- Use a sharpening angle guide. These are small clips that help maintain the correct angle on a whetstone.
- Finish with a strop. Leather strops polish the edge for razor sharpness.
- Try different grits. Start coarse, move to fine, then ultra-fine for professional results.
- Sharpen scissors and tools. Many hand held sharpeners work for garden tools and scissors.
A non-obvious insight: experiment with sharpening frequency. Some knives perform better with frequent honing and less sharpening.
Frequently Asked Questions
How Do I Know If My Knife Needs Sharpening?
If your knife struggles to cut tomatoes, slips on onions, or tears bread instead of slicing, it’s time to sharpen. You can also test sharpness by slicing a sheet of paper. If the blade doesn’t cut cleanly, it needs attention.
Can I Sharpen Serrated Knives With A Hand Held Sharpener?
Most pull-through sharpeners are designed for straight blades. For serrated knives, use a ceramic rod or a sharpener made for serrations. Sharpen only the beveled side, and avoid using regular slots.
How Long Does Sharpening Take?
With a pull-through sharpener, the process takes about 2–5 minutes. Whetstones require more time—about 10–20 minutes, including soaking and polishing. The exact time depends on the blade’s condition.
Is It Possible To Over-sharpen A Knife?
Yes. Over-sharpening removes too much metal, making the blade thin and fragile. Sharpen only when needed, and use honing rods for maintenance between sharpening sessions.
Are Hand Held Knife Sharpeners Safe For Expensive Knives?
Yes, if used correctly and matched to the knife’s angle and steel type. For very expensive or specialty knives, whetstones or professional sharpening may be best. Always follow manufacturer instructions.
Sharpening your knives with a hand held sharpener is one of the most useful kitchen skills you can learn. With the right sharpener and a few minutes of practice, you’ll enjoy safer, smoother cutting and longer-lasting blades. Whether you’re a busy home cook or an enthusiastic hobbyist, proper sharpening makes a real difference in your kitchen.

Hello, This is Annie Walker, a 38-year-old blogger, founder, and editor of Cookware Guider from NY, USA. I am a cookware fanatic and passionate cooker. I love to cook with different types of cooking appliances (example: all types of cookware, rice cookers, slow cookers, etc) almost every day in my kitchen. I love to share my experience with my readers in my blog. Also, I enjoy helping people to solve their problems through my website. You can follow me on Twitter & Pinterest. To know details about my blog please check the about us page.