Are you wondering how to scald milk in a saucepan the right way? Whether you’re baking a delicate cake or preparing a creamy sauce, knowing how to properly scald milk can make all the difference in your recipe’s success.
It’s a simple step, but if done incorrectly, it can ruin the texture and flavor of your dish. In this guide, you’ll learn the easy method to heat your milk just enough without boiling it, ensuring your cooking turns out perfect every time.
Keep reading, and you’ll never have to worry about scalding milk again!
:max_bytes(150000):strip_icc()/GettyImages-532341952-2000-59367eca40a2472c88dba0dea1c451f7.jpg)
Credit: www.allrecipes.com
Choosing The Right Milk
Choosing the right milk is important when you scald milk in a saucepan. Different types of milk change the taste and texture of your dish. Knowing which milk to use helps you get the best results. This section explains how to pick the best milk for scalding.
Whole Vs. Skim Milk
Whole milk has more fat than skim milk. The fat makes the milk creamier and richer. This helps your recipe feel smooth and full-bodied. Skim milk has less fat, so it is lighter. It can become thin or watery after scalding. For richer flavor, whole milk is usually better. For a lighter option, skim milk still works but may taste less creamy.
Freshness Matters
Fresh milk gives the best flavor and texture. Old milk can taste sour or off. Always check the expiration date before scalding. Smell the milk to be sure it is fresh. Using fresh milk helps avoid bad flavors in your dish. It also scalds evenly without lumps or skin forming quickly.
Credit: www.foodabovegold.com
Selecting The Saucepan
Selecting the right saucepan is important for scalding milk properly. The pan affects how heat spreads and how the milk behaves. Choosing the best pan helps prevent milk from burning or sticking. It also makes the process easier and safer.
Material Considerations
Choose a saucepan made of materials that heat evenly. Stainless steel is a popular choice. It spreads heat well and is easy to clean. Avoid thin pans that heat unevenly. Copper pans heat fast but need careful use. Non-stick pans help prevent milk from sticking. However, check the quality to avoid damage from high heat.
Size And Shape
Pick a pan size that fits the amount of milk you want to scald. A small pan is better for small amounts. A larger pan works well for more milk. The shape matters too. A wide base allows heat to spread evenly. Taller pans may cause milk to boil over quickly. Choose a shape that helps you watch the milk easily.
Preparing To Scald
Scalding milk is an easy step that improves many recipes. It changes the milk’s texture and flavor. Doing it right starts with good preparation. This helps avoid burning or boiling over. Following simple steps makes the process smooth and safe.
Start by gathering your tools and ingredients. A clean saucepan and fresh milk are key. Ready your stove and set the right heat. This preparation saves time and gives the best results.
Measuring Milk
Use a clear measuring cup for accuracy. Measure the exact amount your recipe needs. Too much or too little milk changes the final dish. Pour slowly to avoid spills and waste. Check the level at eye height for best results.
Choose fresh milk for better taste. Whole milk works well for richer dishes. Skim milk is fine for lighter recipes. Always check the milk’s expiration date before use.
Setting Up The Stove
Place a clean saucepan on the stove burner. Use a medium heat setting to avoid burning. Turn on the stove only after placing the pan. This prevents overheating an empty pan.
Keep a close eye on the milk as it heats. Stir gently now and then with a wooden spoon. This stops milk from sticking to the pan bottom. Prepare to lower heat if milk starts to steam.
Step-by-step Scalding Process
Scalding milk is a simple step that improves many recipes. It changes the milk’s proteins, helping doughs rise and sauces thicken better. This process needs care and attention. Follow this step-by-step guide to scald milk safely and correctly in a saucepan.
Heating The Milk Gently
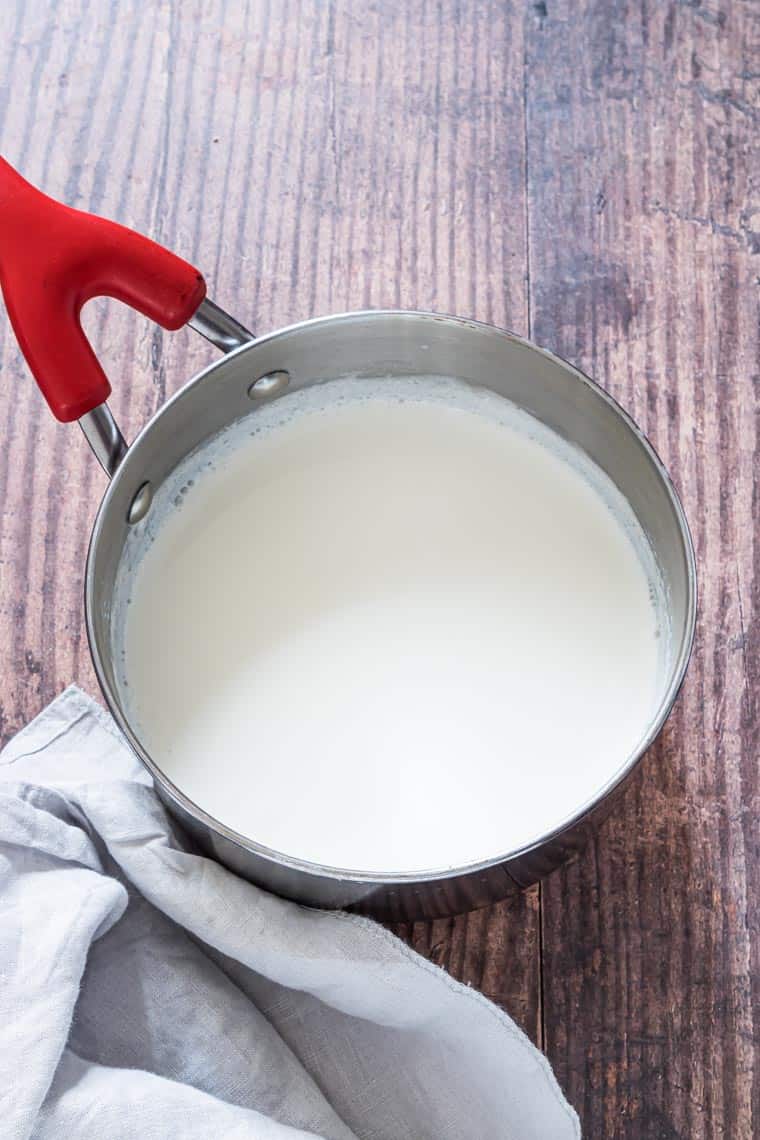
Pour milk into a clean saucepan. Use low to medium heat to warm it slowly. Stir the milk often to stop a skin from forming. Heat until the milk is hot but not boiling.
Watching For Visual Cues
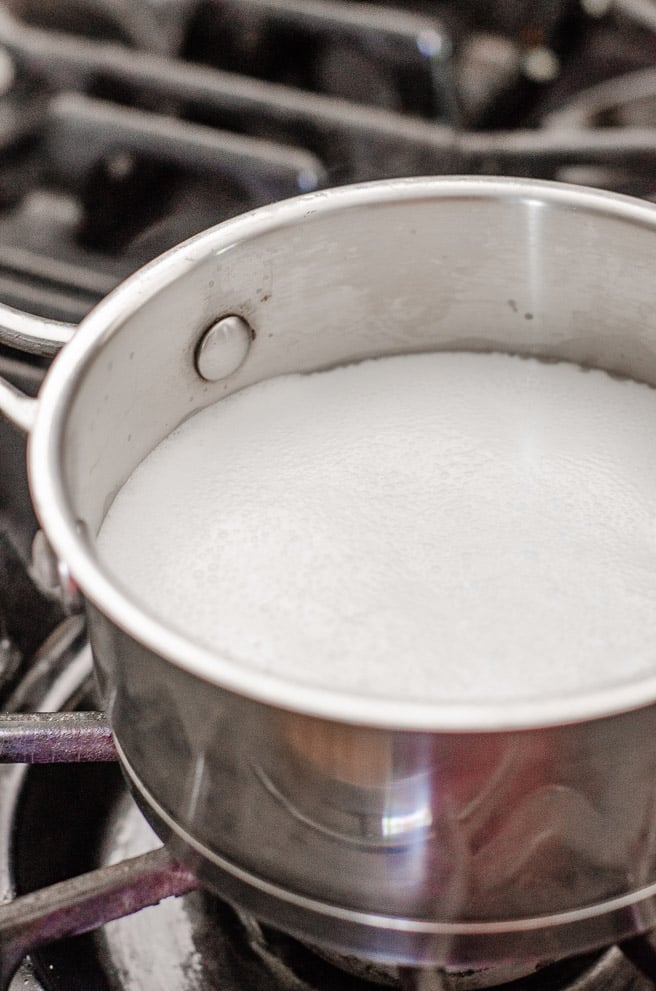
Look closely at the milk’s surface. Small bubbles will form around the edges. Steam will rise from the surface. The milk will look slightly thicker. These signs mean the milk is scalded.
Avoiding Boiling
Do not let the milk boil. Boiling changes the flavor and texture. It can cause the milk to scorch on the pan’s bottom. Remove the milk from heat as soon as bubbles appear. Let it cool before using in recipes.
Common Mistakes To Avoid
Scalding milk in a saucepan is simple but easy to mess up. Avoiding common mistakes helps get smooth, creamy milk every time. Follow these tips to make the process easier and better.
Overheating
Milk burns quickly if the heat is too high. Use low to medium heat to warm milk slowly. Stir gently to stop the milk from sticking and burning. Watch closely to stop the milk from boiling.
Using The Wrong Pan
Thin pans heat milk unevenly and cause hot spots. A heavy-bottomed saucepan spreads heat well. This helps milk warm evenly without burning. Avoid pans that are too small or too large for the milk amount.
Ignoring Milk Skin
Milk skin forms as milk heats and can affect texture. Gently skim off the skin or stir it back into the milk. Ignoring the skin may cause lumps in recipes. Keep an eye on the milk surface while heating.
Tips For Perfect Scalded Milk
Scalding milk in a saucepan needs care to get the best results. It changes milk’s texture and helps recipes like custards or breads. These tips ensure your milk heats evenly without burning or boiling over.
Stirring Techniques
Use a wooden spoon or heat-safe spatula to stir milk gently. Stirring stops milk from sticking to the pan’s bottom. Move the spoon in slow circles to keep the heat spread evenly. Avoid rapid stirring that can create bubbles or foam. Stir often but softly to prevent skin from forming.
Cooling And Storage
Once milk reaches just below boiling, remove the pan from heat. Let it cool naturally at room temperature for a few minutes. Pour the milk into a clean container with a lid. Store it in the fridge if not using right away. Use scalded milk within 24 hours for best freshness and taste.
Uses For Scalded Milk
Scalded milk has many uses in cooking and drinks. Heating milk until small bubbles form changes its texture and flavor. This process helps improve recipes and makes drinks taste better. Understanding where to use scalded milk can help in the kitchen.
Baking Benefits
Scalded milk changes proteins that affect dough and batter. It makes bread softer and cakes fluffier. The heat stops enzymes that can weaken gluten. This helps baked goods rise well and hold shape. Using scalded milk also improves texture and shelf life.
Enhancing Beverages
Warm milk creates smooth, creamy drinks. Scalded milk blends better with coffee or tea. It gives a richer flavor and softer mouthfeel. This helps avoid curdling in hot drinks. Scalded milk is perfect for lattes and hot chocolate.
Credit: recipesfromapantry.com
Frequently Asked Questions
What Does It Mean To Scald Milk In A Saucepan?
Scalding milk means heating it just below boiling point. It kills bacteria and changes milk’s proteins for better texture in recipes. Use medium heat and stir often to prevent burning.
How Long Should You Scald Milk In A Saucepan?
Scald milk for about 4 to 5 minutes until small bubbles form around the edges. Avoid boiling to keep milk from curdling or scorching.
Can You Scald Milk Without Boiling It?
Yes, scalding heats milk to 180°F (82°C) without boiling. Heat slowly and watch for tiny bubbles near the edges before removing from heat.
Why Is Scalding Milk Important In Cooking?
Scalding improves texture and flavor in baked goods and custards. It helps dissolve sugar and activates yeast for better dough rise.
Conclusion
Scalding milk in a saucepan is simple and useful. Heat the milk slowly and watch for tiny bubbles. Stir often to stop skin from forming. Avoid boiling to keep milk smooth and fresh. Use scalded milk for recipes like custards and breads.
This small step helps improve flavor and texture. Practice a few times to feel confident. Soon, you will do it without thinking. Simple, careful heating makes a big difference in cooking. Give it a try and enjoy better dishes.

Hello, This is Annie Walker, a 38-year-old blogger, founder, and editor of Cookware Guider from NY, USA. I am a cookware fanatic and passionate cooker. I love to cook with different types of cooking appliances (example: all types of cookware, rice cookers, slow cookers, etc) almost every day in my kitchen. I love to share my experience with my readers in my blog. Also, I enjoy helping people to solve their problems through my website. You can follow me on Twitter & Pinterest. To know details about my blog please check the about us page.