
Cooking a porterhouse steak in a fry pan is one of those simple pleasures that delivers big flavor without the need for a grill or fancy equipment. The porterhouse is known for its size and for offering two cuts in one: the tenderloin and the strip. Many people think you can only get a perfect steakhouse result on a grill, but a fry pan can give you that golden crust and juicy inside with just a bit of know-how. If you want to bring out the best in your porterhouse, read on for a complete, practical guide to pan-searing this classic steak at home.
Why Choose Porterhouse Steak
The porterhouse steak stands out because it gives you both the buttery-soft tenderloin and the beefy strip steak in one piece. It’s a favorite for sharing, but also popular for anyone who wants a special meal. Porterhouse steaks are usually at least 1.25 inches thick and weigh between 1 to 2 pounds. This thickness helps the steak stay juicy inside while you build a beautiful crust on the outside.
One thing beginners miss is that porterhouse steaks cook a bit differently from other cuts. Because the tenderloin cooks faster than the strip, paying attention to pan heat and steak position is important. Choosing a porterhouse is also a good way to get better value, since you enjoy two textures and flavors in one steak.
Selecting And Preparing Your Porterhouse
Before you get to cooking, the quality of your steak and how you prep it make a big difference. Look for well-marbled porterhouse steaks at least 1.25 inches thick. Good marbling means there are thin white lines of fat in the meat, which melt and keep your steak juicy.
Here are the main points to check when buying:
- Color: Bright, deep red (not brown or dull)
- Marbling: Visible streaks of fat throughout both sides
- Thickness: At least 1.25 inches for best results
- Bone: A clear T-shape, dividing the tenderloin and strip
When you get your steak home, pat it dry with paper towels. Let it sit out for 30-45 minutes before cooking. This helps it cook evenly and build a better crust. Season generously with kosher salt and freshly ground black pepper on both sides. Salt helps pull moisture to the surface, making the crust crispier.
Trimming And Tying
If your porterhouse has excess fat around the edges, trim it down to about 1/4 inch. This prevents flare-ups and burning in the pan. Some people tie the steak with kitchen twine to help it keep shape while cooking, but it’s not required.
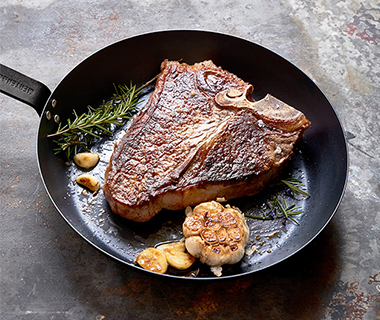
Credit: www.greenpan.us
Tools And Equipment You’ll Need
Cooking a porterhouse in a fry pan is simple, but using the right tools will help you get the best result. Here’s what you should have ready:
- Heavy fry pan or skillet (preferably cast iron or stainless steel)
- Tongs for flipping
- Instant-read thermometer
- Paper towels
- Kosher salt and black pepper
- Vegetable oil or other high smoke point oil
- Butter
- Fresh herbs (optional, like thyme or rosemary)
- Garlic cloves (optional)
A cast iron skillet is best because it holds heat well and gives a better sear. If you don’t have cast iron, stainless steel will also work, but avoid nonstick pans—they can’t handle high heat well.
Step-by-step: Cooking Porterhouse Steak In A Fry Pan
Cooking a great porterhouse isn’t complicated, but there are a few steps that make a big difference. Here’s a simple guide:
- Preheat your pan: Place your empty skillet on the stove over high heat for at least 5 minutes. The pan should be very hot before adding the steak.
- Oil the steak, not the pan: Rub a thin layer of oil directly on both sides of the steak. This prevents excess smoke and helps the crust.
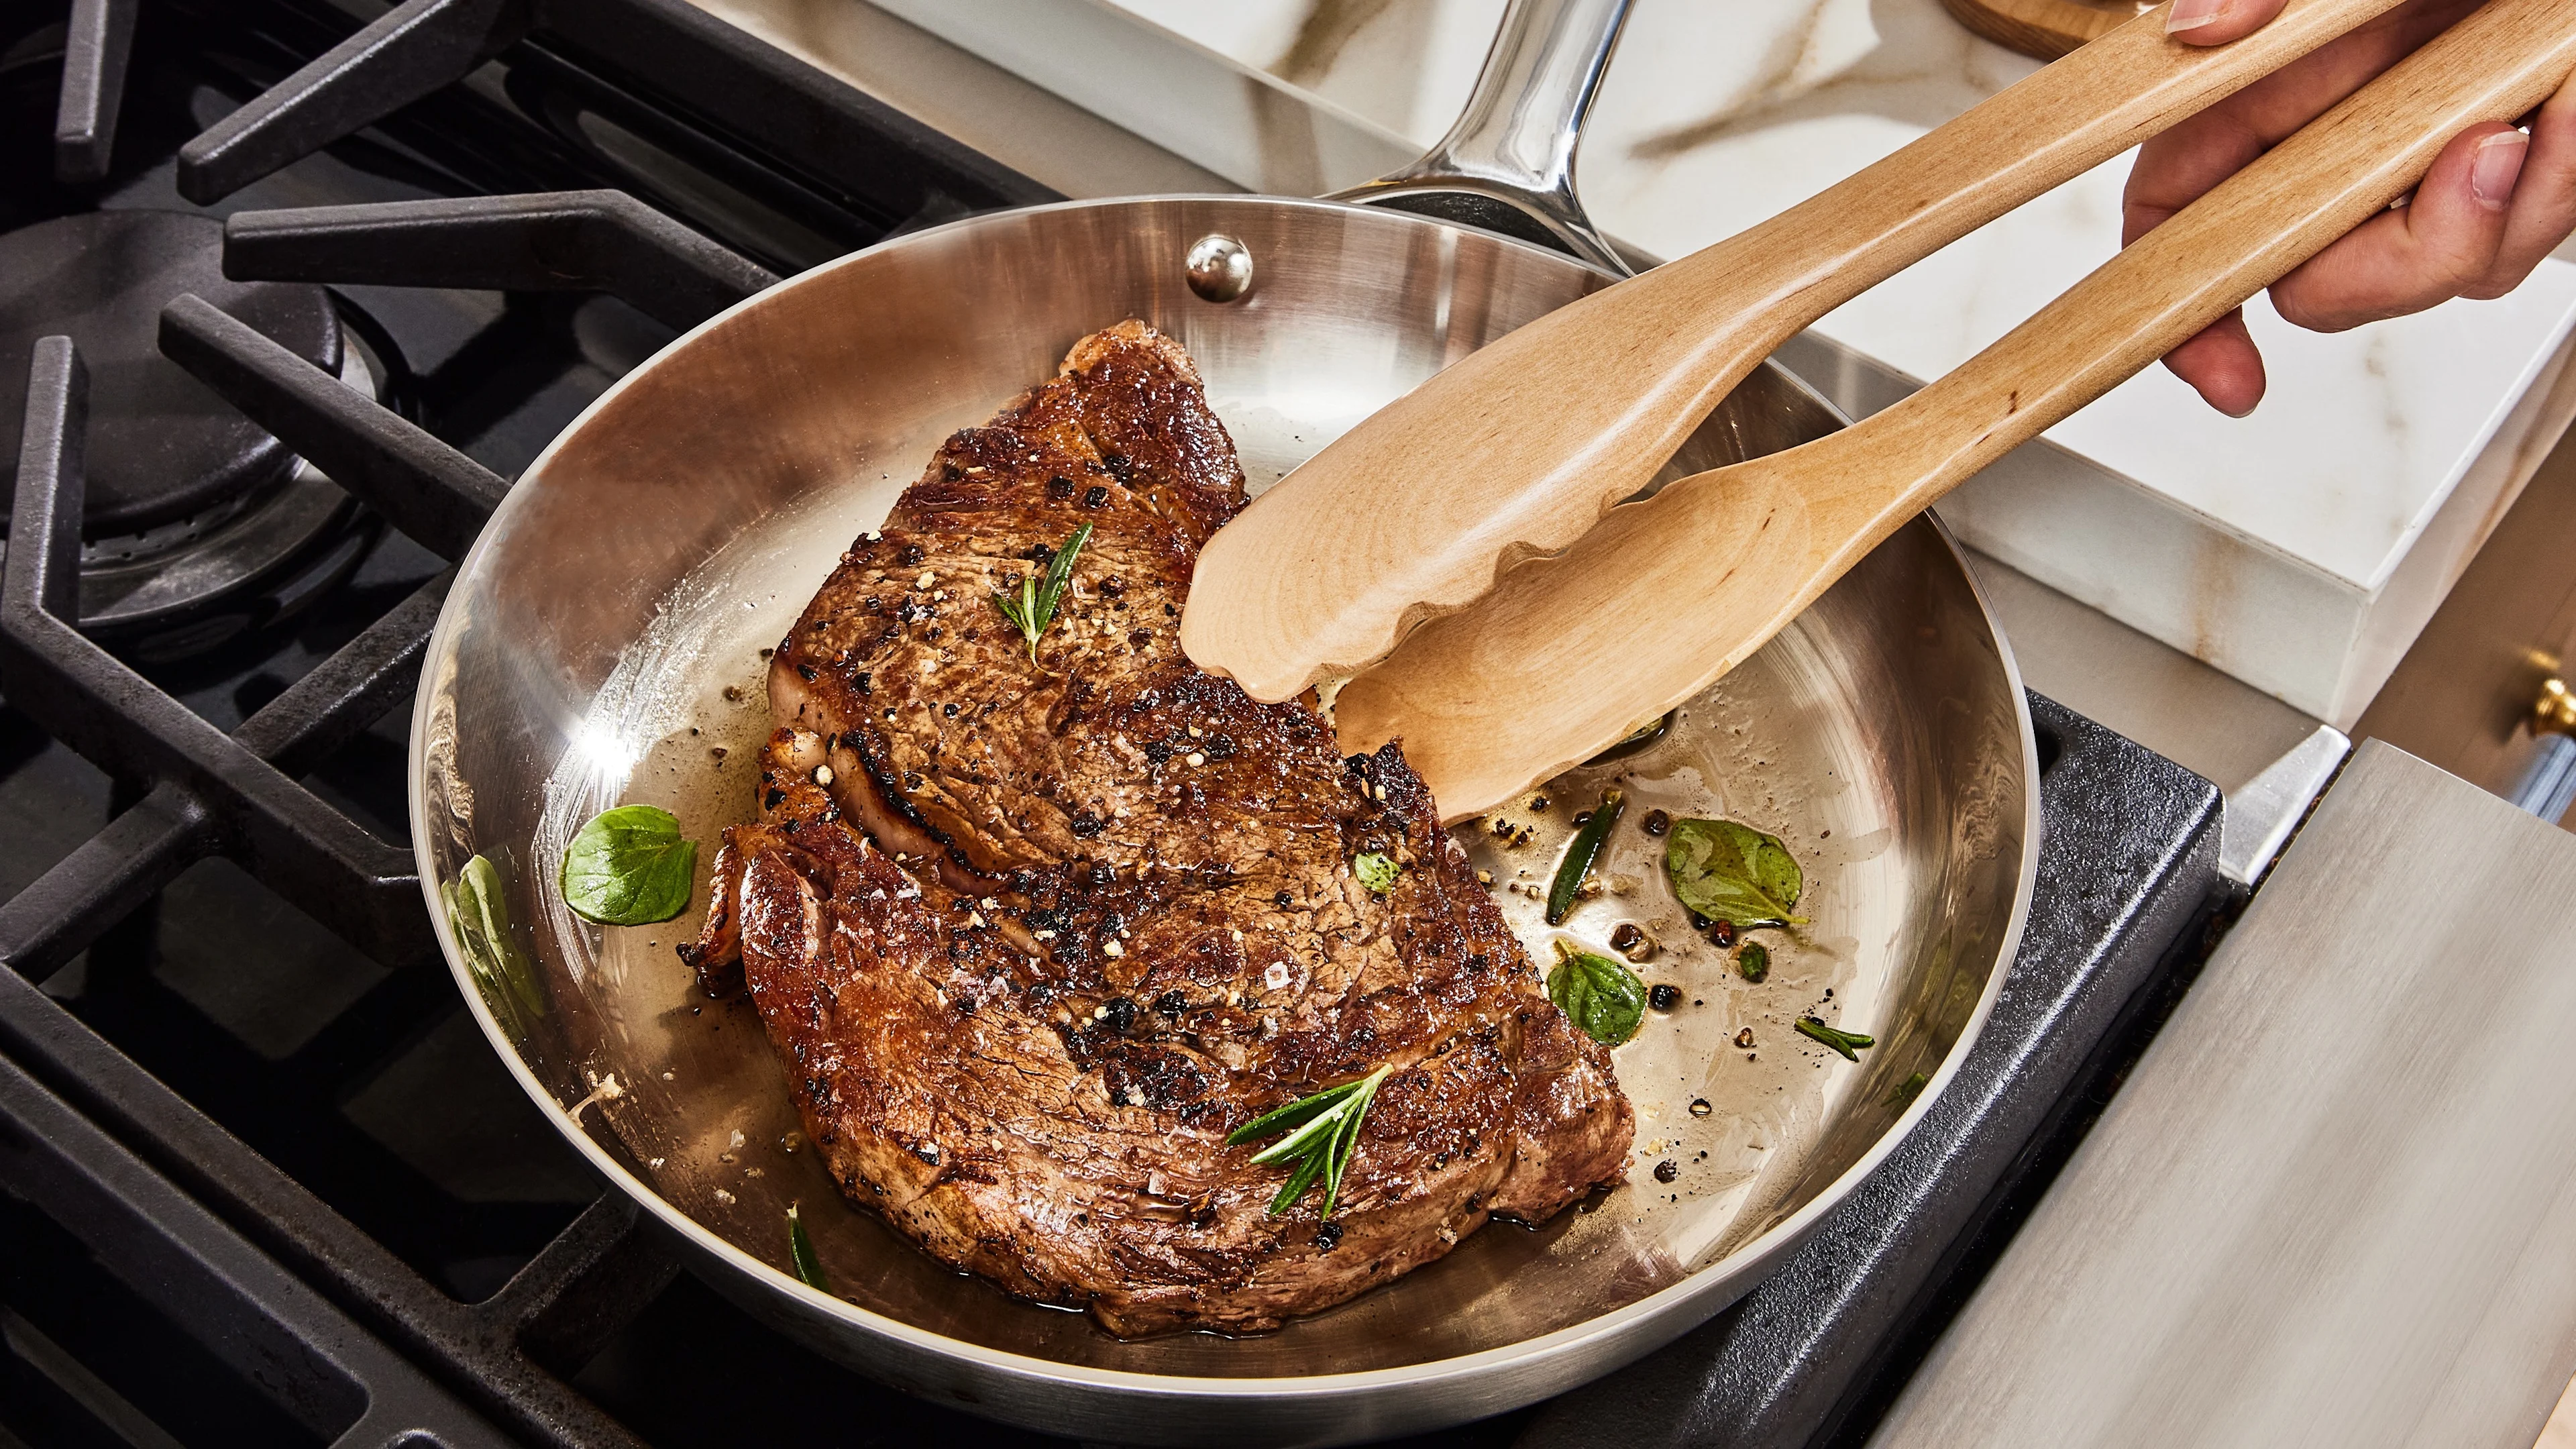
- Sear one side: Place the steak in the pan. You should hear a strong sizzle. Let it cook undisturbed for 3–4 minutes, until a deep brown crust forms.
- Flip and sear the other side: Use tongs to flip the steak and cook for another 3–4 minutes.
- Sear the edges: Hold the steak with tongs and press the fat edge against the pan for 30–60 seconds to render the fat.
- Add butter, herbs, and garlic (optional): Lower heat to medium. Add 2 tablespoons of butter, a few sprigs of thyme or rosemary, and 2–3 crushed garlic cloves to the pan. Spoon the melted butter over the steak for 1–2 minutes.
- Check temperature and finish cooking: Use an instant-read thermometer to check the thickest part:
- Rare: 120–125°F
- Medium Rare: 130–135°F
- Medium: 140–145°F
If the steak is not at your desired doneness, reduce heat to low and continue cooking, flipping every 1–2 minutes and basting with butter.
- Rest the steak: Remove from the pan and let rest on a cutting board for 8–10 minutes. This lets juices settle.
- Slice and serve: Cut along the bone to separate the tenderloin and strip. Slice against the grain and serve.
Here’s a quick reference for cooking times based on steak thickness and desired doneness:
| Steak Thickness | Doneness | Time per Side | Final Temp |
|---|---|---|---|
| 1.25 inch | Medium Rare | 3-4 min | 130-135°F |
| 1.5 inch | Medium | 4-5 min | 140-145°F |
| 2 inch | Medium Rare | 5-6 min | 130-135°F |
Credit: www.carawayhome.com
The Role Of Butter, Herbs, And Garlic
Adding butter, fresh herbs, and garlic to the pan after searing is a classic steakhouse trick. The butter melts and mixes with the herbs and garlic, making a rich sauce you can spoon over the steak. This adds flavor and helps the crust stay moist.
Here’s how to do it well:
- Add butter only after both sides are seared. This avoids burning the butter.
- Use fresh thyme, rosemary, or sage. Crush a few garlic cloves lightly with the side of your knife.
- Tilt the pan so the butter pools, then use a spoon to baste the steak repeatedly.
This step is optional but gives a restaurant-quality result.
Pan Vs. Grill: Key Differences
Many people wonder if pan-cooked porterhouse can match the grill. Here’s a clear comparison:
| Cooking Method | Crust Quality | Smoky Flavor | Juiciness | Convenience |
|---|---|---|---|---|
| Fry Pan | Excellent | Low | High | Very easy |
| Grill | Good | High | Medium | Outdoor only |
Pan-searing gives a strong, even crust and lets you cook any time of year. While you lose some smoky flavor from grilling, you gain more control over doneness and juiciness.
Common Mistakes To Avoid
Cooking porterhouse in a fry pan is simple, but there are easy mistakes that can ruin your steak. Here are some to watch out for:
- Pan not hot enough: You need a smoking-hot pan to get a proper sear. Starting cold means a gray, soggy crust.
- Overcrowding the pan: Only cook one steak at a time. Overcrowding drops the pan’s temperature and steams the steak.
- Not drying the steak: Moisture on the surface blocks browning and makes the crust soggy.
- Skipping rest time: Cutting too soon lets the juices run out, making the steak dry.
- Using butter too early: Butter burns at high heat. Only add it after searing both sides.
- Not using a thermometer: Guessing doneness is risky. An instant-read thermometer ensures perfect results.
- Seasoning too lightly: Porterhouse is thick and needs more salt and pepper than you think.
A less obvious mistake is not searing the fat edge. This step renders fat and adds flavor, but many skip it. Another is not slicing against the grain—this makes each bite more tender.
Serving Suggestions And Sides
A porterhouse steak is a meal in itself, but the right sides can make it special. Classic pairings include:
- Roasted or mashed potatoes
- Sautéed green beans or asparagus
- Creamed spinach
- Grilled mushrooms
- Simple salad with vinaigrette
For sauce, try a simple pan sauce made by deglazing the pan with a splash of wine or broth after cooking. Even just a squeeze of lemon can balance the rich steak flavor.
If you want wine, a bold red like Cabernet Sauvignon or Malbec pairs well. For non-alcoholic options, sparkling water with citrus is a good palate cleanser.
Porterhouse Steak Vs. T-bone: What’s The Difference?
This is a common question among steak lovers. Both cuts come from the short loin and have a T-shaped bone, but there’s a key difference:
| Feature | Porterhouse | T-Bone |
|---|---|---|
| Tenderloin Size | Larger (at least 1.25 in) | Smaller |
| Location Cut | Back of short loin | Front of short loin |
| Total Size | Usually bigger | Usually smaller |
The porterhouse gives you a larger piece of tenderloin. If you love filet mignon, choose porterhouse. For more on steak cuts, the Wikipedia Beef Steak page is a helpful resource.
Cleaning Up: Caring For Your Pan
After enjoying your meal, take care of your pan, especially if you used cast iron. Let the pan cool, then wipe out excess fat with paper towels. For cast iron, scrub gently with hot water and a brush—avoid soap if possible.
Dry the pan and rub with a thin layer of oil to protect it.
If you used stainless steel, deglaze the pan with hot water to lift any stuck bits, then wash with mild soap. Taking care of your pan keeps it ready for your next steak night.

Credit: www.marthastewart.com
Frequently Asked Questions
How Do I Know When My Porterhouse Steak Is Done?
Use an instant-read thermometer. For medium rare, aim for 130–135°F in the thickest part. The steak will rise a few degrees as it rests.
Can I Cook A Frozen Porterhouse Steak In A Pan?
It’s best to thaw your steak overnight in the fridge. Cooking from frozen can work, but it’s harder to get an even crust and doneness.
Should I Marinate My Porterhouse Steak?
No marinade is needed for a quality porterhouse. Salt and pepper are enough. If you want, you can add a dry rub, but marinades can cover the steak’s natural flavor.
What Oil Is Best For Searing?
Use a high smoke point oil like vegetable, canola, or grapeseed oil. Avoid olive oil for searing, as it can burn at high heat.
Is Porterhouse Steak Good For Sharing?
Yes. Porterhouse is large, often over 1. 5 pounds. It’s perfect for two people—just slice along the bone and serve both the strip and tenderloin.
Cooking porterhouse steak in a fry pan is simple, rewarding, and brings steakhouse quality to your own kitchen. With the right technique, you’ll enjoy a perfect steak every time.

Hello, This is Annie Walker, a 38-year-old blogger, founder, and editor of Cookware Guider from NY, USA. I am a cookware fanatic and passionate cooker. I love to cook with different types of cooking appliances (example: all types of cookware, rice cookers, slow cookers, etc) almost every day in my kitchen. I love to share my experience with my readers in my blog. Also, I enjoy helping people to solve their problems through my website. You can follow me on Twitter & Pinterest. To know details about my blog please check the about us page.