
Slicing onions is one of those kitchen tasks that almost everyone faces, whether making salads, stir-fries, or stews. But let’s be honest—doing it with a knife can be slow, messy, and sometimes tear-inducing. Thankfully, a KitchenAid food processor makes this job much easier, faster, and safer.
If you’re new to using a food processor for slicing onions or want to get cleaner, more consistent results, this article will guide you step by step. You’ll learn not just how to slice onions, but also how to use your KitchenAid food processor for best results, avoid common mistakes, and handle onions with less fuss and tears.
Let’s dive in and make your onion slicing experience smoother and smarter.
Why Slice Onions In A Kitchenaid Food Processor?
When you use a KitchenAid food processor for slicing onions, you unlock several benefits that traditional knife methods simply can’t match. First, it saves time. You can slice multiple onions in seconds, a task that might take minutes by hand. Second, the slices are uniform, which means your dishes cook evenly and look more professional. Third, it’s safer—especially for those not comfortable with sharp knives.
A food processor also helps reduce contact with the onion, which lowers the risk of tears and skin irritation. This is because the processor does most of the work, so you spend less time handling the onion directly. For people with arthritis, limited hand strength, or busy lives, this kitchen tool is a real game-changer.
Understanding Your Kitchenaid Food Processor
Before you start, it’s important to understand the parts of your KitchenAid food processor. Knowing how it works will help you slice onions more efficiently and safely.
Main Components
- Base/Motor Unit: This is the main body that powers the processor.
- Work Bowl: The container where you place your onions.
- Lid: Fits securely on the bowl, often with a feed tube for adding ingredients.
- Feed Tube and Pusher: Allows you to guide onions into the processor safely.
- Slicing Disk/Blade: This is the key for slicing. KitchenAid processors usually come with several blades, but you want the one labeled for slicing.
- Safety Lock: Ensures the processor only works when assembled correctly.
Selecting The Slicing Disk
Most KitchenAid food processors come with a slicing disk that gives you different thickness options. Some models have adjustable slicing disks, letting you choose between thin, medium, or thick slices. For onions, the most common thickness is between 1/8 inch and 1/4 inch. Thinner slices are good for salads and sandwiches, while thicker slices suit stir-fries and roasting.
Capacity And Power
KitchenAid processors come in various sizes, from small 3-cup models to large 13-cup versions. If you often cook for a big family or meal-prep, a larger model is more practical. Most units have motors ranging from 250 watts to 600+ watts, which is plenty for onions.
Here’s a quick comparison of popular KitchenAid models for slicing onions:
| Model | Bowl Size | Motor Power | Best Use |
|---|---|---|---|
| 3.5 Cup Mini | 3.5 cups | 240 watts | Small batches, single meals |
| 7 Cup Classic | 7 cups | 300 watts | Medium families, meal prep |
| 13 Cup Artisan | 13 cups | 500 watts | Large families, bulk slicing |
Preparing Onions For Slicing
Proper preparation is the foundation for clean, consistent slices. Skipping these steps is a common mistake that leads to uneven slices or jams in the processor.
Choosing The Right Onion
Any onion can be sliced in a food processor—yellow, red, white, or sweet. However, avoid onions that are too soft, sprouting, or have mushy spots. Firm onions slice better and don’t clog the blade.
Peeling And Trimming
- Remove the skin: Cut off the root and stem ends. Peel away all papery layers.
- Trim to size: If the onion is too big for the feed tube, cut it in half or quarters. The feed tube on most processors is about 2–3 inches wide.
Drying The Onion
Water on onions can make them slippery and lead to uneven slicing. Pat the onion dry with a clean towel before loading it into the processor.
Arranging For Consistent Slices
For the most even slices, place the onion pieces upright (root end facing down) in the feed tube. This ensures slices run across the onion, not along its length.
Practical Insight: Avoiding Onion Tears
Many people think a food processor eliminates onion tears, but it’s not always true. The best way to avoid tears is to refrigerate the onions for 30 minutes before slicing. Cold onions release fewer tear-causing chemicals.
Step-by-step: Slicing Onions In Your Kitchenaid Food Processor
Let’s walk through the full process, from setup to cleanup. This section will help you avoid mistakes and get perfect slices every time.
1. Assemble The Food Processor
- Place the work bowl on the base and lock it in place.
- Insert the slicing disk onto the spindle. Make sure it’s properly seated.
- Attach the lid and ensure it’s locked. If your processor has a safety lock, check it.
2. Prepare The Onions
- Peel, trim, and cut the onions to fit the feed tube, as described earlier.
- For best results, use onions that are firm and cold.
3. Choose Your Slice Thickness
- If your slicing disk is adjustable, set it to your desired thickness. Thin slices are best for salads; thicker slices suit cooked dishes.
4. Load The Onion
- Place the onion pieces upright in the feed tube. This gives you uniform rings or half-moons, depending on how you cut the onion.
5. Start Slicing
- Hold the pusher gently but firmly.
- Turn on the processor. Some models have “Low,” “High,” or “Pulse” settings. For onions, use “Low” or “Pulse” for best control.
- Gently push the onion through the feed tube as the blade spins. Don’t force it; let the blade do the work.
6. Collect And Check Slices
- When finished, turn off and unplug the processor.
- Remove the lid and disk. Be careful—the disk is sharp.
- Check the slices. They should be uniform. If some slices are too thick or thin, adjust your cutting next time.
7. Clean Up
- Remove the bowl and blade.
- Wash all parts in warm, soapy water or put them in the dishwasher (most KitchenAid parts are dishwasher-safe).
- Dry thoroughly before storing.
Step-by-step Summary
Here’s a quick summary for easy reference:
- Assemble processor and blade
- Peel, trim, and cut onions
- Set slice thickness
- Load onions upright
- Start processor and push gently
- Collect slices and check quality
- Clean processor parts
Practical Tips For Perfect Onion Slices
Even experienced cooks miss these key tricks. Here are practical insights to make your onion slices perfect every time.
Use Cold Onions
Cold onions release fewer chemicals, so you’ll cry less. They also slice more cleanly.
Don’t Overcrowd The Feed Tube
If you stuff too many pieces in at once, slices will be uneven. Leave a little space for the blade to work.
Use Pulse Mode For Control
Onions are soft and can break apart if sliced too quickly. The “Pulse” mode gives you more control.
Keep Blade Sharp
A dull slicing disk can crush onions instead of slicing them. Sharpen or replace your disk if needed.
Dry Onions Before Slicing
Excess moisture can make slices stick together and clog the processor.
Clean Blade And Bowl Immediately
Onion residue is sticky and can leave odors if not cleaned right away.
Common Mistakes And How To Avoid Them
Many users make simple mistakes that affect the quality of their onion slices. Here’s how to avoid them:
- Wrong disk: Using a grating disk instead of a slicing disk results in shredded onions, not slices.
- Overfilling the bowl: Too many onions at once can jam the blade and lead to uneven slices.
- Pushing too hard: Let the processor do the work. Forcing onions leads to crushed pieces.
- Not trimming onions to size: If the onion is too big for the feed tube, slices will be uneven.
- Slicing soft onions: Mushy onions stick to the blade and don’t slice cleanly.
Comparing Slicing Onion By Hand Vs. Food Processor
Let’s look at how slicing onions with a knife compares to using a KitchenAid food processor.
| Method | Time (per onion) | Slice Consistency | Safety | Effort |
|---|---|---|---|---|
| Knife | 2-3 minutes | Variable | Risk of cuts | High |
| KitchenAid Food Processor | 30-60 seconds | Uniform | Safe | Low |
Most home cooks slice onions with a knife, but the food processor is faster, safer, and gives you better results.
Adjusting Slice Thickness: Why It Matters
Choosing the right thickness is more important than you might think. Onions sliced too thin can burn quickly in a pan; slices too thick may not cook through.
Here’s how different thicknesses work in popular dishes:
| Slice Thickness | Best For | Cooking Time |
|---|---|---|
| 1/8 inch | Salads, sandwiches | Raw or quick cook |
| 1/4 inch | Stir-fries, casseroles | Medium cook |
| 1/2 inch | Roasting, grilling | Long cook |
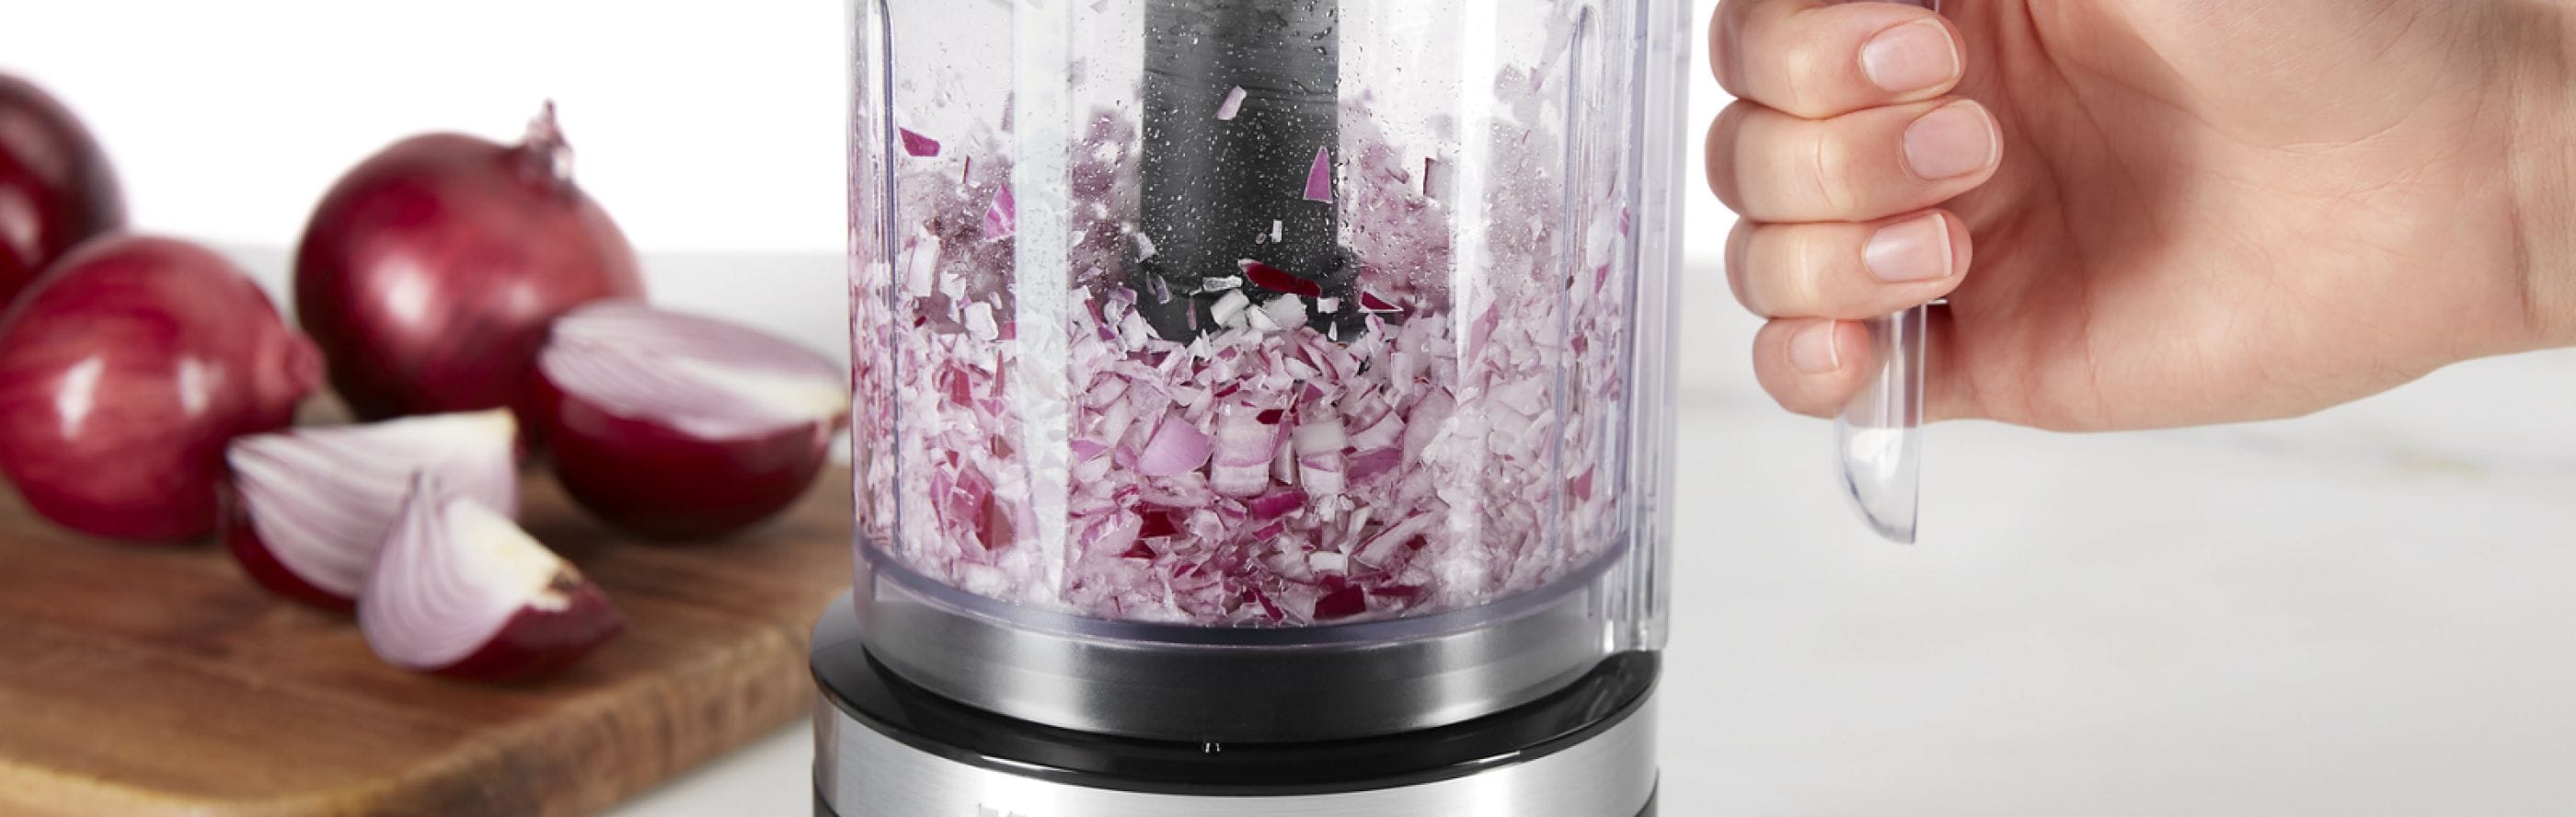
Always choose the thickness based on your recipe. Most KitchenAid processors let you adjust this easily.
Credit: www.kitchenaid.ca
Cleaning And Caring For Your Food Processor
A well-maintained food processor lasts longer and works better. Onion residue, especially, can create odors or dull blades over time.
Cleaning Steps
- Unplug the processor before cleaning.
- Remove the bowl, blade, and lid.
- Wash all removable parts in warm, soapy water. Rinse well.
- If your processor parts are dishwasher-safe, use the top rack.
- Wipe the base with a damp cloth—never submerge it in water.
Odor Removal Tips
Onions are strong-smelling. To remove odors, soak bowl and blade in a mixture of baking soda and water for 30 minutes.
Blade Care
Don’t use abrasive scrubbers on the blade. Sharpen or replace the slicing disk if it becomes dull.
Storage
Store blades separately to avoid dulling. Make sure everything is dry before storing to prevent mold.
When Not To Use A Food Processor For Onions
While the KitchenAid food processor is great for most tasks, there are times when a knife is better:
- Very small batches: If you only need a few slices, setup and cleaning may not be worth it.
- Decorative cuts: For onion petals or special shapes, manual cutting gives you more control.
- Ultra-thin slices: Some recipes call for paper-thin onions that only a mandoline or sharp knife can provide.

Credit: lansakhealth.com
Real-life Example: Meal Prep With Kitchenaid
Let’s look at how slicing onions with your food processor can save time in meal prep. Imagine you need to slice 4 onions for a big family dinner. By hand, this could take 10 minutes and leave you with watery eyes.
With the KitchenAid, you can slice all four in less than 3 minutes, with uniform results and no tears.
A busy mom shared her experience: “I used to dread slicing onions. Now with my KitchenAid, I do it in minutes and never worry about crying or uneven slices.”
Advanced Uses: Slicing Other Vegetables
Once you’ve mastered onions, your food processor can slice other vegetables like potatoes, carrots, and peppers. Always follow the same steps: peel, trim, and load upright. This expands your meal options and speeds up prep.
Troubleshooting: What If Slices Aren’t Perfect?
If your onion slices are uneven or crushed, try these solutions:
- Check blade sharpness.
- Adjust slice thickness.
- Cut onions to fit feed tube.
- Use “Pulse” mode for control.
- Don’t overload the processor.
If your processor jams, turn it off, unplug, and clear the blockage. Never force onions through.
Saving Time And Money
Using a KitchenAid food processor for onions isn’t just about convenience. Uniform slices cook evenly, so you waste less food and get better results. Over time, the processor pays for itself by speeding up prep and reducing mistakes.
According to the National Onion Association, Americans eat about 20 pounds of onions per person each year. For anyone cooking regularly, a food processor is a smart investment.
Non-obvious Insight: Onion Orientation Matters
Many beginners don’t realize that how you place the onion in the feed tube affects the final slice. For rings, place the onion horizontally. For half-moons, place it vertically. This small detail makes a big difference in appearance and cooking.
Non-obvious Insight: Don’t Slice All At Once
If you need onions for multiple dishes, slice only what you need. Pre-sliced onions lose freshness quickly, especially after exposure to air. Store leftovers in an airtight container and use within 2 days.
Credit: www.kitchenaid.ca
Frequently Asked Questions
What Blade Should I Use For Slicing Onions In A Kitchenaid Food Processor?
Always use the slicing disk (sometimes called the slicing blade) that came with your KitchenAid food processor. Avoid the shredding or grating disks—they will not give you proper slices.
Can I Slice Onions If They’re Wet Or Freshly Washed?
It’s better to dry onions before slicing. Wet onions can slip in the feed tube and lead to uneven slices or jamming. Pat them dry with a towel before loading.
How Thick Should I Slice Onions For Stir-fry?
For stir-fry, a thickness of 1/4 inch is ideal. It cooks quickly and keeps the onion tender but not mushy. Adjust your slicing disk to match this thickness if possible.
Is It Safe To Slice Onions With Kids Around?
The KitchenAid food processor is generally safer than knives, but always supervise children. The slicing disk is sharp. Never let kids operate the processor unsupervised.
Can I Use My Kitchenaid Food Processor For Other Vegetables?
Yes, you can use the processor to slice potatoes, carrots, peppers, and many other vegetables. Follow the same steps: peel, trim, and place upright in the feed tube. Always use the slicing disk for best results.
If you want to learn more about food processors and their uses, visit the Wikipedia Food Processor page for detailed information.
Making the switch from manual slicing to a KitchenAid food processor can change your kitchen routine for the better. You’ll save time, get more consistent results, and reduce the stress and mess of onion prep. With these tips and step-by-step instructions, you’ll slice onions like a pro—no tears, no hassle, and no wasted effort.

Hello, This is Annie Walker, a 38-year-old blogger, founder, and editor of Cookware Guider from NY, USA. I am a cookware fanatic and passionate cooker. I love to cook with different types of cooking appliances (example: all types of cookware, rice cookers, slow cookers, etc) almost every day in my kitchen. I love to share my experience with my readers in my blog. Also, I enjoy helping people to solve their problems through my website. You can follow me on Twitter & Pinterest. To know details about my blog please check the about us page.