
Using the Our Place Wonder Oven comes down to three settings: the top dial picks the mode, the middle dial sets the temperature, and the bottom dial runs the timer. Most cooking happens between 350°F and 425°F, and the oven preheats in about 3 to 5 minutes — much faster than a full-size oven.
Your own numbers will shift a little. The mode you pick changes the time, the size of your batch changes it again, and whether you preheat first changes the result more than anything else.
Preheating is the one step people skip, and it’s the one that costs them. A cold start on a batch of fries or a piece of chicken gives you a pale, uneven result that no extra time in the oven fully fixes. If the recipe says preheat, preheat. If you’re reheating leftovers or toasting bread, you can usually go straight in.
Two things worth knowing before you start. The oven runs hot in the top position, so anything close to the upper element browns fast — check it a few minutes early the first time. And the timer is a reminder, not a shutoff. It beeps, but the oven keeps going until you turn the dial.
This page walks through the settings, the steps, the timing, and what to do when something looks off.
Who should read this
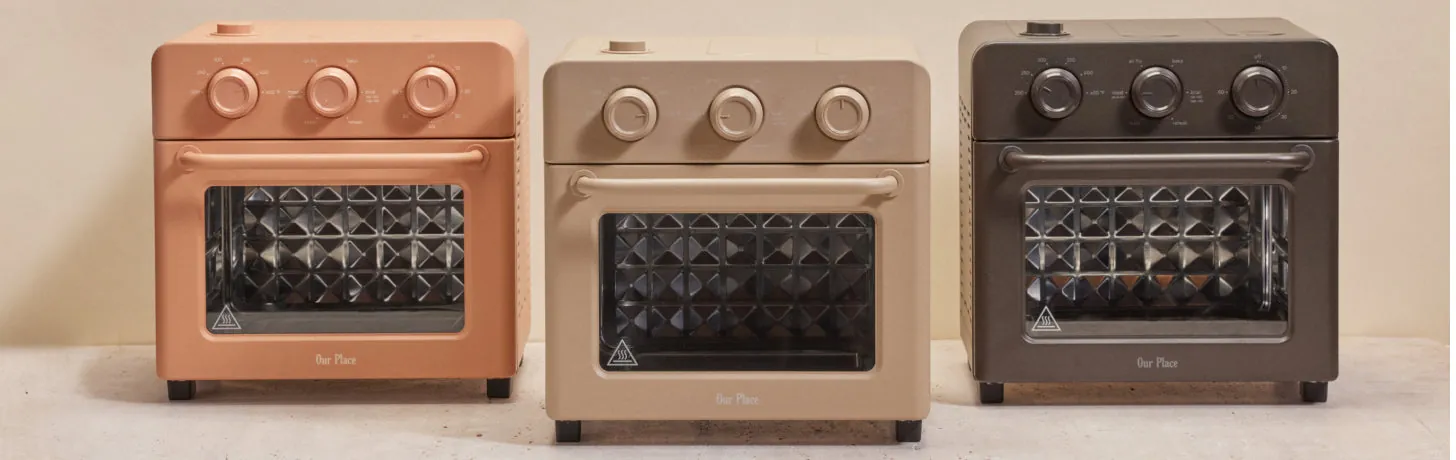
Three kinds of people search for this. The first just unboxed a Wonder Oven and wants to cook dinner tonight — they need the dials explained and one simple first recipe. The third is comparing it to a regular oven or an air fryer before buying, and wants limits, not a sales pitch.
This page serves the first two readers best. If you own the oven and want clear steps, timing, and fixes, you’re in the right place. If you’re still deciding whether to buy one, the specs, capacity, and price change often — check the official Our Place product page for today’s numbers rather than trusting a blog.
The rest of this page assumes one thing: you have the oven in front of you, plugged in, and you’re ready to cook. It also assumes you’ll read your own manual for anything specific to your model or voltage, because details can differ between versions and countries.
What changes your results
Preheating is the biggest one. Cold-start cooking adds roughly 3 to 5 minutes and gives you pale, uneven tops on baked goods. If you’re reheating leftovers or toasting bread, you can skip it. If you’re baking, roasting meat, or cooking anything you want browned, preheat first.
Batch size and crowding. One layer of food cooks fast and even. Pile it up and the hot air can’t move, so the bottom stays raw while the top burns. If your basket is more than about half full, cook in two batches instead of one.
Which mode you choose. Air Fry and Roast run hot and dry, so they crisp. Bake is gentler. Broil is top-only heat for a quick finish. Toast is preset. Picking the wrong mode is the mistake people make most — it costs you a burnt tray and a redo.
The temperature you set. Recipes written for a big oven often run 25°F higher than a small one needs. If your first try came out dark on the outside and dry inside, drop the temperature by 25°F next time and check 2 to 3 minutes earlier.
Step-by-step: your first cook
- Set the oven on a heat-safe surface. Leave about 4 inches of clear space behind and above it. Don’t push it against a wall or under a cabinet — the vents need room to breathe.
- Plug it into its own outlet. Don’t share the circuit with a kettle or a microwave. If the breaker trips, that’s why.
- Pick your mode on the top dial. Turn it to Air Fry, Bake, Roast, Broil, Toast, or Reheat. You’ll feel a click at each stop.
- Set the temperature on the middle dial. Turn to 350°F for baking, 375°F to 400°F for roasting vegetables, 400°F for frozen foods. The display shows your setting.
- Preheat for 3 to 5 minutes. Wait for the indicator light to go off. For toast or reheating, skip this step.
- Add food in a single layer. Leave a small gap between pieces. Don’t stack. If you’re cooking raw poultry, plan to check it with a thermometer at the end.
- Set the timer on the bottom dial. Start with 10 to 12 minutes for vegetables, 15 to 20 for chicken pieces, 8 to 10 for toast. You can always add more time.
- Check at the earliest time. Pull the basket out, look, and turn anything that’s browning on one side only. Add time in 2-minute blocks.
- Cook raw meat to temperature, not to time. Poultry needs 165°F in the thickest part, ground meat 160°F, whole cuts and fish with fins 145°F. Push the probe into the thickest part, away from bone.
- Rest, then serve. Let meat sit 3 to 5 minutes before cutting. Unplug the oven when you’re done.
The judgement call that separates a good cook from a rushed one is the check at step 8. Pulling the basket early costs you nothing. Pulling it too late costs you the whole batch.
Settings and timing at a glance
Every cook is a little different, so treat the times below as starting points. Your batch size, how cold the food is, and whether you preheated all move these numbers.
| Situation | What to do | Time it takes | What to watch for |
|---|---|---|---|
| Frozen fries, one layer | Air Fry at 400°F | 12–15 min, shake at 8 | Pale spots mean crowding |
| Chicken thighs, bone-in | Roast at 375°F | 25–30 min | Check 165°F in the thickest part, away from bone |
| Salmon fillet | Air Fry at 375°F | 8–10 min | Fish flakes at 145°F |
| Reheating leftovers | Reheat at 350°F | 5–8 min | Cover saucy food |
| Toast, 2 slices | Toast preset | 3–5 min | Watch it — it burns fast |
| Roasted vegetables | Roast at 400°F | 15–20 min | Shake halfway through |
| Small batch cookies | Bake at 350°F | 8–10 min | Check 2 min early |
What careful cooks do differently
They prep before they turn it on
Everything gets cut to the same size before the oven heats — roughly 1-inch pieces for vegetables, even thickness for meat. Uneven pieces finish at different times, so one piece burns while another stays raw.
Pat wet food dry with a paper towel too. Wet surfaces steam instead of browning.
Then toss in a little oil, just enough to coat. Oil helps the surface brown evenly instead of drying out. Skip it and you get pale, chewy results.
They check early and often
The first check happens at the shortest time in the range, not the longest. A quick look costs nothing; a burnt batch costs the whole meal.
They also rotate the basket once, about halfway through, so the front and back cook evenly.
Dense foods need a different approach than thin ones. Thick-cut potatoes or bone-in chicken can take several extra minutes past the printed time. Thin items like shrimp or sliced vegetables can be done early. When in doubt, pull one piece and cut into it.
They leave the door alone otherwise
Opening the oven drops the heat and adds time. Once the food is in, the next look should be at the timer, not before.
And they don’t line the basket with foil — it blocks airflow and defeats the whole point. Parchment made for air fryers works if you need it, but nothing should cover the holes.
Common problems and fixes
Here’s what usually goes wrong, why, and what to do about it next time.
| What you notice | What it usually means | What to do first | How to stop it happening again |
|---|---|---|---|
| Food burnt on top | Temperature too high | Drop temp by 25°F | Use a lower setting next time |
| Food raw in the middle | Crowded basket | Cook in two batches | Keep food in one layer |
| Pale, no browning | No preheat | Preheat 3–5 min | Preheat before every bake or roast |
| Uneven cooking | Food stacked or touching | Spread it out | Leave small gaps between pieces |
| Cooked too fast | Preset too high | Check 2 min earlier | Start at the low end of the range |
| Soggy results | Wet food or too much oil | Pat food dry | Dry food, light oil only |
| Smoke or burning smell | Grease on the heating element | Unplug and let it cool | Wipe the basket after every use |
Safety and the rules that apply
A few limits matter more than any recipe. Never put the oven in water or spray cleaner into the heating area — wipe the basket and tray only, with a damp cloth, once the unit is cool and unplugged. Never use metal utensils or foil inside, because they can scratch the coating or touch the heating element.
Don’t open the housing for any reason. The housing contains wiring and a hot heating element, so don’t open it. If the oven sparks, smokes heavily, or the fan stops, unplug it and contact Our Place support or a qualified appliance technician. Those aren’t do-it-yourself repairs.
Follow the wattage and voltage on the label, and use the plug type your country requires. In the US it plugs into a standard household outlet. If you’re outside North America, check the label and the official Our Place page for your region’s version before plugging anything in.
What it costs you in practice
The real cost isn’t just the oven — it’s the electricity, the time, and the food you throw away while learning. A small countertop oven like this draws less power than a full-size oven and heats a smaller space, so it usually uses less energy per cook. Exact wattage is printed on the label on the back of your unit.
Time is the bigger cost. Preheating adds 3 to 5 minutes to every bake. Cooking in two batches instead of one doubles the cook time. Learning your oven’s quirks might cost you one or two failed batches before you dial in the right temperature.
To keep costs down: cook full batches when you can, skip the preheat for reheating and toast, and check your food early rather than late. The price of the oven itself changes with sales and region — check the official Our Place site for today’s number rather than trusting a review.
Keeping it working well
Clean the basket and tray after every use, once they’re cool. Warm soapy water and a soft sponge are enough. Wipe the inside with a damp cloth; never submerge the unit or pour water into it. A dirty basket smokes and taints the flavor of the next thing you cook.
If you cook something fatty — chicken wings, bacon, sausages — give the basket a second wash rather than a rinse. Oil that stays behind bakes onto the nonstick and turns gummy, and from then on everything you cook picks up a stale note.
Check the outside for grease splatter every few uses. If you see smoke during a normal cook, that’s your sign the heating area has buildup — unplug it, let it cool fully, and wipe what you can reach from the opening. Don’t take it apart.
Store it with the cord loosely wrapped, not kinked, and keep it somewhere dry. If the fan gets loud, the door stops sealing, or the display flickers, stop using it and contact Our Place support. Those aren’t cleaning problems — they’re repair problems.
One habit worth keeping: dry the basket fully before it goes back in. Trapped water under the tray can rust or stain the base, so dry the basket fully.
When this isn’t the right tool
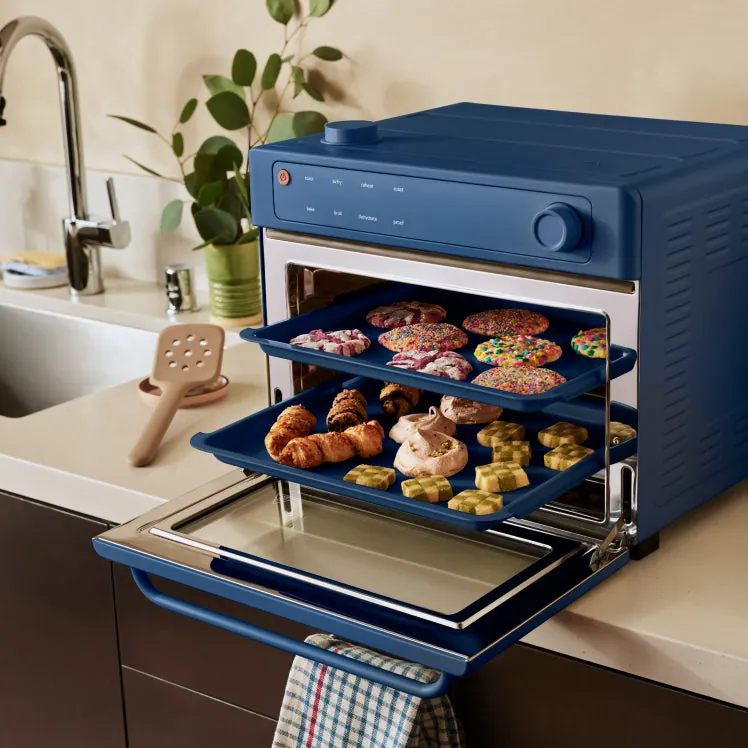
A countertop oven isn’t for everything. If you’re cooking for four or more people at once, a full-size oven holds more and cooks more evenly — use that instead. A Wonder Oven is best for one to three servings.
If you need a large roast, a whole turkey, or multiple trays at once, this won’t fit. Plan on a standard oven for those.
Size is the usual reason people buy the wrong one. Measure the interior before you commit, not the footprint on the counter. A model that fits a 12-inch pizza but not a 9-by-13-inch pan will send you back to the big oven for casseroles, which is most of what a small household actually cooks.
Two people who batch-cook on Sundays are a different case. If you roast once and reheat all week, the smaller capacity costs you extra rounds, and a full-size oven wins on time even though it heats a bigger box.
And if your unit has an electrical fault — sparking, a burning smell from the housing, or a dead display — don’t try to fix it yourself. Unplug it and contact Our Place support or a qualified technician. Opening the housing risks a serious shock.
Frequently asked questions
How long does the Wonder Oven take to preheat?
About 3 to 5 minutes to reach 350°F to 400°F. Smaller batches and lower temperatures heat faster. Skip the preheat entirely for toast and reheating — those don’t need it.
Can you put foil in a Wonder Oven?
No. Foil blocks airflow and can touch the heating element, which causes sparks. Use the basket and tray that came with it, and keep food in a single layer instead.
How do you clean a Wonder Oven?
Wipe the basket and tray with warm soapy water and a soft sponge once they’re cool. Wipe the inside with a damp cloth. Never submerge the unit or spray cleaner into the heating area.
Is it safe to leave a Wonder Oven plugged in?
It’s safe when it’s off and cool, but unplug it if you’re leaving the house or not using it for a while. Never leave it running unattended, especially with greasy food.
Why is my food burning on top?
Your temperature is too high, or you didn’t preheat and compensated with extra time. Drop the setting by 25°F and check 2 to 3 minutes earlier next time.
What temperature do you cook chicken in a Wonder Oven?
Cook until the thickest part reaches 165°F, usually 25 to 30 minutes at 375°F for bone-in pieces. Always check with a thermometer — time alone isn’t reliable.
Does the Wonder Oven need a special outlet?
It runs on standard household current in the US. Don’t share the circuit with another high-power appliance. Check the label on your unit and the official Our Place page for your region’s voltage.
What happens if I open it while it’s cooking?
The heat escapes and your food takes longer. Check once at the shortest time, then leave it closed until the timer goes off.
Your next step
Pick one simple recipe — frozen fries or roasted vegetables — and cook it tonight using the settings above. Expect slightly uneven results on your first try; that’s normal. Once you know your oven’s hot spots, everything else gets easier.
Cook a single tray, not two. One tray browns more evenly than two; if you need two trays, swap them halfway through and add two to three minutes. If you need two trays, swap them halfway through and add two to three minutes.
Write down what you actually used: the setting, the time, how the food looked. The next time you cook that dish, start from those notes instead of the manual. Two or three rounds and you’ll have your own chart for the meals you cook most.
If it sparks, smokes heavily, or the fan stops, unplug it and call Our Place support or a qualified technician.

Hello, This is Annie Walker, a 38-year-old blogger, founder, and editor of Cookware Guider from NY, USA. I am a cookware fanatic and passionate cooker. I love to cook with different types of cooking appliances (example: all types of cookware, rice cookers, slow cookers, etc) almost every day in my kitchen. I love to share my experience with my readers in my blog. Also, I enjoy helping people to solve their problems through my website. You can follow me on Twitter & Pinterest. To know details about my blog please check the about us page.