
Reheat pizza in the Our Place Wonder Oven at 350°F on the Bake setting for 5 to 8 minutes. Put the slices on the wire rack over the baking pan so hot air reaches the bottom. A thin slice takes about 5 minutes; a thick, loaded slice needs 8. You’ll know it’s ready when the cheese bubbles and the crust feels firm, not soft.
Three things change that timing. The thickness of the slice matters most, then whether the crust was thin or thick to start, and then how cold the pizza is. A fridge-cold slice needs the full time; a room-temperature slice is done sooner.
Start checking at 5 minutes and pull slices as they finish rather than pulling the whole tray at once. A plain cheese slice and a slice piled with vegetables and meat rarely land at the same moment.
If the top is browning before the middle is hot, drop to 325°F and give it another 2 minutes. If the crust is already crisp and the cheese hasn’t melted, move the rack up a notch.
The mistake is walking away. Two extra minutes turns a slice that was perfect at 6 into one with a leathery edge and cheese that has gone greasy.
Who should follow this method
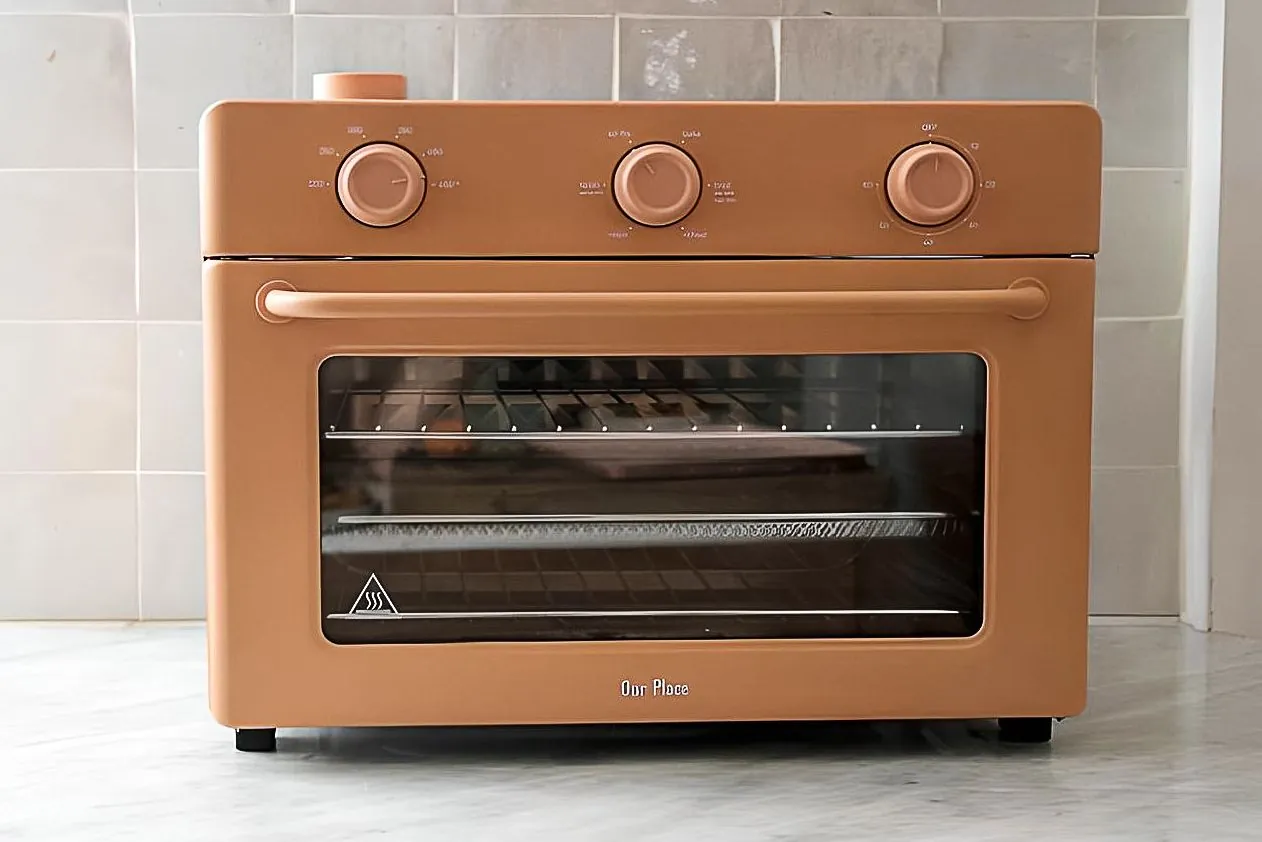
You’re standing in the kitchen with two cold slices and a small countertop oven, and you want them crisp again, not soggy. That’s the reader this page serves. You’ve used the Wonder Oven for toast or a frozen snack, you know where the Bake button is, and you don’t need a lesson on what the appliance does.
The second reader has a full box of leftover pizza and wants to reheat six slices at once. That’s a different job. The Wonder Oven’s rack is small, so slices overlap, steam gets trapped, and the bottom stays soft. If that’s you, reheat in batches of two or three, or use a full-size oven instead.
The third reader has one slice and a microwave, and is only checking whether the Wonder Oven does it better. It does, for texture. The microwave makes the crust rubbery in under a minute.
This page assumes you have the standard Wonder Oven with its wire rack and baking pan, and that your slices are already cooked. It doesn’t cover raw dough, frozen pizza, or a different brand of oven. Check your own manual for the exact rack position and any preheat guidance, since Our Place prints that for your model.
What decides how your slices turn out
Slice thickness and toppings. A thin slice with light cheese is done in about 5 minutes. A thick slice piled with vegetables, meat, or extra cheese needs 8 minutes, and the center may still be cool when the edges are hot. Press the middle with a finger — if it gives, it needs more time. This is the one people get wrong most often: they pull the pizza when the cheese looks melted, but the middle of a thick slice is still cold.
Rack versus pan. On the wire rack, air moves under the crust and the bottom crisps. Flat on the baking pan, the bottom steams and stays soft. Use the rack for crispness, and the pan only if your toppings would fall through the gaps.
How cold the pizza is. A slice straight from the fridge takes the full 5 to 8 minutes. One that’s been sitting out for 20 minutes needs about a minute less. Cold pizza also releases more water as it heats, so expect more steam.
Cheese type. Mozzarella melts and bubbles fast. Hard cheeses like Parmesan brown quickly and can turn bitter, so check at 4 minutes.
Where the rack sits. Closer to the top heating element means faster browning on top and a slower crisp underneath. The middle position is the safe default.
Step-by-step reheating
- Set the oven to Bake at 350°F. Turn the dial and let it run for 3 minutes before adding food. The light or display tells you it’s on; the interior should feel warm if you hold your hand near the open door.
- Place the wire rack inside, over the baking pan. The rack sits above the pan so drips fall through and air moves under the crust. You should see clear gaps between the bars.
- Lay 2 or 3 slices in a single layer. No overlaps. If a slice hangs over the edge, it won’t crisp evenly.
- Slide the pan onto the middle rack position. Close the door fully. A door that doesn’t latch lets heat escape and adds minutes.
- Set a timer for 5 minutes. Don’t walk away past 8 minutes total. Cheese goes from bubbling to burnt in about 60 seconds at this temperature.
- Check at 5 minutes. The cheese should be bubbling at the edges and the crust firm at the tip. If the cheese is melted but the crust is limp, give it 2 more minutes.
- For a thick slice, add 3 minutes. Check again at 8 minutes. Press the center — it should feel hot and firm, not soft.
- Lift slices out with a spatula or tongs. Let them rest 1 minute on a plate. The cheese sets slightly, so it doesn’t slide off.
The one judgement call is the crust bottom. A slice that looks perfect on top can still have a pale, soft base. Lift one corner with a spatula and look. If it’s still pale, flip it for the last 2 minutes — toppings down is messy, so most people just leave it another 2 minutes right side up.
Reheating options at a glance
| Your situation | What to do | What it takes | Watch for |
|---|---|---|---|
| 1 thin slice, fridge cold | Bake 350°F, 5 min | 8 min total | Burnt edges after 7 min |
| 2 thick slices | Bake 350°F, 8 min | 11 min total | Cold center |
| 4 or more slices | Two batches of 2 | About 16 min | Steam from stacking |
| Room-temperature slice | Bake 350°F, 4 min | 7 min total | Drying out |
| Very oily slice | Rack, not pan | 6 to 8 min | Smoke from drips |
| Slice with wet veggies | Pat dry first | 8 to 9 min | Soggy base |
| Want a crisp base fast | Rack, top position | 5 min | Top burns first |
What makes the difference between crisp and soggy
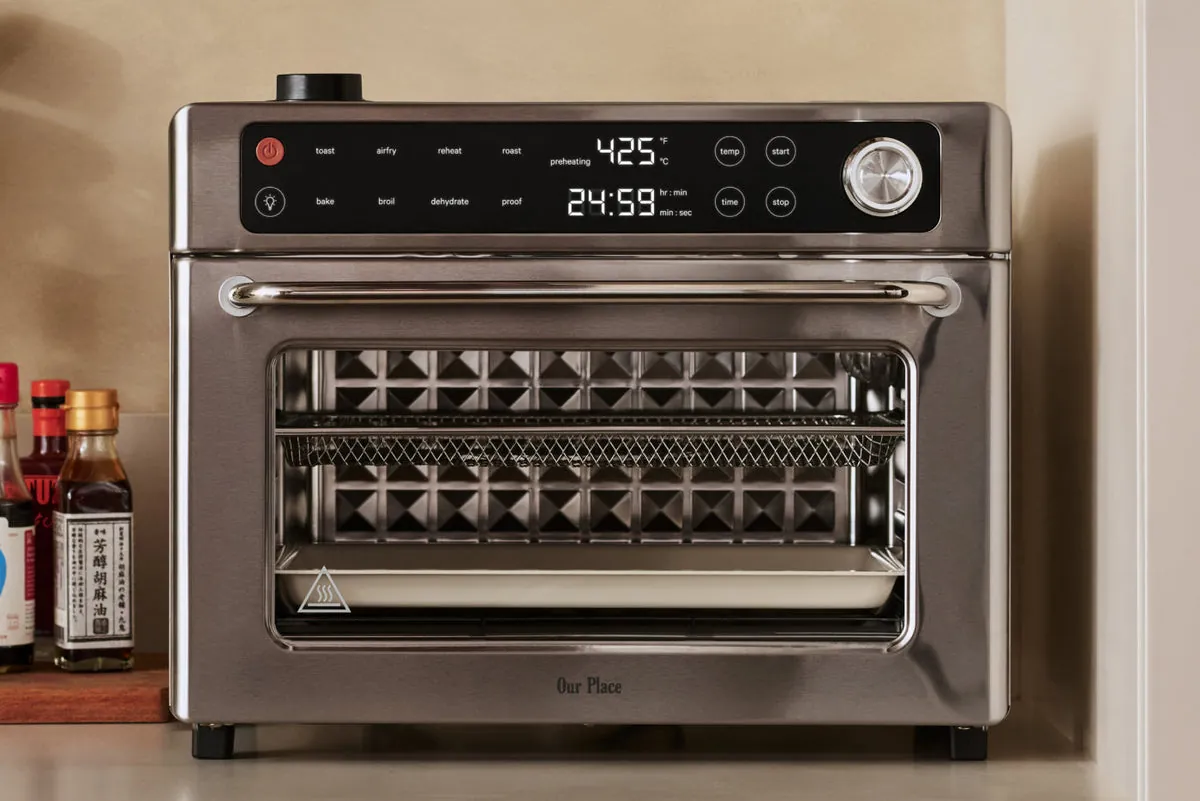
Prepare before you heat
Cold pizza holds surface moisture, and that moisture is what makes the base soggy. Blot the top and bottom of each slice with a paper towel before it goes in. For a slice with wet toppings like tomato or pineapple, pat those dry too.
Space matters as much as drying. Two slices side by side crisp; two slices touching steam each other. Leave a finger-width gap between them, and don’t crowd the rack even if it fits.
Watch it, don’t guess it
Check at the 5-minute mark every time, even when you’ve done this before. Ovens vary, and a Wonder Oven that’s been running for 20 minutes is hotter than one just switched on. The visual sign is bubbling cheese at the edges plus a firm crust tip.
Leave the door closed between checks. Opening it drops the heat and adds roughly a minute each time. If you must look, use the window.
What experienced cooks leave alone: the cheese. Don’t stir it, press it, or add more. It browns on its own, and touching it makes a mess.
Common problems and fixes
| What you notice | What it usually means | What to do first | How to stop it happening again |
|---|---|---|---|
| Soggy bottom | Steam trapped under slice | Blot and use the rack | Dry slices before heating |
| Burnt cheese, cold center | Heat too high, slice too thick | Lower to 325°F, add 3 min | Start lower for thick slices |
| Crust too hard | Left in too long | Pull at 5 min next time | Set a timer, check early |
| Cheese sliding off | Not rested after heating | Wait 1 minute before eating | Let slices set on the plate |
| Smoke from the oven | Grease dripping on pan | Turn off, let it cool, wipe pan | Use rack over pan, not bare pan |
| Uneven browning | Slices too close to element | Move to middle position | Keep slices in one layer |
| Reheated but still cold | Slice was fridge-cold and thick | Add 3 more minutes | Add time for thick, cold slices |
The rules that apply here
Our Place publishes the settings and safety guidance for the Wonder Oven in its own user manual, and that manual is the authority for your model. Follow its instructions for rack position, maximum temperature, and what’s safe to put inside. If your manual and this page disagree on a setting, trust the manual.
Don’t put metal foil, metal utensils, or any metal container in the oven unless Our Place’s manual says your model allows it. Don’t cover the heating elements. Keep the oven on a heat-safe surface with clearance around it, since the exterior gets hot.
Unplug the oven and let it cool completely before cleaning the interior. Never pour water inside or submerge the unit. If the oven sparks, smells like burning plastic, or the door won’t close, stop using it and contact Our Place support rather than opening it up. Anything inside the housing is a job for a qualified technician, not a home fix.
What this actually costs you
The real cost is time, not money. Reheating two slices takes about 8 minutes from a cold start, and most of that’s waiting. Doing it in batches for a full box of pizza stretches to 16 minutes or more, which is longer than most people expect when they open the fridge.
Electricity is small. The Wonder Oven draws a modest amount of power for a short run, so a single reheat costs cents in most US households. Your exact rate is on your utility bill, and the oven’s wattage is printed on its label or in the manual, so you can work out your own number if you care.
The cost that adds up is waste. Overheating dries a slice past saving, and burnt cheese means the whole slice goes in the bin. Checking at 5 minutes instead of guessing saves more than any setting change.
Effort is low: about 2 minutes of hands-on work for blotting, loading, and checking. The rest is the oven’s job.
Keeping slices good after reheating
Eat reheated pizza within 2 hours, and don’t reheat the same slice twice. Each pass through the oven dries the crust further, and the second reheat is never as good as the first. If you have more slices than you can eat now, reheat only what you’ll finish.
Store leftover pizza in the fridge in a sealed container or wrapped tightly. Beyond that, throw it out — you can’t smell or taste the bacteria that cause problems.
The sign a slice isn’t worth reheating: a sour smell, slimy cheese, or a crust that’s gone soft and damp in the box. Toss it. No oven setting fixes spoiled food.
If your reheated slice comes out dry, a light brush of olive oil on the crust before it goes in helps next time. Don’t add oil after — it just sits on top.
When the Wonder Oven isn’t the right tool
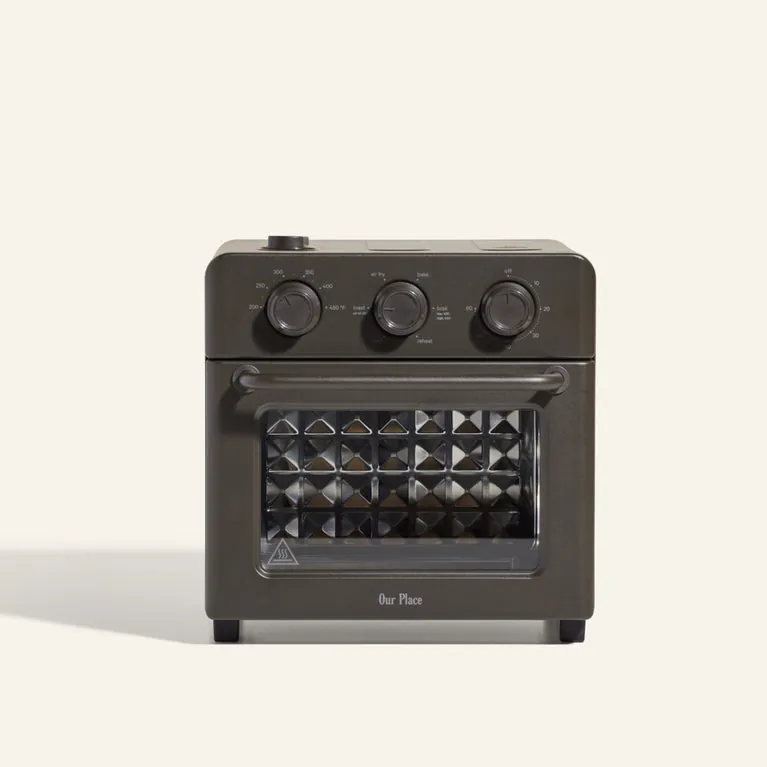
If you’re reheating a whole pizza or more than four slices at once, use a full-size oven or a large toaster oven. The Wonder Oven’s rack is too small for that volume, and batching takes longer than the big oven would.
If you want pizza in under 2 minutes and don’t care about a crisp crust, use a microwave. It’s faster and softer, and for some people that’s fine.
If your Wonder Oven is sparking, tripping a breaker, or the door won’t latch, stop. That’s not a reheating problem, and it’s not something to fix at home. Contact Our Place support or a qualified appliance technician.
One more case worth naming: a single slice. The Wonder Oven is built for small loads, so one slice is where it beats both alternatives. It reheats in a few minutes and gives you a crisp bottom without heating a whole oven for one piece.
If you’re reheating two or three slices, it still works, but you’ll want to lay them flat rather than stack them, since stacking steams the bottom slice and you lose the crispness you bought the appliance for. Above four slices, switch to the big oven.
Frequently asked questions
How long does it take to reheat pizza in the Wonder Oven?
About 5 minutes for a thin slice and 8 minutes for a thick one at 350°F on Bake, plus 3 minutes of preheating. Add 1 to 2 minutes if the slice is fridge-cold. Check at 5 minutes so you don’t overshoot into burnt cheese.
Can you reheat pizza in the Wonder Oven without a rack?
Yes, but the bottom will stay soft. The baking pan alone traps steam under the crust. If you don’t have the rack, put the slice on a piece of parchment on the pan and accept a softer base, or use a skillet on the stove instead.
Why is my reheated pizza soggy?
Steam is the cause. Cold slices carry surface moisture, and if they sit flat on a pan or touch each other, that moisture has nowhere to go. Blot the slice, use the wire rack, and leave a gap between slices. That fixes most soggy results.
Is it safe to reheat pizza in the Wonder Oven?
Yes, if the oven is working normally and you follow the manual. Reheat until the slice is steaming hot throughout, not just warm at the edges. If your oven sparks or smells like burning plastic, unplug it and contact Our Place support before using it again.
What temperature should I use to reheat pizza?
350°F on Bake is the standard setting. Drop to 325°F for a thick, heavily topped slice so the center heats through before the cheese burns. Raise nothing above what your manual allows for your model.
How many slices can I reheat at once?
Two or three, in a single layer with space between them. More than that overlaps, traps steam, and leaves the bottom soft. For a full box, reheat in batches of two or three and expect about 8 minutes per batch.
Does reheating pizza in the Wonder Oven make it crispy again?
It can, if you use the wire rack and don’t crowd the slices. The rack lets hot air reach the bottom, which is what crisps the crust. On a flat pan, the same slice comes out soft no matter how long you leave it.
What happens if I reheat pizza twice?
The crust dries out and gets hard, and the cheese turns rubbery. It’s safe to reheat twice if the pizza was refrigerated properly in between, but the texture drops a lot. Reheat only what you’ll eat in one sitting.
Start with two slices and 5 minutes
Pull two slices from the fridge, blot them, and set the Wonder Oven to Bake at 350°F. Load them on the rack in a single layer and check at 5 minutes. You’ll get a bubbling top and a firm, crisp base, and you’ll know your oven’s real timing for next time.
Thin slices and thick ones don’t finish together. If your slices are thin, start checking at 4 minutes. If they’re thick or still cold in the middle, give them 7 to 8 and expect the cheese to brown before the center is hot.
Cold slices are the usual reason a first batch comes out pale and floppy. Let them sit on the counter for 10 minutes while the oven preheats, or add 2 minutes to the bake.
If the oven sparks, smells wrong, or the door won’t latch, stop and call Our Place support or a technician.

Hello, This is Annie Walker, a 38-year-old blogger, founder, and editor of Cookware Guider from NY, USA. I am a cookware fanatic and passionate cooker. I love to cook with different types of cooking appliances (example: all types of cookware, rice cookers, slow cookers, etc) almost every day in my kitchen. I love to share my experience with my readers in my blog. Also, I enjoy helping people to solve their problems through my website. You can follow me on Twitter & Pinterest. To know details about my blog please check the about us page.