
Set the Wonder Oven to Air Fry, put food on the wire rack in the middle position, and give it 3 to 5 minutes less than a full-size air fryer recipe. Most foods need 350°F to 400°F, and you’ll want to shake or flip halfway.
Three things change that answer. The food’s thickness sets the time. The portion size sets whether one layer fits. And your model’s wattage sets how fast it all happens.
Thin items are where the smaller basket bites hardest. Frozen fries, nuggets, and anything under half an inch can go from pale to scorched in two minutes, so check at the low end of the range and add time in one-minute bursts.
Crowding is the mistake that ruins a batch. If pieces touch or overlap, they steam instead of crisping, and you get soggy centers with burnt edges. Cook in two batches rather than pile it up.
When you’re unsure, start lower and longer. Drop the temperature by 25°F and add 2 minutes, then adjust from there.
Who this page is for
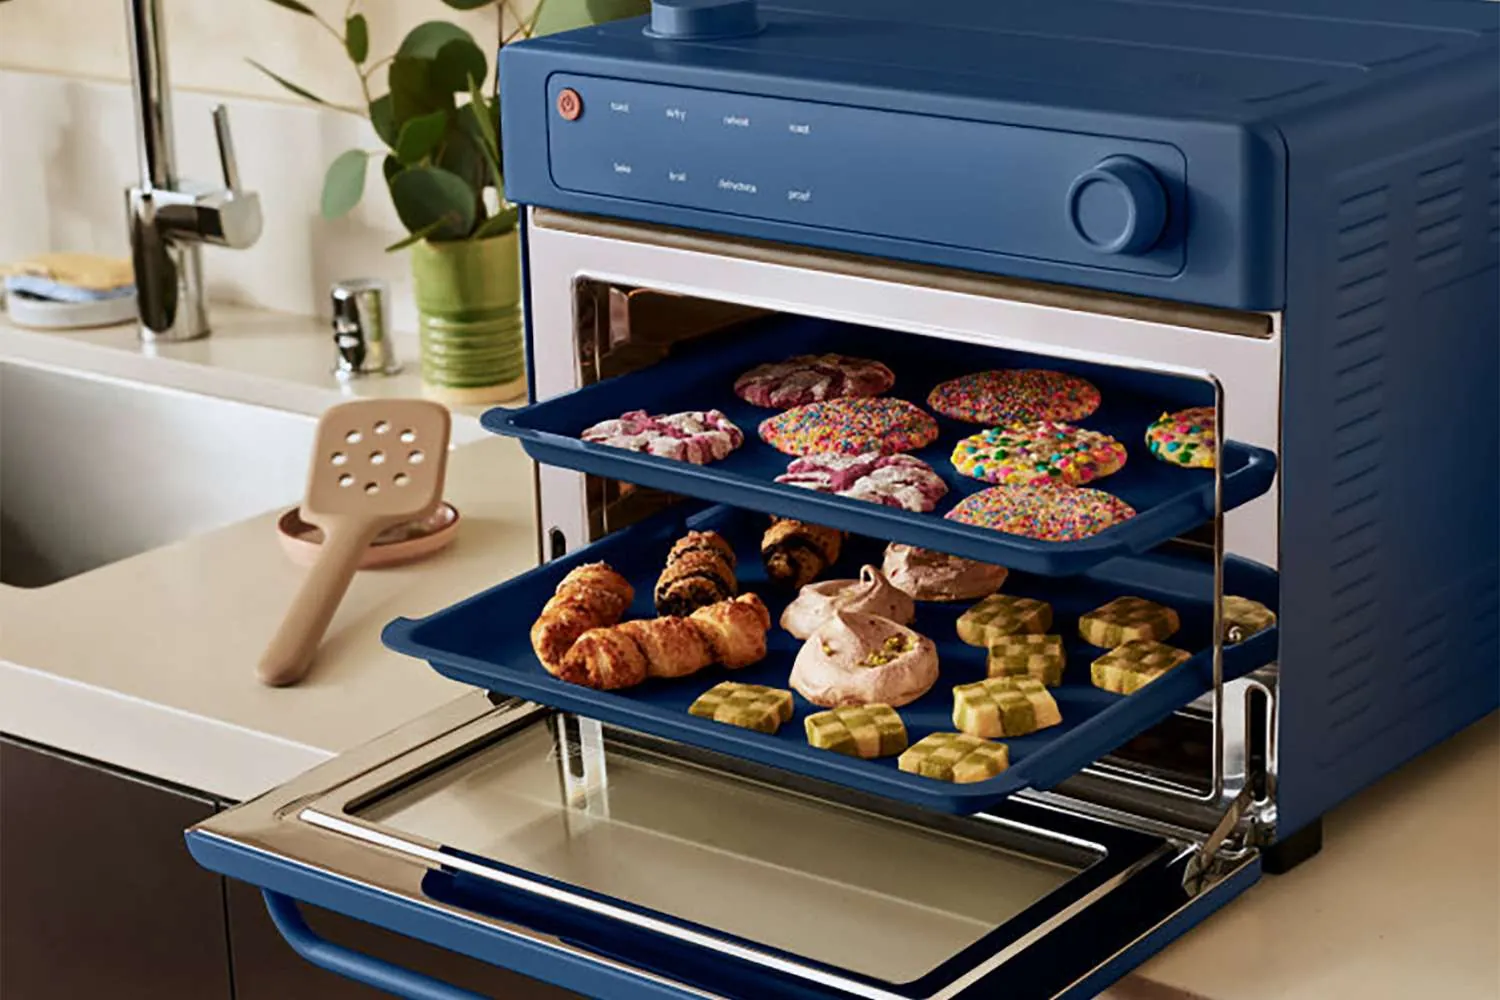
You just unboxed a Wonder Oven and you’re staring at the Air Fry button, wondering if it works like the big air fryer you used at a friend’s place. You’ve got the manual somewhere, but it’s thin and it doesn’t tell you what to actually do with chicken wings.
Another reader has had the oven for months and uses Bake and Roast constantly. Air Fry still feels like a mystery mode, so it goes unused. You want one clear method you can repeat.
A third reader cooks for two people and wants fast weeknight food. You don’t care about the theory. You want to know the temperature, the time, and whether you need to preheat.
This page serves the first and third readers best. It assumes you have a Wonder Oven with an Air Fry function, a wire rack, and basic kitchen tools. If you’re cooking for six or more at once, a full-size air fryer or a sheet pan in a regular oven will serve you better. The Wonder Oven’s basket is small by design.
What changes your results
Portion size and crowding. This is the one people get wrong most. Air fryers work by moving hot air around the food. If pieces touch or overlap, the air can’t reach the surfaces, and you get steaming instead of crisping. One layer, with a little space between pieces, is the rule. If you’ve got more food than that, cook it in two batches. The second batch takes the same time as the first, so plan for double.
Thickness, not weight. A thin cutlet and a thick chicken breast can weigh the same and need very different times. Judge by the thickest part of the piece. Under half an inch cooks fast. Over an inch needs more time and often a lower temperature so the outside doesn’t burn first.
Your model’s wattage. Wonder Oven models vary in power. A higher-wattage unit reaches temperature faster and browns quicker. Check the label on the back of your oven or the spec page of your model’s manual for the wattage figure. If your food is browning too fast on the outside, drop the temperature by 25°F.
Preheating. Some air fry recipes assume a preheated chamber.
Step-by-step air frying in a Wonder Oven
Pull the rack and basket out. Set the wire rack in the middle slot. Confirm the crumb tray sits below it, or drips will burn on the element.
Preheat on Air Fry for 2 to 3 minutes at your target temperature. The display should hold steady before you open the door. If it’s still climbing, give it another minute.
Pat the food completely dry with paper towels. Surface moisture is the main reason air-fried food comes out pale. Dry chicken skin, dry potato wedges, dry tofu cubes.
Toss with 1 to 2 teaspoons of oil per pound of food. Enough to make the surface glossy, not pooled. Too much oil smokes.
Arrange in a single layer with gaps between pieces. No stacking, no overlapping. If it doesn’t fit, cook in batches.
Set the temperature. Use 400°F for frozen fries, nuggets and vegetables. Use 375°F for chicken wings and thicker cuts. Use 350°F for anything coated in batter or breadcrumbs.
Set the time to about 80% of what a full-size air fryer recipe says. If the recipe says 20 minutes, start at 16. You can always add time; you can’t undo burnt food.
Shake the basket or flip the food at the halfway mark. Use tongs for anything delicate. This is the step that makes the difference between even browning and one burnt side.
Check the internal temperature with a probe thermometer. Poultry needs 165°F in the thickest part. Ground meat needs 160°F. Whole cuts of beef, pork and fish with fins need 145°F. Reheated leftovers need 165°F. Shrimp, scallops, crab and lobster have no chart number — cook them until the flesh is pearly or white and opaque.
Rest the food for 2 to 3 minutes before eating. The inside keeps cooking for a moment after it leaves the heat.
The judgement call is knowing when to stop. Air frying keeps going after you pull the basket, so pull food 1 to 2 minutes before it looks perfect. If you wait until it’s exactly the color you want in the oven, it’ll be a shade darker on the plate.
Air fryer settings for common foods
Times below assume a single layer and a preheated Wonder Oven. Add 2 to 3 minutes if you skipped the preheat, and add 3 to 5 minutes if your pieces are thicker than the size listed.
| Food | Setting | Time | Watch for |
|---|---|---|---|
| Frozen fries | 400°F | 14-18 min | Shake at 8 min |
| Chicken wings | 375°F | 20-24 min | Flip at 12 min |
| Chicken breast, 1 inch | 375°F | 16-20 min | Check 165°F |
| Salmon fillet, 1 inch | 375°F | 9-12 min | Check 145°F |
| Breaded nuggets | 375°F | 10-13 min | Shake at 6 min |
| Broccoli florets | 400°F | 8-10 min | Shake at 5 min |
| Reheated leftovers | 350°F | 5-8 min | Check 165°F |
Pile fries or nuggets two deep and the ones underneath steam instead of crisping, so you get pale, limp pieces and a longer cook that dries out the top layer. Cook in two batches if you have to.
Breading needs a light coat of oil spray before it goes in, or the coating blows off in the fan and leaves bare patches. Ten seconds of spray is enough.
The times above are for fresh or fully thawed food. Frozen chicken breast or a solid block of leftovers needs closer to 25 minutes at 375°F, and you should check the center rather than trust the clock.
When in doubt, pull a piece early and cut into it. You can always add 2 minutes; you can’t undo dry chicken.
What good air frying looks like
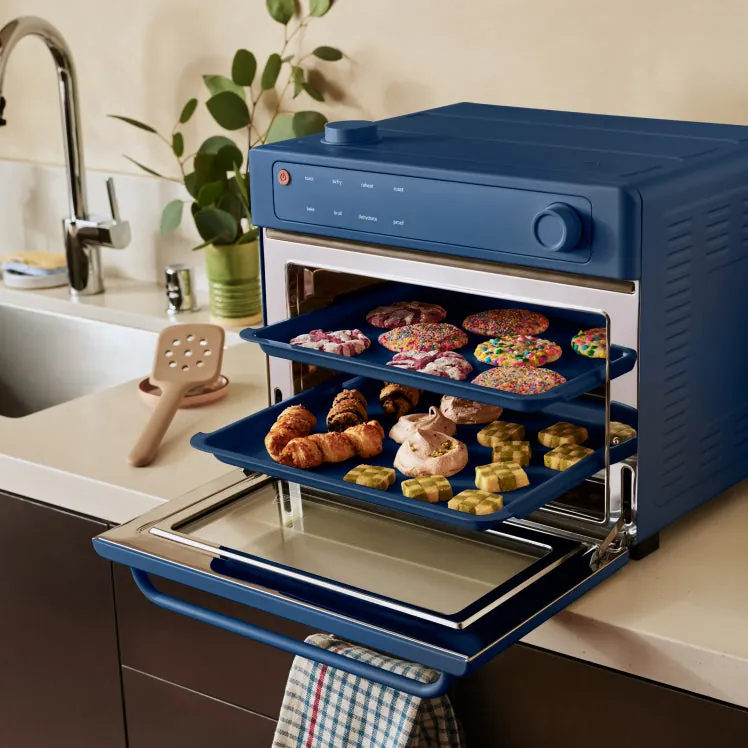
Prep and loading
Experienced cooks dry the food before it goes in. They lay pieces flat with air gaps, and they don’t stack. A crowded basket is the single biggest reason home results look soggy next to a restaurant version. If your food comes out pale and soft, look at the basket before you look at the settings.
They also oil the food, not the basket. A light coating on the surface helps browning. Oil sprayed on the basket just burns onto the metal.
Timing and checking
The habit that separates a good result from a poor one is pulling the basket early and checking. Set the timer for less than you think you need. Open the door, look, and add 2 minutes at a time.
What experienced cooks leave alone is the temperature dial. Changing the temperature mid-cook to “speed things up” is what burns the outside before the inside is done. Pick a temperature, hold it, and adjust time only.
Common air fryer problems and fixes
Here’s what usually goes wrong, and the fastest fix for each.
| What you notice | What it usually means | What to do first | How to stop it again |
|---|---|---|---|
| Pale, soft exterior | Basket too crowded | Cook in two batches | Single layer, gaps between |
| Burnt outside, raw inside | Temperature too high | Drop to 350°F | Lower temp, longer time |
| Food sticks to rack | No oil on the food | Oil the food lightly | 1-2 tsp oil per pound |
| Smoke from the oven | Oil pooled on tray | Wipe the tray clean | Use less oil next time |
| Uneven browning | No shake or flip | Flip at halfway | Set a timer for halfway |
| Dry chicken breast | Cooked too long | Pull 2 min earlier | Check at 165°F, not more |
| Cold center | Pieces too thick | Add 3-5 minutes | Cut to even thickness |
The rules that apply
Food safety temperatures come from the USDA Food Safety and Inspection Service. Poultry, including chicken and turkey, must reach 165°F. Ground meat must reach 160°F. Reheated leftovers must reach 165°F.
These are internal temperatures, not oven settings. A 375°F oven setting doesn’t mean the food inside is at 375°F. Use a probe thermometer in the thickest part, away from bone and fat.
Cooked and ready-to-eat foods aren’t safe by default. Listeria grows in the fridge, and cooked shrimp, deli meat and smoked fish are recalled for it. Handle cooked food with the same care as raw food — clean hands, clean tongs, clean plates.
The Wonder Oven is a countertop appliance. Never open the housing, never touch the heating element, and never put it in water. If your unit sparks, smells like burning plastic, or trips your breaker, unplug it and contact the manufacturer. That’s a technician’s job, not yours.
What this costs you
The main cost is time, and it’s small. Add 5 to 10 minutes if you’re cooking in two batches.
Electricity is the other cost. The exact figure depends on your oven’s wattage and your local electricity rate — both are on your appliance label and your utility bill.
The hidden cost is food that doesn’t fit. If you’re cooking for four or more, you’ll run two or three batches, and that time adds up. In that case, a larger air fryer or a sheet pan in the regular oven is often faster overall.
There’s no maintenance cost beyond cleaning. Parchment liners and foil are optional and cheap, but they block airflow if you line the whole basket. Skip them for crisper results.
Keeping your Wonder Oven in good shape
Wipe the basket and rack with warm soapy water after every use, once the unit has cooled. Food residue on the rack is what smokes on the next cook. The crumb tray at the bottom needs a wash too — that’s where drips land.
Check the heating element area for grease buildup every few weeks. If you see dark spots that don’t wipe off, that’s baked-on oil, and it’ll taste like it on the next batch. A soft cloth with warm water handles most of it. Never use metal scrubbers on the interior coating.
The sign your oven needs attention is smoke on a normal cook, or food that browns unevenly no matter how you arrange it. Both point to residue or a failing element. Residue you can fix. An element you can’t — that’s a manufacturer or service center call.
Store the oven with the door slightly open if your manual says to. Trapped moisture between uses can leave a smell.
When air frying is the wrong choice
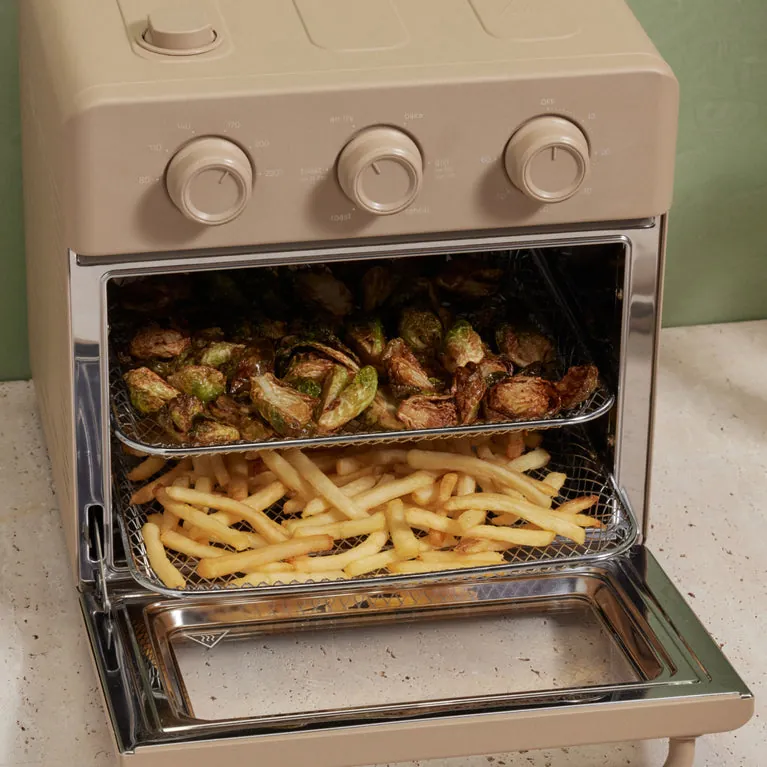
Air frying in a Wonder Oven is wrong for wet batters. Thin pancake-style batter or beer batter will drip through the rack before it sets. Use a deep fryer or a skillet with oil instead.
It’s also wrong for very large pieces. A whole chicken or a 3-pound roast won’t fit in a single layer, and the outside will burn before the inside cooks. Use a regular oven for those.
And it’s wrong for anything that needs a hard sear. An air fryer’s circulating hot air doesn’t sear like a cast iron pan, so you won’t get the same crust. If crust matters — steak, scallops, a good burger — use a skillet on the stove.
If you’re unsure whether your food is safe, use a probe thermometer. If you don’t have one, buy one. It’s the single tool that makes air frying reliable.
Frequently asked questions
Can you put foil in a Wonder Oven air fryer?
Yes, but only in small pieces, and never covering the whole rack. Foil blocks airflow, which is the whole point of air frying. If you use it, poke holes and leave the sides open so hot air still moves around the food.
Why is my air fried food soggy?
Sogginess comes from moisture and crowding. Pat the food dry before cooking, use a single layer with gaps, and don’t stack pieces. If you added oil, use less — 1 to 2 teaspoons per pound is plenty. Frozen foods release water as they thaw, so shake the basket at halfway to let steam escape.
How long do chicken wings take in a Wonder Oven?
About 20 to 24 minutes at 375°F for wings in a single layer, flipped at the 12-minute mark. Add 3 to 5 minutes if your wings are larger than usual or if you skipped the preheat. Check the thickest part reaches 165°F before serving.
Is it safe to reheat leftovers in an air fryer?
Yes, if they reach 165°F throughout. Set the Wonder Oven to 350°F and give it 5 to 8 minutes, stirring or shaking once. The USDA says reheated leftovers need 165°F, the same as the first cook. Use a probe thermometer to confirm.
What happens if I skip preheating?
You’ll add about 2 to 3 minutes to your cook time, and the first side may brown less evenly. Preheating on Air Fry for 2 to 3 minutes gives a more consistent result. It’s not unsafe to skip — just slower and less even.
Does the wattage of my Wonder Oven matter?
Yes. Higher wattage means faster heating and quicker browning. Check the label on the back of your oven or your model’s spec page for the wattage. If food browns too fast on the outside, drop the temperature by 25°F and add a few minutes to the time.
Can I air fry frozen food directly from the freezer?
Yes, and most frozen foods are designed for it. Add 2 to 4 minutes to the package air fryer instructions, since a Wonder Oven is smaller than a full-size unit. Shake at halfway. Check that any meat or poultry reaches its safe internal temperature before eating.
How often should I clean the basket?
After every use, once it’s cool. Residue from the last cook is what smokes on the next one. A quick wash with warm soapy water takes about 2 minutes.
Start with one batch of fries
Pick frozen fries for your first cook. Set the Wonder Oven to 400°F, preheat 2 to 3 minutes, spread one layer, and set the timer to 14 minutes. Shake at 8. You’ll get crisp fries and a feel for how fast this oven works.
Thin shoestring fries finish closer to 11 minutes, while thick steak-cut ones need the full 14 and sometimes 16. When in doubt, pull one fry at 10 minutes and bite it. A pale, floppy center means give it the rest of the time.
Expect your first batch to need a small adjustment — most people add or subtract 2 minutes on the second try. Crowding the basket is the usual culprit behind soggy fries, so keep them in a single layer even if that means cooking in two batches.
If your food smokes, sparks, or the oven smells like burning plastic, stop and unplug it. That’s a manufacturer call, not a home fix.

Hello, This is Annie Walker, a 38-year-old blogger, founder, and editor of Cookware Guider from NY, USA. I am a cookware fanatic and passionate cooker. I love to cook with different types of cooking appliances (example: all types of cookware, rice cookers, slow cookers, etc) almost every day in my kitchen. I love to share my experience with my readers in my blog. Also, I enjoy helping people to solve their problems through my website. You can follow me on Twitter & Pinterest. To know details about my blog please check the about us page.