Many people love the look and feel of wood slices for serving food, making cheese boards, or even as rustic plates. But can you just grab a piece of wood, slice it up, and put your snacks on it? Not quite. Making wood slices food safe is a careful process—one that protects your food, your family, and the beauty of the wood itself. Unsafe wood can leach toxins, harbor bacteria, or even splinter into your meal. But when you treat wood properly, you get natural serving pieces that are both attractive and practical.
If you’ve ever wondered how to turn a simple log into a safe, eye-catching serving board, this guide will show you every step. You’ll learn how to pick the right wood, clean and sand slices, choose the best food-safe finishes, and maintain them for years.
You’ll also discover common mistakes people make, plus tips that most beginners miss. Whether you want to make DIY gifts, start a small business, or just enjoy a safer kitchen, this article will help you do it right.
Understanding Food Safety And Wood
Before you begin, it’s important to know what makes wood safe or unsafe for food contact. Not all wood is created equal—some types contain natural toxins, while others are more porous and harder to clean.
Why Food Safety Matters
When wood touches food, there is a risk of bacteria and chemicals transferring to what you eat. Untreated wood can absorb moisture, leading to mold or germs. Some wood finishes are unsafe and can make people sick if they mix with food. That’s why knowing which woods and finishes are safe is essential.
What Makes A Finish Food Safe?
A food-safe finish is one that is non-toxic, does not break down in contact with food, and does not harbor bacteria. Some oils and waxes are safe after they cure (harden), while others stay sticky or leach chemicals. For any finish, always check if it’s rated as food safe by the manufacturer.
Choosing The Right Wood For Food Use
Not all trees are suitable for food contact. Some have toxic resins or strong odors that can spoil your food or even harm you.
Safe Wood Types
The best woods for food use are hardwoods. They are dense, less porous, and less likely to splinter. Some great choices:
- Maple (sugar maple): Very durable, fine grain, and commonly used for cutting boards.
- Beech: Smooth, pale, and hard.
- Walnut: Dark, beautiful, and safe after finishing.
- Cherry: Attractive color, easy to work with.
- Oak: Hard and traditional, but its open grain means it needs more sealing.
Woods To Avoid
Some woods are dangerous for food use. These include:
- Softwoods like pine, cedar, and fir: They are too porous and may leach sap or resin.
- Exotic woods like yew, sassafras, or iroko: Many contain natural toxins.
- Any wood with visible mold, rot, or insect holes.
Picking And Preparing Your Wood Slice
After choosing the right tree, select a slice that is at least 1 inch thick for durability. Avoid pieces with cracks or loose bark—these can hide bacteria and are likely to break.
Table: Common Woods For Food-safe Slices
| Wood Type | Food Safe? | Durability | Notes |
|---|---|---|---|
| Maple | Yes | High | Popular, fine grain |
| Beech | Yes | High | Light color, smooth |
| Walnut | Yes | Medium | Dark, stylish |
| Pine | No | Low | Too soft, resinous |
| Cedar | No | Medium | Contains oils, strong odor |
Credit: www.deliacreates.com
Preparing Your Wood Slice Step By Step
Proper preparation is the key to making your wood slice both beautiful and food safe.
1. Drying The Wood
Freshly cut wood is full of moisture. If you skip drying, your slice can crack, warp, or grow mold later. Air dry your slices for several months in a cool, dry place. For small pieces, an oven at low heat (around 200°F) for a few hours can speed up the process—just monitor closely to avoid burning.
2. Removing Bark (optional)
Bark looks rustic but can hide dirt and bugs. It also tends to fall off over time. Use a chisel or sturdy knife to gently pry off the bark. Sand the edges to smooth any rough spots.
3. Sanding
Start with coarse sandpaper (around 80 grit) to remove rough surfaces, then work up to finer grits like 220 for a smooth finish. Sand both sides and all edges. A smooth surface is easier to clean and won’t splinter.
4. Cleaning
After sanding, remove all dust. Wipe your slice with a damp cloth, then let it dry fully. Avoid strong cleaners, as they can soak into the wood.
5. Sanitizing
To kill germs, wipe the wood with a mix of one part white vinegar to four parts water. Let it dry completely before moving to the next step. Never soak the wood, as this can cause swelling.
Choosing And Applying Food-safe Finishes
The right finish makes your wood slice water-resistant, easier to clean, and safer for food.
Popular Food-safe Finishes
Here are the most common and reliable options:
- Mineral oil: Pure, clear, and won’t spoil. It penetrates the wood to prevent drying and cracking.
- Beeswax: Natural, adds a soft sheen, and pairs well with mineral oil.
- Walnut oil: Hardens in wood, but avoid if anyone has nut allergies.
- Pure tung oil: Dries to a strong, waterproof finish. Takes longer to cure, but very durable.
- Shellac: Made from lac beetle resin. Safe when dry, but not as water-resistant as oils.
Avoid finishes like polyurethane, lacquer, or paints unless labeled food-safe—most are not.
Table: Comparison Of Food-safe Finishes
| Finish | Water Resistance | Ease of Application | Notes |
|---|---|---|---|
| Mineral Oil | Good | Easy | Needs reapplication every few months |
| Beeswax | Moderate | Medium | Often mixed with oil for best result |
| Tung Oil | Excellent | Medium | Long cure time, pure oil only |
| Walnut Oil | Good | Easy | Check for allergies |
| Shellac | Low | Easy | Not ideal for wet foods |
How To Apply A Food-safe Finish
- Warm the oil or wax: This helps it soak into the wood.
- Rub in with a clean cloth: Apply a generous amount, rubbing with the grain.
- Let it soak: Leave for at least 20 minutes (or longer for oils like tung oil).
- Wipe off excess: Use a clean, dry cloth.
- Repeat: For the first treatment, apply 2-3 coats, letting each dry fully.
- Buff the surface: For wax, buff with a soft cloth for shine.
Non-obvious tip: Let each coat fully cure before the next. Rushing this step can trap moisture or leave a sticky finish.
Maintaining Your Food-safe Wood Slices
Proper care keeps your wood slices safe and looking good for years.
Cleaning After Use
- Wipe with a damp (not soaking wet) cloth after each use.
- For sticky spots, use mild soap and water, then dry immediately.
- Never soak or put in the dishwasher—this causes warping and cracking.
Re-oiling
Your slice will dry out and lose its water resistance over time. Reapply mineral oil or your chosen finish every few months, or when the wood looks dry.
Storing
Store wood slices in a dry area. Avoid direct sunlight or very humid places. If stacking, put a paper towel between slices to prevent sticking.
Table: Do’s And Don’ts For Wood Slice Care
| Do | Don’t |
|---|---|
| Wipe clean after use | Soak in water |
| Reapply oil regularly | Use harsh chemicals |
| Dry fully before storing | Store in damp areas |
| Buff with a soft cloth | Put in dishwasher |
Common Mistakes To Avoid
It’s easy to make errors when first making wood slices food safe. Here are some common pitfalls:
- Using the wrong wood: Softwoods or toxic woods can ruin your project.
- Skipping the drying stage: Wet wood will crack and warp later.
- Not sanding enough: Rough surfaces trap bacteria and splinter.
- Applying too much finish at once: Leads to sticky surfaces.
- Not letting finishes cure: Some oils take days or weeks to harden.
Non-obvious insight: If your finish stays sticky after several days, you may have used too much or not let it cure. Remove with mineral spirits (for oil) and start again.
Safety Tips And Special Considerations
Allergies
Some finishes, like walnut oil, can trigger nut allergies. If you’re giving the board as a gift or selling it, choose a hypoallergenic finish like mineral oil.
Antibacterial Properties
Contrary to popular belief, wood itself has some natural antibacterial properties. Studies show that bacteria dies off more quickly on wood than on plastic, as long as the wood is dry and well-maintained. But this does not mean you can skip cleaning!
Repairing Damage
If your wood slice develops cracks or splinters, sand the area smooth and reapply your finish. For deep cracks, fill with food-safe wood filler or beeswax.
When To Retire A Slice
If your slice becomes heavily cracked, moldy, or starts to smell musty even after cleaning, it’s time to replace it.
Creative Uses For Food-safe Wood Slices
Once your slices are safe and finished, there are many ways to use them:
- Cheese boards: Add grapes, nuts, and a selection of cheeses for a rustic serving piece.
- Bread boards: Serve fresh bread or pastries.
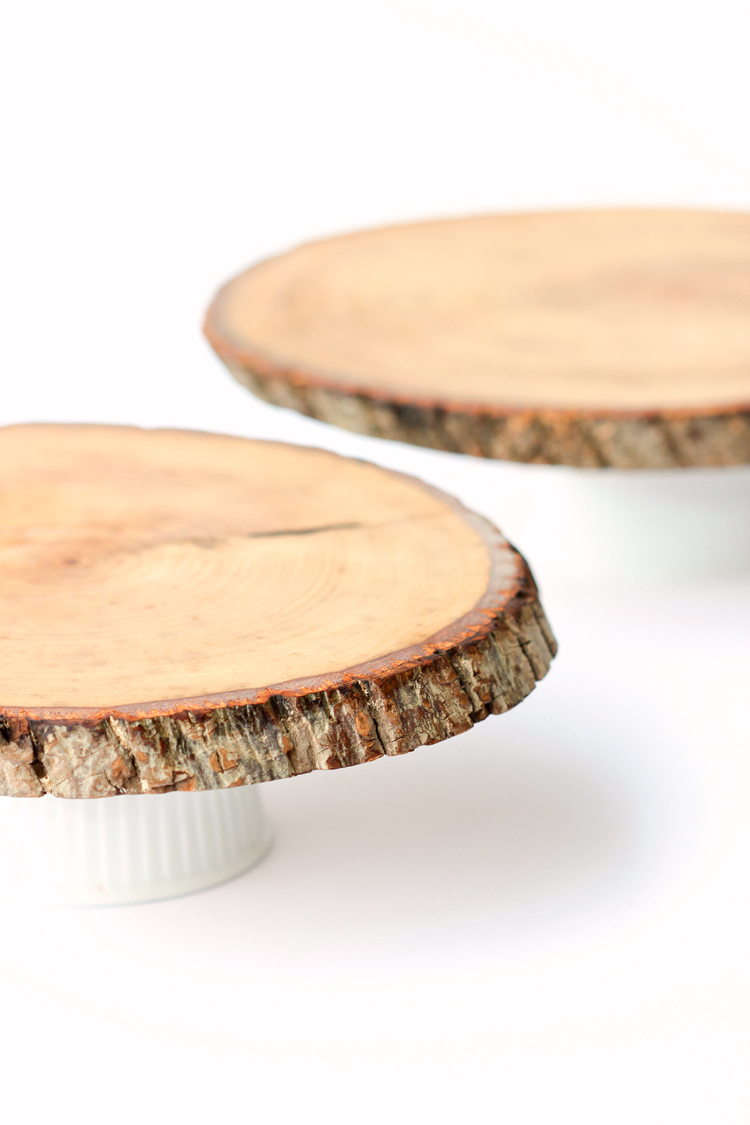
- Cake stands: Stack slices for a unique cake display.
- Personal plates: Use smaller slices for individual servings at a picnic or party.
- Gift ideas: Custom wood slices make memorable, useful presents.
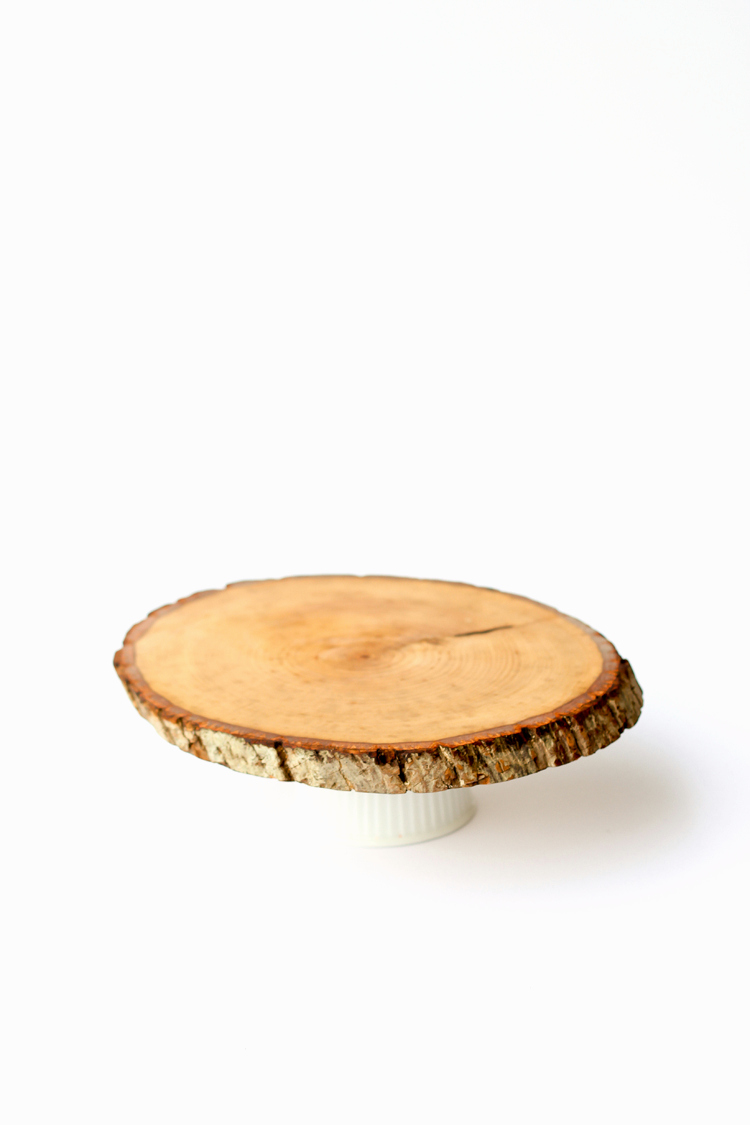
Credit: www.deliacreates.com
Legal And Commercial Considerations
If you plan to sell wood slices as food-safe products, you have extra responsibilities.
- Only use finishes and woods certified as food safe.
- Clearly label your products with care instructions.
- Keep records of your sources and finishes for reference.
- For business in the US, check FDA guidelines on food contact surfaces (FDA Food Contact Substances).
Frequently Asked Questions
How Do I Know If My Wood Slice Is Truly Food Safe?
Check that you’ve used a hardwood like maple, beech, or walnut, and finished it with a food-safe oil or wax. There should be no sticky residue, and the surface should feel smooth. If you’re unsure, contact the manufacturer of your finish for confirmation.
Can I Use Olive Oil Or Vegetable Oil To Finish My Wood Slice?
No. Olive oil and most other cooking oils will go rancid over time, creating a sticky, smelly surface. Always use oils that are stable and non-drying, like pure mineral oil or specially processed walnut oil.
How Often Should I Reapply Oil To My Wood Slice?
For most wood slices, reapply oil every 2-3 months or whenever the wood looks dry or lighter in color. If you use your board heavily or wash it often, you may need to re-oil more frequently.
Is It Safe To Use Wood Slices With Bark Still On?
It’s not recommended. Bark can hide bacteria, insects, or dirt, and it may fall off with use. If you want a rustic edge, remove the bark but sand the surface smooth.
What Should I Do If My Wood Slice Starts To Smell Or Grows Mold?
Clean with vinegar and water, dry fully, then sand lightly and reapply your finish. If the smell or mold returns, it’s safer to replace the slice—hidden rot can be dangerous.
Wood brings warmth and character to any kitchen or table. By following these steps to make your wood slices food safe, you’ll enjoy the beauty and utility of wood for years to come—without risking your health or your guests’ safety. Take your time, use the right materials, and your wood slices will be the star of every meal.

Credit: thevixensden.com

Hello, This is Annie Walker, a 38-year-old blogger, founder, and editor of Cookware Guider from NY, USA. I am a cookware fanatic and passionate cooker. I love to cook with different types of cooking appliances (example: all types of cookware, rice cookers, slow cookers, etc) almost every day in my kitchen. I love to share my experience with my readers in my blog. Also, I enjoy helping people to solve their problems through my website. You can follow me on Twitter & Pinterest. To know details about my blog please check the about us page.