
Sharpening a pocket knife with a sharpening stone is a skill that every outdoor enthusiast, hobbyist, or home user should know. A sharp pocket knife is safer, easier to use, and more effective in almost every task, from cutting rope to preparing food.
But many people struggle to get their knife truly sharp or worry about damaging their blade. With the right approach, you can master this essential skill and keep your pocket knife in top shape for years.
Why A Sharp Pocket Knife Matters
A dull knife is more dangerous than you might think. When a blade loses its sharp edge, it requires more force to cut. This increases the risk of slipping and causing injury. A sharp knife, on the other hand, cuts easily and precisely.
You can slice, carve, or whittle with less effort. Whether you use your pocket knife for camping, fishing, or daily tasks, keeping it sharp makes everything simpler.
A sharp pocket knife also lasts longer. When you cut with a dull blade, you can chip or bend the edge. Sharpening regularly prevents these problems, saving you money and trouble in the long run.
Understanding Sharpening Stones
Before you start sharpening, you need to know about sharpening stones. These stones come in different materials, shapes, and grits. The right stone makes the process easier and gives better results.
Types Of Sharpening Stones
There are three main types:
- Oil stones: Made from natural or synthetic materials. Used with oil to keep the surface smooth and carry away metal particles.
- Water stones: Softer stones that use water instead of oil. They sharpen quickly but wear down faster.
- Diamond stones: Covered with tiny diamond particles. These are very durable and sharpen even hard steels.
Each type has its own strengths. Oil stones are common in the US and last a long time. Water stones are popular for their fast sharpening. Diamond stones are best for tough blades and require little maintenance.
Grit Levels Explained
The grit of a stone is its roughness. Lower numbers (like 220) are coarse and remove material quickly. Higher numbers (like 1000 or 6000) are fine and polish the edge. Most pocket knives need a medium grit (around 1000) for regular sharpening, but you may use coarse grit for repairing damage or fine grit for finishing.
Here’s a comparison of popular stone types and grits:
| Stone Type | Typical Grit Range | Best Use |
|---|---|---|
| Oil Stone | 120–1000 | General sharpening |
| Water Stone | 220–6000 | Fast sharpening, polishing |
| Diamond Stone | 200–1200 | Hard steel, quick sharpening |
Preparing Your Sharpening Stone
The first step is to prepare your stone. Most beginners forget this, but it makes a big difference.
- Clean the stone. Wipe away dust or old metal particles. If using water or oil, make sure the stone is fully wet.
- Secure the stone. Place it on a non-slip mat or towel. Some stones come with rubber bases.
- Check the flatness. Over time, stones can get uneven. If you see dips, flatten the stone with a lapping plate.
Neglecting these steps can lead to uneven sharpening and a poor edge. Many new users skip the cleaning, which causes scratches or dull spots.
Pocket Knife Anatomy: Why Edge Angle Matters
Knowing your pocket knife’s edge angle is key. Most pocket knives are sharpened between 17° and 22° per side. This angle balances sharpness and durability. If you sharpen too steep (lower angle), the edge gets razor sharp but chips easily. If you sharpen too wide (higher angle), the edge lasts longer but becomes less sharp.
Manufacturers often list the recommended angle for their knives. If not, aim for 20° per side, which suits most pocket knives. Some specialty knives—like hunting or tactical knives—may use 25° for strength.
Here’s a quick comparison of edge angles:
| Angle (per side) | Sharpness | Durability | Common Use |
|---|---|---|---|
| 15° | Very sharp | Low | Slicing, fillet knives |
| 20° | Sharp | Medium | Pocket knives, general use |
| 25° | Less sharp | High | Heavy-duty, hunting knives |
Step-by-step: Sharpening Your Pocket Knife
Now, let’s walk through the sharpening process. Follow each step carefully for the best results.
1. Choose The Right Stone And Grit
Select a stone based on your knife’s condition:
- If your knife is very dull or damaged, start with coarse grit (220–400).
- For regular sharpening, use medium grit (1000).
- If you want a polished edge, finish with fine grit (3000–6000).
Most pocket knives only need medium grit unless they’re very damaged.
2. Set The Angle
Hold the knife at the correct angle—usually about 20°. Some people use angle guides, but you can use a simple trick: stack two coins under the blade near the edge. This gives a good estimate for 20°.
3. Lubricate The Stone
Apply water or oil, depending on your stone. This prevents clogging and gives a smoother sharpening action.
4. Position The Knife
Place the blade flat on the stone. Tilt it up to your chosen angle. Hold the knife securely, but don’t press too hard.
5. Draw The Blade Across The Stone
Push or pull the knife across the stone, moving from heel to tip. Use smooth, even strokes. Try to cover the full length of the blade each time.
- For straight blades, keep the angle steady.
- For curved blades, follow the curve as you move.
Repeat this motion 5–10 times per side, depending on dullness.
6. Flip And Repeat
Turn the knife over and sharpen the other side. Keep the same angle and stroke count.
7. Check For Burr
A burr is a tiny metal ridge that forms on the opposite side as you sharpen. Feel for it with your fingertip. Once a burr appears along the whole edge, you’ve removed enough material.
8. Switch To Finer Grit (optional)
If you want a sharper, polished edge, switch to a finer stone. Repeat the sharpening process with fewer strokes.
9. Remove The Burr
Finish by lightly stroking the knife on each side, alternating strokes. This removes the burr and smooths the edge.
10. Clean And Test
Wipe the blade clean. Test sharpness by slicing paper or shaving a small section of arm hair. If the knife cuts cleanly, you’re done.
Common Mistakes Beginners Make
Many first-time sharpeners struggle because they make simple errors. Avoid these problems:
- Inconsistent angle: Changing the angle during sharpening creates a rounded, dull edge. Keep your wrist steady.
- Too much pressure: Pressing too hard damages the edge and stone. Use light, even pressure.
- Ignoring the burr: If you don’t remove the burr, the knife feels sharp but dulls quickly.
- Not covering the whole blade: Only sharpening part of the blade leaves dull spots.
- Skipping cleaning: Not cleaning the stone or knife causes scratches.
One non-obvious mistake: Some people use kitchen sharpening tools meant for chef knives. These often set the wrong angle and don’t work well on pocket knives.
Practical Tips For Sharpening Success
Sharpening a pocket knife isn’t just about technique—it’s also about small details.
- Use two hands: One hand holds the handle, the other guides the blade. This gives more control.
- Sharpen slowly: Rushing leads to mistakes. Take your time.
- Light pressure on fine grit: When polishing, use even less force.
- Try different stones: If your results aren’t good, experiment with other types or grits.
- Check edge regularly: After each few strokes, check the edge for burrs and sharpness.
A key insight: Many beginners try to get a mirror polish, but a slightly rough edge cuts better for most pocket knife tasks. Don’t worry if your knife isn’t shiny.
Maintenance: Keeping Your Pocket Knife Sharp
Sharpening isn’t a one-time job. To keep your knife sharp, follow these guidelines:
- Regular touch-ups: Use a medium grit stone every few weeks, depending on use.
- Honing: A honing rod or ceramic stick straightens the edge between sharpenings.
- Avoid hard surfaces: Don’t cut on glass, stone, or metal. This dulls the blade fast.
- Clean after use: Wipe the blade and store dry to prevent rust.
Some knife owners use a strop (leather strip with compound) to finish the edge. This isn’t essential, but can add extra sharpness.
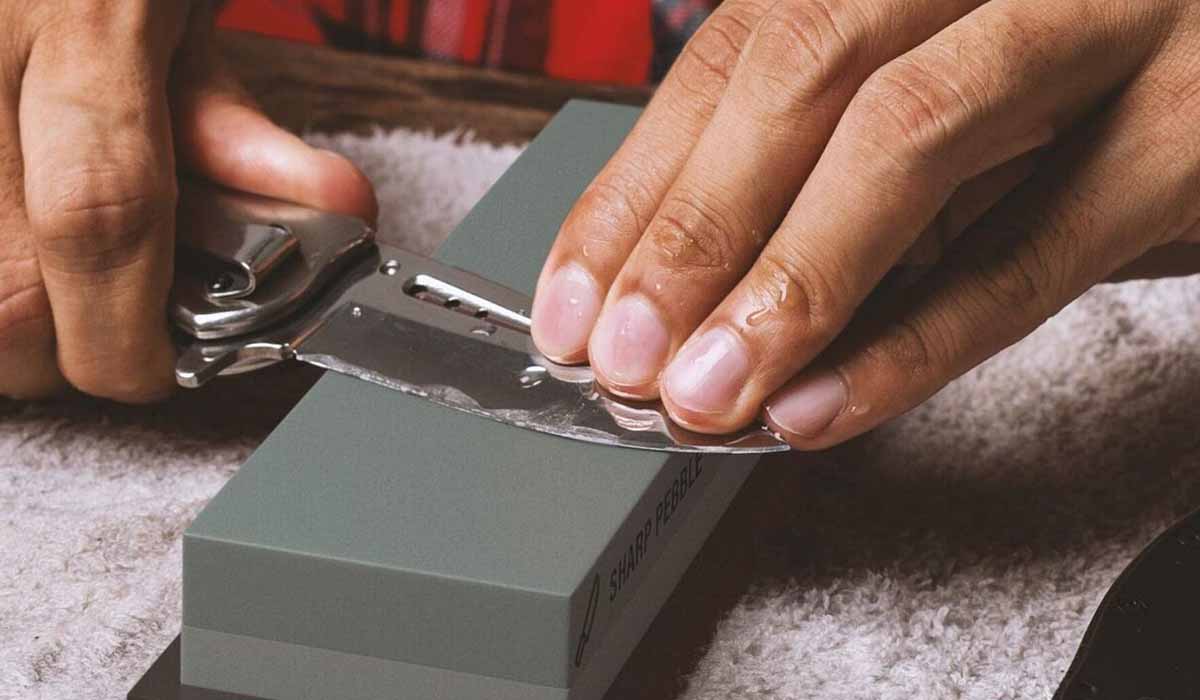
Credit: blademag.com
Choosing The Best Sharpening Stone For Pocket Knives
There’s no single “best” stone for everyone. It depends on your knife, budget, and experience.
- Oil stones: Durable, affordable, classic. Good for most users.
- Water stones: Fast sharpening, smooth finish. Need more care.
- Diamond stones: Highest durability, quick results. Cost more.
Consider these factors:
| Stone Type | Pros | Cons |
|---|---|---|
| Oil Stone | Long-lasting, easy to use | Slower sharpening |
| Water Stone | Fast, smooth edge | Wear quickly, need soaking |
| Diamond Stone | Works on all steels, no soaking | Expensive, can scratch blade |
For most beginners, a medium grit oil stone is a safe choice. If you want to try water stones, look for a 1000/6000 combo.
How Often Should You Sharpen?
The answer depends on how much you use your pocket knife. For light use (opening packages, cutting string), sharpen every 2–3 months. For heavy use (camping, fishing), sharpen every 2–4 weeks.
Some users sharpen after every trip outdoors. Others wait until the knife feels dull. The best method: test your knife by slicing paper. If it struggles, it’s time to sharpen.
Remember, sharpening removes metal. Don’t sharpen too often, or your blade will wear out faster.
Advanced Sharpening Techniques
Once you master the basics, you can try advanced methods for even better results.
Using A Strop
A strop is a leather strip used for polishing. After sharpening, pull the blade backward across the strop. This removes any remaining burr and gives a smooth, sharp edge.
Edge Profiling
Some users create a “compound edge”—a main edge at 20°, and a finer edge at 15°. This gives both strength and sharpness. To do this, sharpen at 20°, then add a few finishing strokes at 15°.
Sharpening Serrated Blades
Pocket knives with serrated edges need special care. Use a small rod or diamond file. Sharpen each serration one at a time, keeping the original shape.
Safety Tips
Sharpening can be risky if you’re not careful. Follow these safety rules:
- Keep fingers away from the edge: Hold the handle securely.
- Sharpen in good light: See what you’re doing.
- Don’t rush: Slow, steady motions prevent slips.
- Store stones safely: Keep away from children.
If you’re unsure, ask a friend or watch a trusted video tutorial.
Cleaning And Storing Your Knife After Sharpening
After sharpening, clean your knife well. Wipe away any metal dust or stone grit. Use a soft cloth. For extra protection, apply a light oil to the blade. This prevents rust.
Store your pocket knife in a dry place. If your knife has a folding mechanism, check for grit inside and clean it.
Real-life Example: Sharpening In The Field
Imagine you’re camping and your pocket knife won’t cut rope. With a small diamond stone, you can sharpen the blade in minutes. Even if you don’t have oil or water, you can use saliva or a drop of water from your bottle.
A surprising insight: Field sharpening isn’t about perfection. Even a rough edge is better than a dull blade. Carry a compact stone for emergencies.
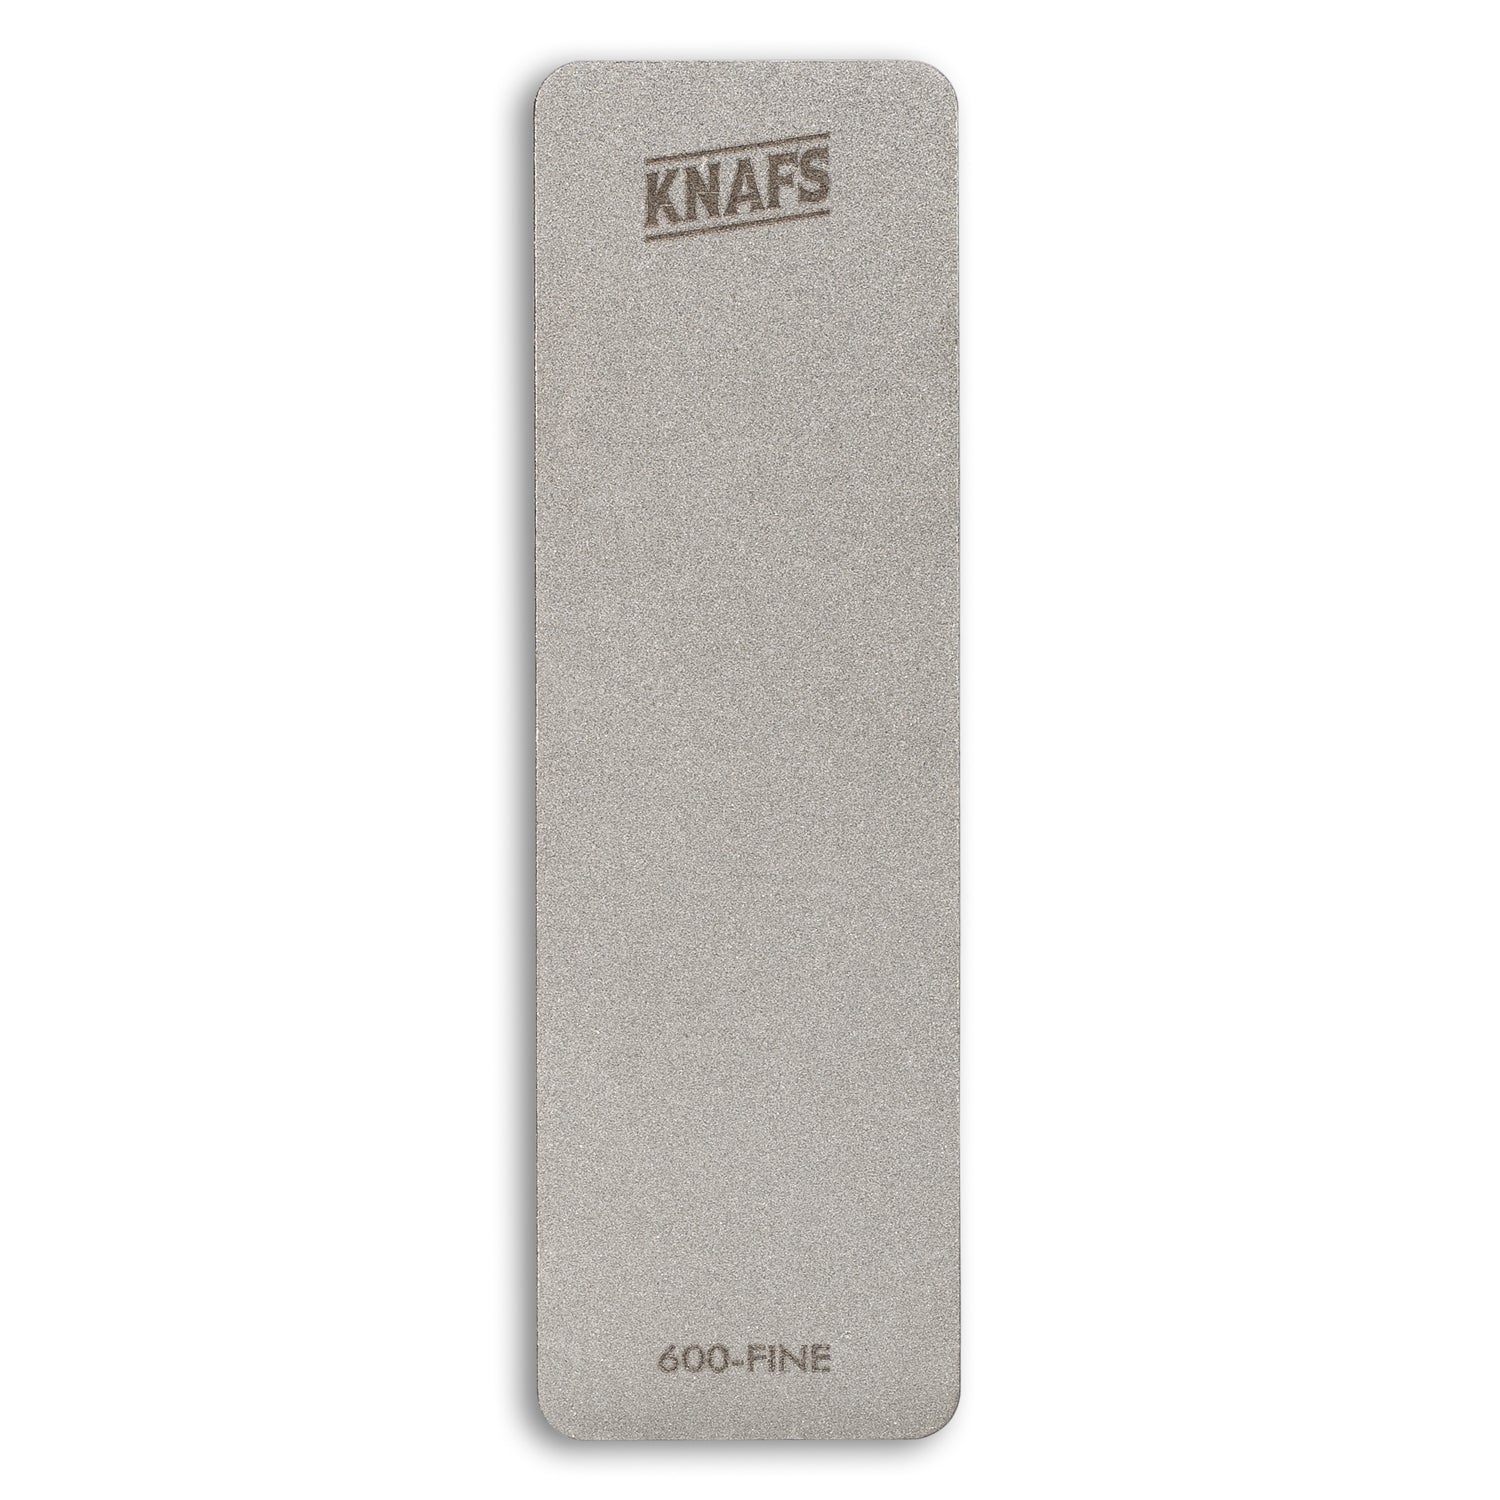
Credit: www.knafs.com
Sharpening Stone Care
To get the most from your sharpening stone, take care of it.
- Clean after use: Rinse or wipe away metal dust.
- Store dry: Water stones especially can crack if left wet.
- Flatten regularly: Use a lapping plate or sandpaper.
- Avoid dropping: Stones can chip or break.
A neglected stone gives poor results and can damage your knife.
Environmental Impact
Sharpening stones are reusable, unlike disposable sharpeners. They last for years and don’t create waste. Water stones and diamond stones are especially eco-friendly.
If you want to learn more about sharpening stone types and their history, check out Wikipedia.

Credit: gearjunkie.com
Frequently Asked Questions
How Do I Know If My Pocket Knife Is Sharp Enough?
Try slicing a sheet of paper. If the knife cuts smoothly without tearing, it’s sharp. You can also gently shave arm hair or cut soft materials. If the edge catches or slides, sharpen again.
Can I Use A Kitchen Sharpener For My Pocket Knife?
Most kitchen sharpeners set a wider angle, which isn’t ideal for pocket knives. They may also be too rough. Stick to a sharpening stone for best results.
What’s The Best Grit For Pocket Knife Sharpening?
A medium grit (around 1000) suits most pocket knives. Use coarse grit for damaged blades and fine grit for polishing. Many users only use medium grit.
How Long Does Sharpening Take?
For a dull knife, sharpening may take 10–15 minutes. For regular maintenance, just 3–5 minutes. Don’t rush—better results come from steady, careful strokes.
Do I Need To Sharpen Both Sides Of The Blade?
Yes. Sharpen each side evenly to keep the edge straight and strong. Uneven sharpening creates a crooked edge and affects performance.
Sharpening a pocket knife with a sharpening stone is not just a useful skill—it’s a satisfying one. With practice, you’ll get faster, more precise, and your pocket knife will always be ready for the next adventure. Whether you’re at home or outdoors, mastering this process gives you confidence and peace of mind.
Keep your tools sharp, and they’ll serve you well for years to come.

Hello, This is Annie Walker, a 38-year-old blogger, founder, and editor of Cookware Guider from NY, USA. I am a cookware fanatic and passionate cooker. I love to cook with different types of cooking appliances (example: all types of cookware, rice cookers, slow cookers, etc) almost every day in my kitchen. I love to share my experience with my readers in my blog. Also, I enjoy helping people to solve their problems through my website. You can follow me on Twitter & Pinterest. To know details about my blog please check the about us page.