
If you love cooking, you know how important a sharp knife is. A dull blade slows you down, causes accidents, and ruins food presentation. That’s why many home cooks and professionals rely on the Chef Choice knife sharpener. This electric sharpener is trusted for its speed, consistency, and ease. But even the best tool needs proper use. If you’ve just bought a Chef Choice, or want to get the most from yours, this guide will help you sharpen your knives safely and effectively.
You’ll learn step-by-step instructions, practical tips, and common mistakes to avoid. We’ll cover different Chef Choice models, show comparisons, and explain how to maintain your sharpener. You’ll find real examples and answers to questions beginners often ask. By the end, you’ll feel confident using your Chef Choice sharpener and understand how to keep your knives razor-sharp for years.
Why Sharp Knives Matter
A sharp knife is more than a luxury. It’s a necessity for safe and efficient cooking. Studies show that a dull knife is nearly twice as likely to cause injury as a sharp one. When you force a blunt blade, it slips and can cut your hand. Sharp knives also cut food cleanly, preserving flavor and texture.
Professional chefs sharpen knives daily, but home cooks often forget. This leads to frustration, wasted ingredients, and even costly repairs. With a Chef Choice knife sharpener, you can restore a blade in minutes, saving time and improving your cooking experience.
Understanding Chef Choice Knife Sharpeners
Chef Choice offers several models. Each works on the same principle: using diamond abrasives and precise guides to sharpen blades quickly. But the features and results vary.
Here’s a comparison of three popular Chef Choice models:
| Model | Stages | Suitable For | Approx. Price |
|---|---|---|---|
| Chef Choice 15 Trizor XV | 3 | Asian, European, and American knives | $170 |
| Chef Choice 130 Professional | 3 | All types (including serrated) | $150 |
| Chef Choice 120 | 3 | Regular kitchen knives | $120 |
Most models use a three-stage system. The first stage grinds the edge, the second hones, and the third polishes. Some models have extra features, like sharpening serrated blades or converting the angle for Asian knives.
Key Features
- Diamond abrasives: Hardest material, ensures quick sharpening
- Angle guides: Hold blade at correct angle, prevent mistakes
- Multiple stages: Create strong, long-lasting edges
- Easy operation: Plug in, insert knife, pull through
Chef Choice sharpeners are designed for both beginners and experts. You don’t need special skills to use them, but understanding the process helps you get better results.
Credit: chefschoice.com
Preparing To Use Your Chef Choice Sharpener
Before you start sharpening, gather your tools and set up a safe workspace.
What You Need
- Chef Choice knife sharpener (plugged in)
- Clean, dry knives
- Towel for wiping blades
- Safety gloves (optional, but recommended for beginners)
- Stable counter or table
Make sure your sharpener is clean and all parts are in place. Read the manual for your specific model, as some features may differ.
Safety Tips
- Keep fingers away from slots while the sharpener is running.
- Never force the knife; let the machine do the work.
- Wipe blades after sharpening to remove metal dust.
- Don’t sharpen knives with broken tips or cracks.
A common beginner mistake is rushing. Take your time, follow the instructions, and check the knife’s condition before sharpening.
Step-by-step Guide: How To Use Chef Choice Knife Sharpener
Now, let’s walk through the sharpening process. These steps work for most Chef Choice models, but check your manual for differences.
1. Plug In And Prepare
Place your sharpener on a flat surface. Plug it in. Check that the slots are clear and the machine is ready.
2. Identify The Stages
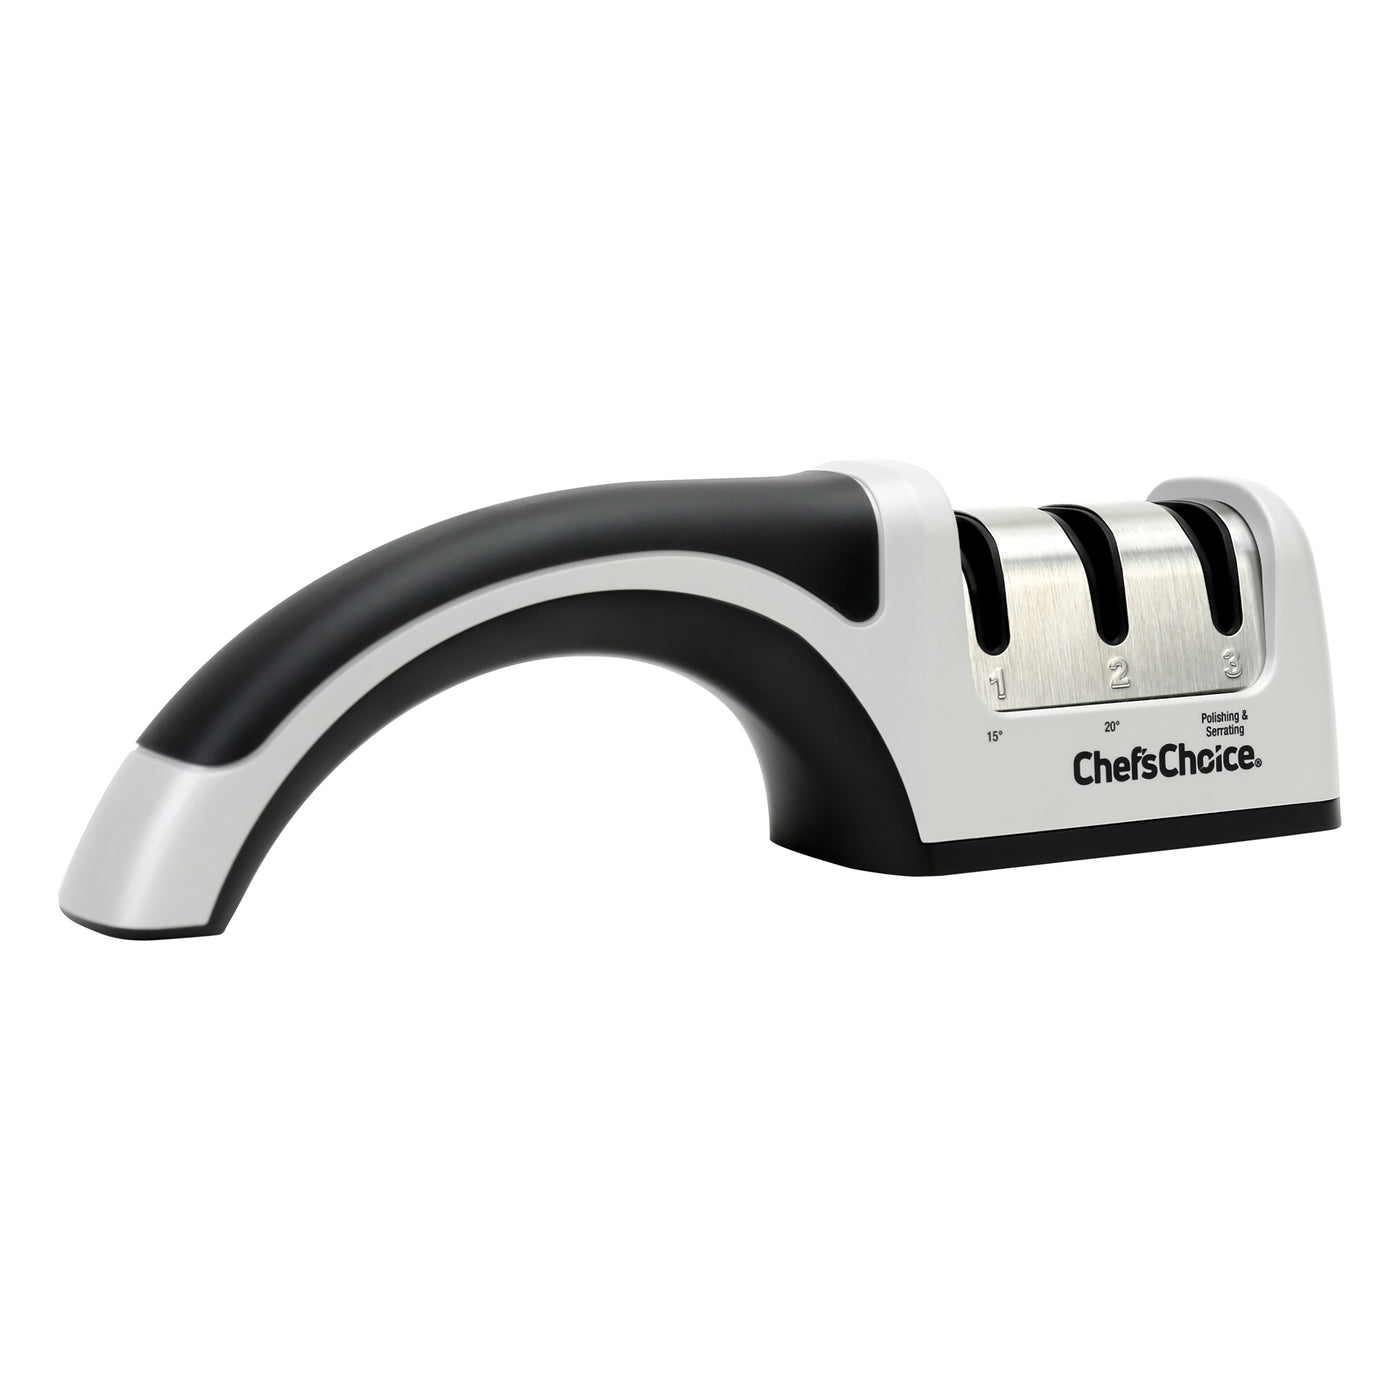
Chef Choice sharpeners usually have three slots, labeled Stage 1, 2, and 3. Stage 1 is for coarse sharpening (reshaping the edge), Stage 2 for honing, and Stage 3 for polishing.
3. Insert Knife In Stage 1
Hold the knife by the handle. Insert the blade into the left side of Stage 1 slot. Slowly pull it through, keeping the blade straight and steady. Repeat on the right side. Most Chef Choice models guide the angle for you, but don’t tilt the knife or push hard.
- For very dull knives: 2–3 passes per side in Stage 1
- For slightly dull: 1 pass per side
4. Move To Stage 2
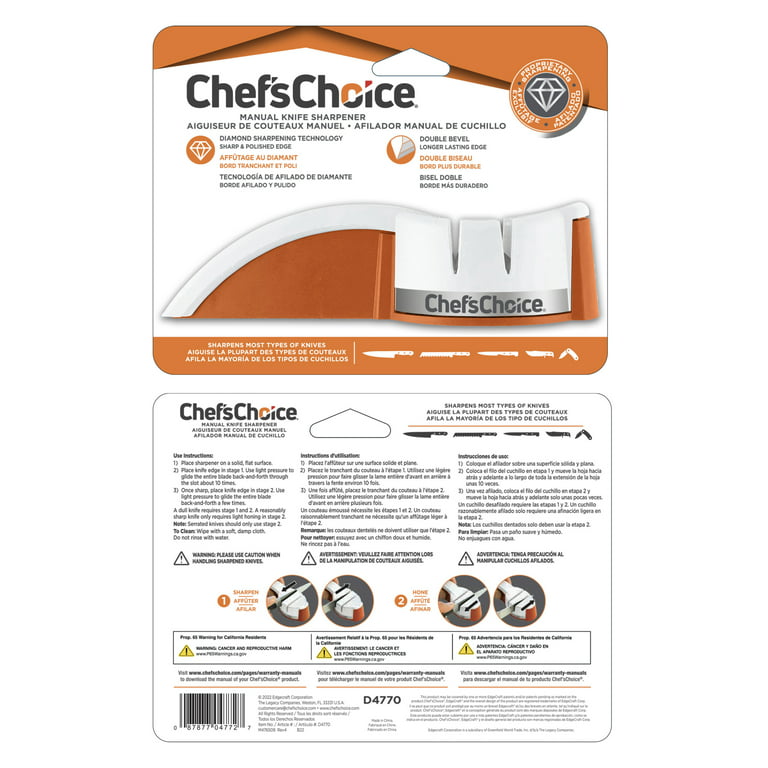
Repeat the process in Stage 2. This stage hones the edge, making it sharper and smoother. Usually, 1–2 passes per side are enough.
5. Finish In Stage 3
Use Stage 3 for the final polish. This removes tiny burrs and makes the edge shine. 1 pass per side is usually enough.
6. Test The Sharpness
After sharpening, carefully check the blade. Try slicing a sheet of paper. If the knife cuts easily, it’s sharp. If not, repeat Stage 2 and 3.
7. Clean Up
Wipe the blade with a towel. Empty any metal dust from the sharpener if your model has a tray.
Here’s a simple table showing recommended passes for different knife conditions:
| Knife Condition | Stage 1 | Stage 2 | Stage 3 |
|---|---|---|---|
| Very dull | 2-3 | 2 | 1 |
| Slightly dull | 1 | 1 | 1 |
| Regular maintenance | 0 | 1 | 1 |
Example: Sharpening A Chef’s Knife
Let’s say you have a 8-inch chef’s knife. It’s cutting tomatoes poorly. Here’s what you do:
- Plug in the Chef Choice 15 Trizor XV.
- Insert the blade into Stage 1 (left side), pull through slowly. Repeat on right side. Do this 2 times per side.
- Move to Stage 2, repeat 1 time per side.
- Move to Stage 3, repeat 1 time per side.
- Test with paper. It slices cleanly. Wipe blade, done.
This process takes about 2–3 minutes. You now have a sharp, safe knife.
Credit: chefschoice.com
Sharpening Different Knife Types
Chef Choice sharpeners work for most kitchen knives, but there are exceptions.
Straight-edge Knives
Most models excel with straight-edge blades (chef’s knives, paring knives, utility knives). The three-stage system produces a strong, sharp edge.
Serrated Knives
Some Chef Choice models (like the 130 Professional) can sharpen serrated knives. Use only Stage 3, as serrations require gentle polishing, not grinding.
Asian-style Knives
Asian knives (Santoku, Nakiri) have a 15-degree edge, compared to 20 degrees for Western knives. Models like the Trizor XV convert Western knives to a 15-degree edge, making them sharper.
Specialty Blades
Do not use Chef Choice sharpeners on ceramic knives, scissors, or blades with decorative edges. These require different tools.
Maintaining Your Chef Choice Sharpener
A well-maintained sharpener lasts longer and performs better. Here’s how to care for yours:
Cleaning
- Unplug before cleaning.
- Wipe exterior with a damp cloth.
- Remove metal dust tray (if present), empty and wash.
- Never immerse the sharpener in water.
Storage
- Keep sharpener in a dry place.
- Avoid exposure to extreme heat or moisture.
Regular Checks
- Inspect slots for debris.
- Check power cord for damage.
- Replace abrasive disks if worn (consult manual).
Common Mistakes
Many beginners forget to clean the sharpener, leading to clogged slots. Others sharpen too often, wearing out blades. Sharpen only when needed—often, Stage 3 alone is enough for maintenance.
Chef Choice Vs. Other Sharpeners
Is Chef Choice better than manual or pull-through sharpeners? Here’s a quick comparison:
| Sharpener Type | Ease of Use | Edge Quality | Speed | Safety |
|---|---|---|---|---|
| Chef Choice Electric | Very easy | Excellent | Fast (2–3 min) | High |
| Manual (whetstone) | Requires skill | Excellent | Slow (10–20 min) | Moderate |
| Pull-through | Easy | Average | Fast | Moderate |
Chef Choice stands out for speed and safety. You don’t need to control the angle or pressure. Manual sharpening can produce a finer edge, but requires skill and time. Pull-through sharpeners are quick, but often damage the blade.
Practical Tips For Best Results
Getting a razor-sharp edge is easy with Chef Choice, but a few tricks can improve your results.
- Don’t rush: Slow, steady pulls produce a better edge.
- Use light pressure: Let the machine do the work.
- Clean blades before sharpening: Food residue can clog slots.
- Sharpen only when needed: Over-sharpening wears blades.
- Store knives safely: Sharp edges are prone to nicks if tossed in a drawer.
- Test sharpness regularly: Use paper or tomato test, not your finger.
A non-obvious insight: Chef Choice models can help convert old Western knives to Asian-style sharpness. Many cooks overlook this feature, but it can make your favorite knife sharper than ever.
Another tip: If your knife has a thick bolster (the metal near the handle), sharpen only the blade. The bolster doesn’t need sharpening and can damage the machine.
Troubleshooting Common Problems
Even the best sharpeners can have issues. Here’s how to solve the most frequent problems.
Knife Not Getting Sharp
- Check if you’re using enough passes in Stage 1 (for dull knives)
- Clean the slots; debris can block abrasives
- Make sure you’re pulling the blade straight, not tilting
Uneven Edge
- Use equal passes on both sides
- Don’t press too hard; let the guides control the angle
Sharpener Making Noise
- Turn off and check for stuck debris
- Don’t force thick blades; use only recommended types
Blade Scratches
- Wipe the blade before sharpening
- Avoid sharpening dirty or rusty knives
How Often Should You Sharpen?
Frequency depends on knife use. Professional chefs may sharpen daily. For home cooks:
- Heavy use (daily cooking): Sharpen every 2–3 weeks
- Light use (occasional): Sharpen every 2–3 months
- Regular maintenance: Use only Stage 3 every few weeks
Remember, a knife doesn’t need full sharpening every time. Often, honing and polishing (Stages 2 and 3) are enough.
Real-life Example: Improving Kitchen Safety
A restaurant in Chicago reported a 30% drop in knife injuries after switching to Chef Choice sharpeners. Staff found knives easier to control, and food prep became faster. This shows that proper sharpening isn’t just about cooking—it’s about safety and efficiency.
Home users often report that their knives slice tomatoes and onions more cleanly. Sharpening also reduces hand fatigue, as you don’t need to force cuts.
Chef Choice Knife Sharpener Maintenance Schedule
For best performance, follow this maintenance routine:
- After each use: Wipe exterior, empty dust tray
- Weekly: Inspect slots, check abrasives
- Monthly: Deep clean, check power cord
- Yearly: Replace abrasives if needed
This schedule keeps your sharpener working and your knives sharp.
Environmental And Health Benefits
Using a Chef Choice sharpener is eco-friendly. Instead of buying new knives, you prolong the life of existing ones. This reduces waste and saves money. Sharp knives also make healthier meals—clean cuts preserve nutrients and texture. Studies show that sharp blades reduce bruising in vegetables, keeping flavors fresh.
Buying Chef Choice Knife Sharpener: What To Look For
If you’re choosing a Chef Choice sharpener, consider these factors:
- Knife types: Does it sharpen Asian, Western, serrated?
- Stages: Three-stage models are best for most kitchens.
- Price: High-end models offer more features, but basic models work well.
- Size: Choose a model that fits your counter.
- Warranty: Chef Choice offers good customer support and warranties.
Avoid buying used sharpeners; abrasives wear out and may not perform well.
For more details, check the official site: Chef Choice Official Site.
Frequently Asked Questions
How Long Does It Take To Sharpen A Knife With Chef Choice?
Most knives take 2–3 minutes to sharpen fully. Maintenance sharpening (Stage 3 only) takes less than a minute.
Can I Sharpen Serrated Knives With Chef Choice?
Yes, but only certain models (like the 130 Professional). Use Stage 3 for serrated blades. Do not use Stages 1 or 2.
Is Chef Choice Suitable For Ceramic Knives?
No. Chef Choice sharpeners are designed for steel blades. Ceramic knives require a diamond-coated manual sharpener.
How Often Should I Clean My Chef Choice Sharpener?
Clean after every use. Wipe exterior, empty dust tray, and check slots weekly. Deep clean monthly.
What’s The Difference Between Chef Choice 15 Trizor Xv And 120?
The Trizor XV can sharpen knives to a 15-degree edge (Asian style), while the 120 sharpens to a 20-degree edge (Western style). The Trizor XV is more versatile and produces sharper blades.
Bringing It All Together
The Chef Choice knife sharpener is a powerful tool for anyone who cooks. With the right technique, you can keep your knives sharp, safe, and ready for any meal. This guide has shown you how to use your sharpener step-by-step, how to care for it, and how to avoid common mistakes.
You’ve seen real examples, practical tips, and expert advice. Whether you’re a beginner or a seasoned cook, mastering your Chef Choice sharpener will make your kitchen safer and your food better.
Remember, sharp knives are not just about speed—they’re about safety, flavor, and enjoyment. Use your Chef Choice sharpener regularly, follow these steps, and your kitchen will always be ready for great meals.
Credit: www.walmart.com

Hello, This is Annie Walker, a 38-year-old blogger, founder, and editor of Cookware Guider from NY, USA. I am a cookware fanatic and passionate cooker. I love to cook with different types of cooking appliances (example: all types of cookware, rice cookers, slow cookers, etc) almost every day in my kitchen. I love to share my experience with my readers in my blog. Also, I enjoy helping people to solve their problems through my website. You can follow me on Twitter & Pinterest. To know details about my blog please check the about us page.