
To make toast in a Wonder Oven, set it to Air Fry or Bake at 400°F, put 1 or 2 slices on the wire rack, and cook for 4 to 6 minutes, flipping once at the halfway mark. Thin bread browns in about 4 minutes; thick or frozen slices need closer to 6.
Three things move that number: the thickness and freshness of your bread, whether it went in frozen, and which function you pick. All three get their own section below, so you can read your own time off the page instead of guessing.
Start checking at 3 minutes on your first batch. Open the door, lift a corner of the slice with tongs, and look at the underside rather than the top. The top browns last, so a pale surface means nothing yet.
Two slices take about the same time as one, but if you crowd the rack the slices trap moisture and brown more slowly. If you fill the rack, add a minute and check again at the halfway flip.
Air Fry gives you crisper edges and a drier crumb. Bake is gentler and better for bread with butter or oil already on it, which can scorch under the fan.
Who’s actually reading this
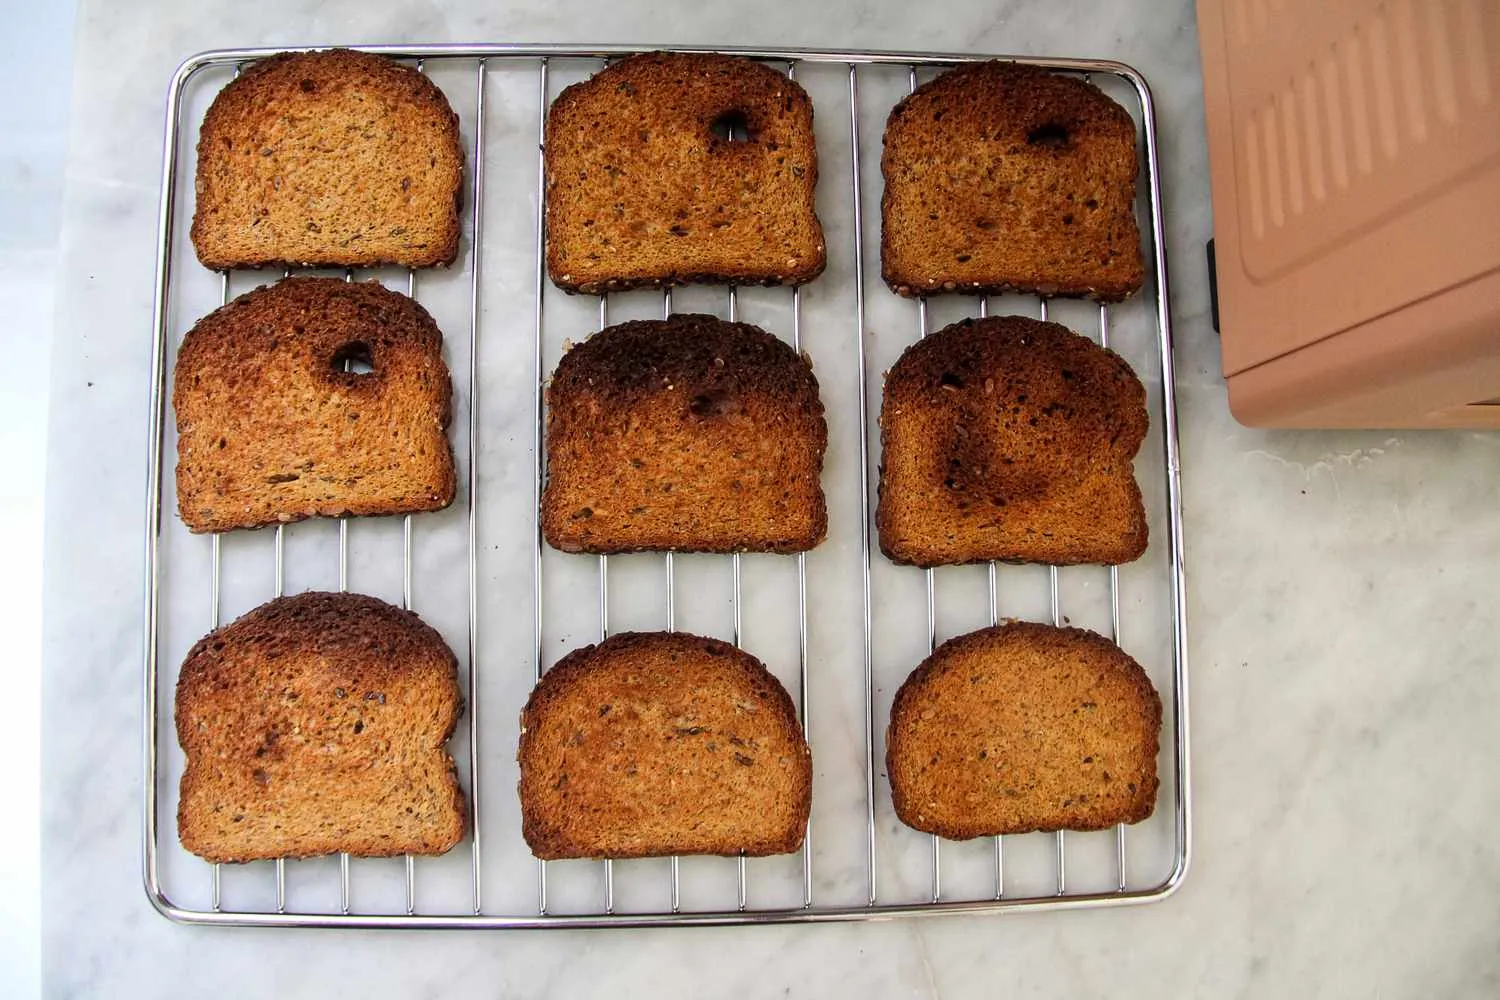
Three kinds of people search this. The first just unboxed a Wonder Oven and wants toast this morning — they need times and settings, nothing else. The second owns one already and keeps getting pale, chewy slices — they need to know which function browns and which one just dries bread out. The third is deciding whether to buy one and wants to know if it toasts well enough to replace a slot toaster.
This page serves the first two best. If you’re still comparing ovens, the honest answer is that no countertop oven toasts exactly like a cheap slot toaster — it does more, but toast is its weakest trick, and a buying guide will help you more than this page.
The assumption here is that you have a Wonder Oven, its rack, and sliced bread. Everything below works on that basis.
What decides how your toast turns out
Bread thickness is the biggest lever, and it’s the one people get wrong most. A ½-inch slice browns in about 4 minutes at 400°F; a 1-inch slice from a bakery loaf needs 6 to 7 and will still be soft in the middle when the outside looks done. Check your slice against a ruler once and you’ll never guess again.
Frozen slices add roughly 2 minutes and behave differently — the middle stays cold while the surface takes longer to color, so you get a pale, soggy centre if you don’t flip. If your bread came from the freezer, add the time and flip at the 3-minute mark, not the halfway point.
The function you choose matters more than the temperature. Air Fry moves hot air across the surface and browns it. Bake heats more gently and dries the slice without much color. Toast, if your model has that preset, sits between the two. Your manual lists which functions your unit has — check that page, because the presets vary by model.
Sugar and fat in the bread change the speed too. Milk bread, brioche and anything with a glaze brown faster and can scorch at 400°F. Drop those to 375°F and start checking at 3 minutes.
How full the oven is decides the last part. One slice on the middle of the rack browns evenly. Four slices packed tight steam each other and come out soggy.
Step-by-step: toast in the Wonder Oven
Set the oven to Air Fry at 400°F. If your model has no Air Fry, use Bake at 400°F and add about 1 minute. Let it run empty for 2 minutes to preheat — a cold oven gives you a pale, dry slice.
Put 1 or 2 slices on the wire rack, centred. Don’t use foil or a baking sheet; the rack lets hot air reach the underside. Leave at least ½ inch between slices if you’re doing more than two.
Slide the rack into the middle position. Too close to the top element and the surface burns before the middle dries. Check your manual for which slot is the middle one on your model.
Cook for 2 minutes, then look. Open the door and check the colour at the edges. This first look tells you whether your bread runs fast or slow — every loaf is different.
Flip both slices with tongs at the halfway mark. For fresh bread that’s around 2 to 3 minutes in; for frozen, flip at 3 minutes. The underside browns faster than the top, so skipping this gives you one dark side and one pale one.
Cook the remaining 2 to 3 minutes. Watch through the window rather than walking away. The gap between golden and burnt at 400°F is roughly 30 seconds.
Pull the slices when the surface is dry and golden, and the edges are crisp. Press the centre with a finger — it should feel firm, not spongy. Soft middle means it needs another minute.
Take them out and put them on a plate, not back on the rack. The rack stays hot and keeps cooking the underside. Toast keeps browning on a hot rack even after the oven is off.
The judgement call that separates good toast from almost-good toast is the flip. People who skip it get a slice that looks done on top and is still soft underneath. If you only remember one step, remember that one.
Different breads, different times
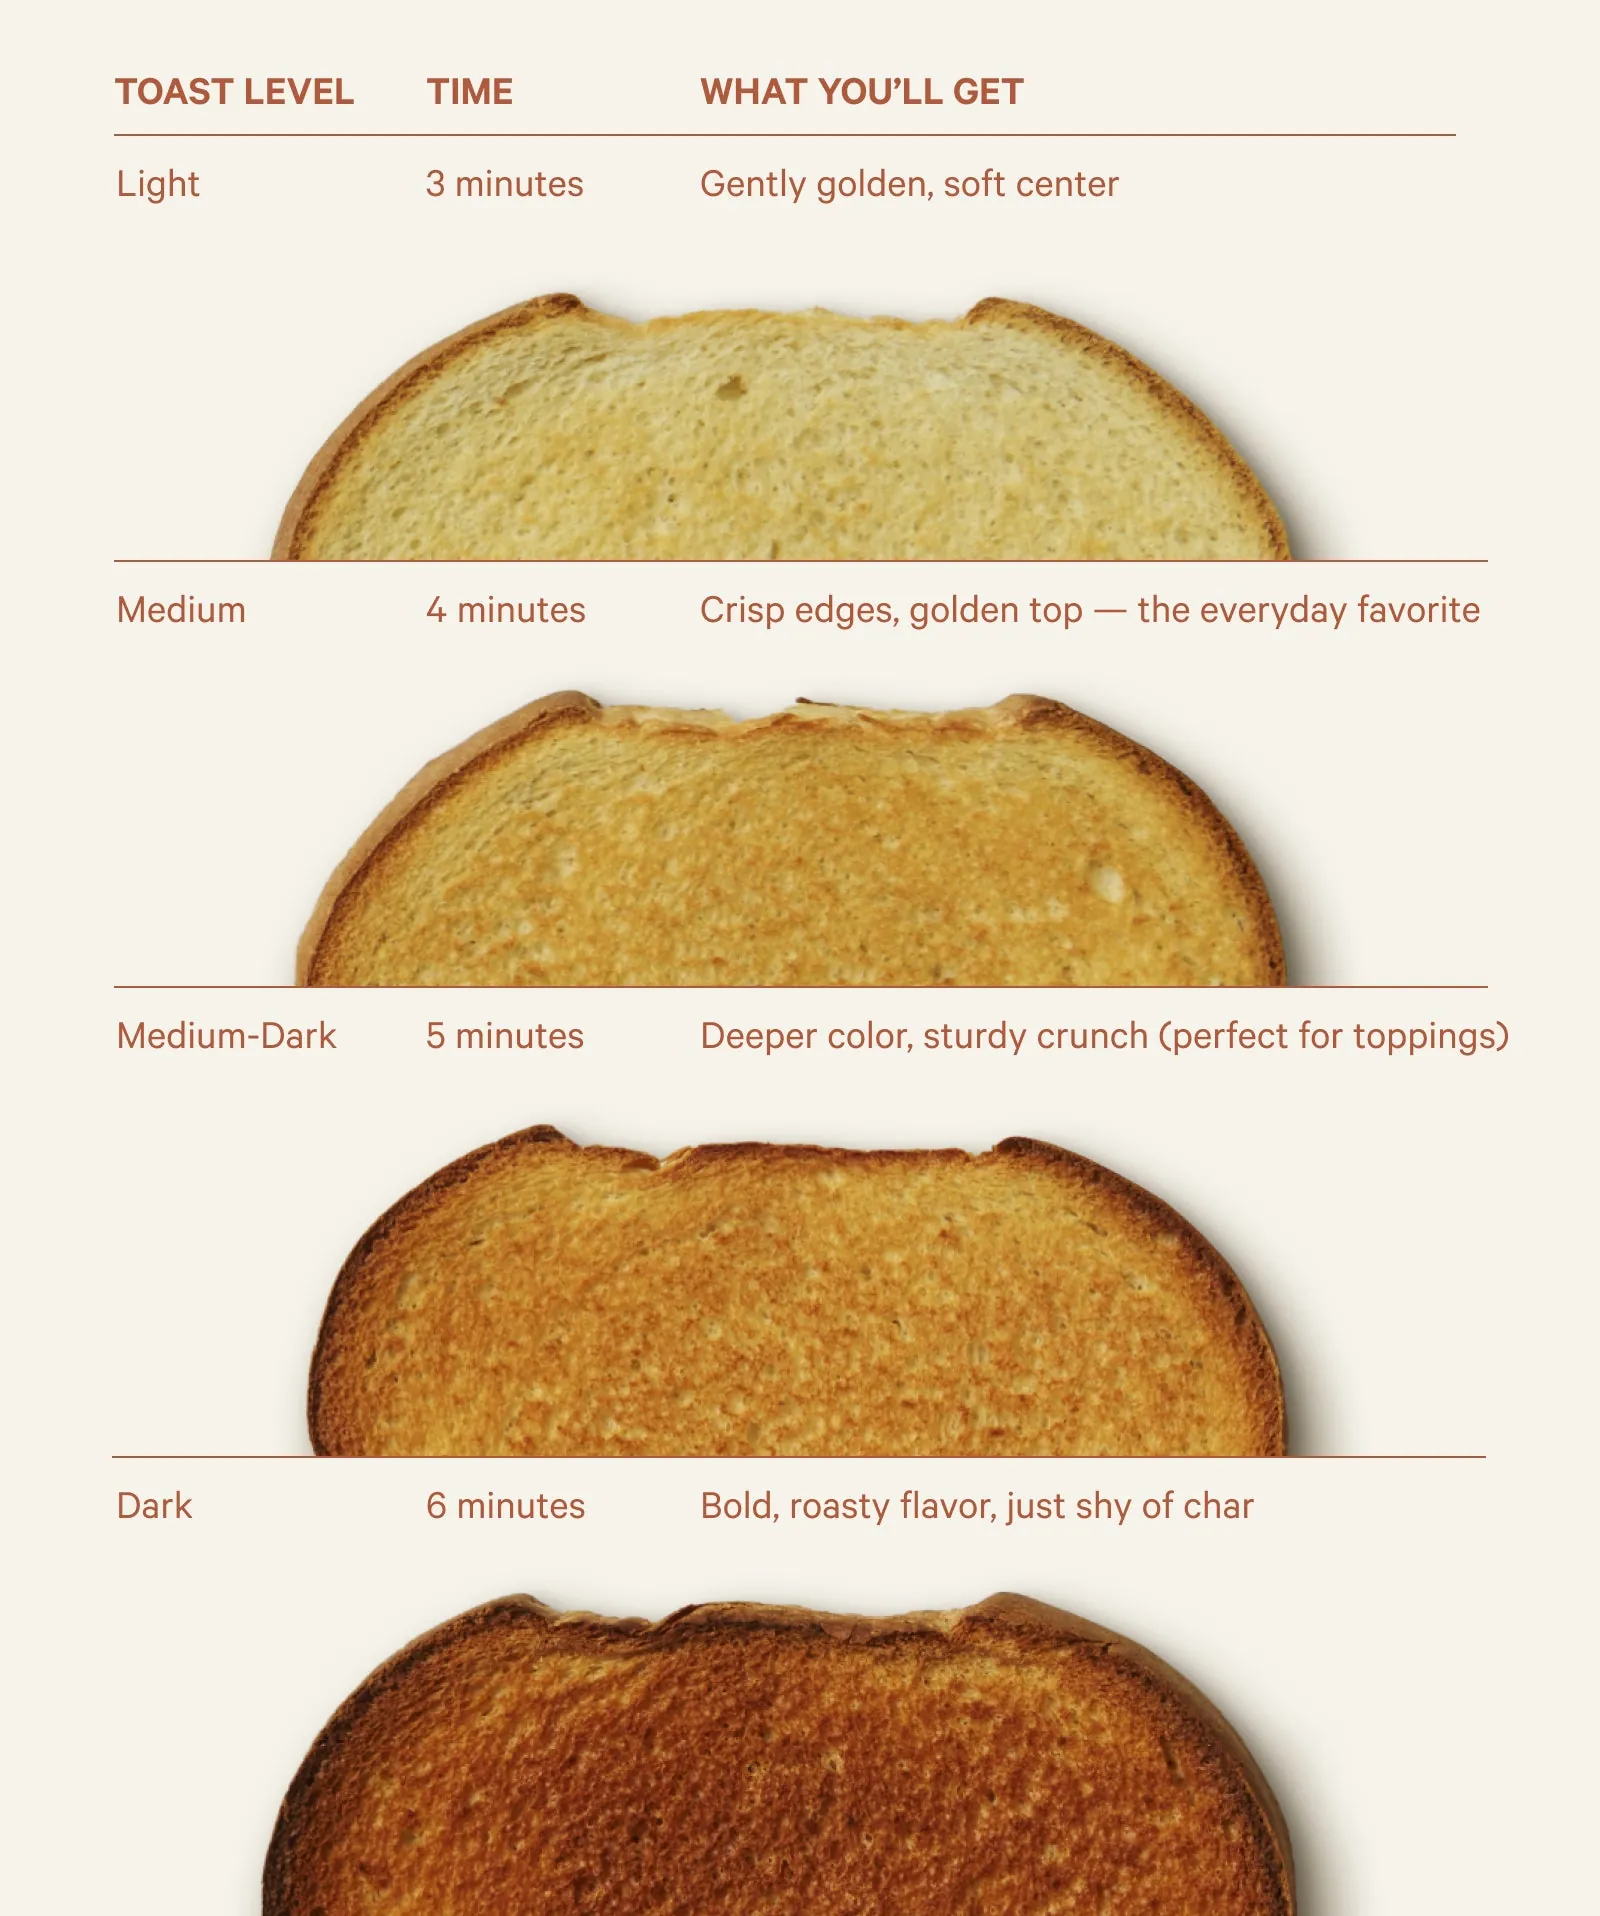
The table below covers the situations people actually arrive in. Times assume Air Fry at 400°F and a single layer of slices on the middle rack.
| Your situation | What to do | Time | What to watch |
|---|---|---|---|
| Standard white sandwich bread | Air Fry, 400°F, flip once | 4–5 min | Burns fast after 5 min |
| Thick bakery slice, 1 inch | Air Fry, 400°F, flip at 3 min | 6–7 min | Middle stays soft |
| Frozen slice | Air Fry, 400°F, flip at 3 min | 6–8 min | Pale, cold centre |
| Brioche or milk bread | Air Fry, 375°F, flip once | 3–4 min | Scorches at 400°F |
| Four or more slices | Air Fry, 400°F, spaced apart | 5–7 min | Slices steam each other |
| Reheating cold toast | Air Fry, 350°F, no flip | 2–3 min | Dries out quickly |
What careful cooks do differently
They preheat, and they check the rack position
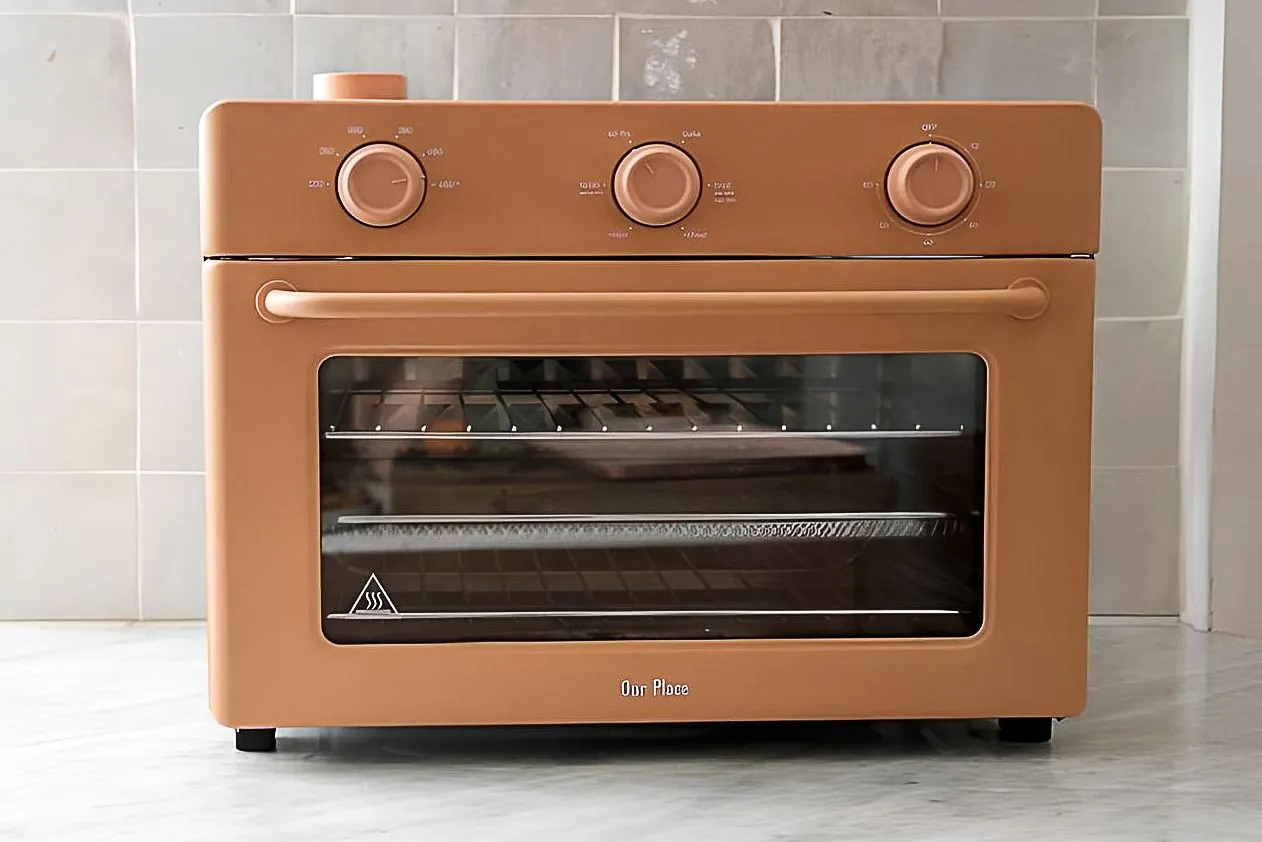
A cold Wonder Oven doesn’t brown bread — it dries it. Two minutes of empty preheating at 400°F is the difference between toast and a warm slice of bread. Careful cooks also know which rack slot is the middle one on their unit, because the top position puts the bread close enough to the element to blacken the surface in under 3 minutes.
They watch, and they leave the door shut
The window exists for a reason. At 400°F, 30 seconds is the gap between golden and burnt, so experienced cooks stand there for the last minute instead of setting a timer and walking off. They also resist opening the door every 30 seconds — each open drops the temperature and adds cooking time. One check at the halfway mark is enough.
What goes wrong, and what to do
Most problems come down to three things: the wrong function, no flip, or slices too close together. Find your symptom below.
| What you notice | What it usually means | What to do first | How to stop it happening again |
|---|---|---|---|
| Pale and dry, no colour | Bake used instead of Air Fry | Switch to Air Fry, 400°F | Use Air Fry for toast |
| Burnt edges, soft middle | Rack too high, heat too strong | Move rack to middle, drop to 375°F | Check rack position first |
| One side dark, one pale | No flip during cooking | Flip at halfway and finish | Always flip once |
| Chewy, steamed texture | Slices packed too tight | Space them ½ inch apart | Cook in two batches |
| Cold centre, brown outside | Went in frozen, no flip | Flip at 3 min, add 2 min | Add time for frozen bread |
| Soggy after 2 minutes | Oven wasn’t preheated | Preheat empty for 2 min | Always preheat |
The rules that apply here
The safety guidance for countertop ovens comes from the manufacturer’s manual and from the U.S. Consumer Product Safety Commission, which publishes recall and safety notices for small kitchen appliances. Read your Wonder Oven manual’s own safety page — it lists clearances, which accessories are oven-safe, and what not to put inside.
A few rules apply to every model. Never line the rack or the interior with foil; it blocks airflow and can touch the heating elements. Keep the oven at least a few inches from the wall and away from anything that can melt. Don’t leave it running unattended, and unplug it when you’re done.
If your oven trips the breaker, sparks, or smells like burning plastic, stop using it and contact the manufacturer. That’s not a toast problem — that’s an appliance fault, and it needs a technician or a replacement, not a different setting.
What this really costs you
The money side is small: a loaf of bread and a few cents of electricity per batch. Running a countertop oven for 5 minutes uses a fraction of a kilowatt-hour, and you can work out your own number by checking the wattage on the label and your electricity rate on your bill.
The real cost is time and attention. Five minutes of cooking is five minutes of standing near the kitchen, because the last 30 seconds decide the result. If you want toast you can start and forget, a slot toaster is cheaper and more forgiving.
What moves the cost up: thick or frozen slices, cooking four at once in two batches, and specialty breads that need a lower temperature and a closer eye. What moves it down: thin fresh sandwich bread, one or two slices, and a preheated oven.
The mistake is walking away during the last minute. That’s when a slice goes from golden to black, and you have wasted the bread, the electricity and the five minutes you already spent. Stay with it.
If you’re making one or two slices of ordinary sandwich bread, the oven is fine and the cost is trivial. If you’re feeding four people, or the bread is frozen, or you want to walk away and come back, use the toaster or the broiler instead.
One more thing worth counting: the oven needs a few minutes to come up to heat before the bread goes in. That’s time on top of the cooking, and it’s the part people forget when they compare the two.
Keeping the oven right afterwards
Let the Wonder Oven cool completely before you clean it — at least 15 minutes after the last batch. Wipe the rack with a damp cloth and mild soap, and shake crumbs out of the bottom tray. A buildup of grease on the element is what causes that burnt smell on your next batch.
If you cooked something fatty — bacon, sausages, anything that spattered — check the element itself, not just the tray. Grease spatters while the oven runs and lands on the element, where it bakes into a hard brown film. That film is what smokes on the next preheat, and it won’t wipe off once it has set.
The sign it needs attention again is smoke or a bitter smell during preheating, or visible dark spots on the element. Deal with it then, before it flavours your next slice.
For baked-on film, let the oven cool, then wipe the element gently with a dry cloth or a soft brush. Never scrape it with anything metal, and never get it wet while it’s still warm — moisture on a hot element can damage it or cause a shock.
Check the crumb tray after every few uses, and give the interior a wipe whenever you can see grease or residue. You don’t need to deep-clean it often — you just need to stop crumbs from sitting on hot metal.
When toast in the Wonder Oven is the wrong call
If you’re making toast for six people at once, this is the wrong tool. A countertop oven holds 2 to 4 slices comfortably, so a crowd means batch after batch and cold toast for the first people served. Use a slot toaster or the broiler in your main oven instead.
Two slices for one person is the case where it earns its place. It’s already on the counter, it’s already hot from last night’s dinner, and laying bread on the rack costs you nothing extra. The moment you’re standing there waiting on it, a toaster would have been done.
If your only goal is plain toast every morning, a $25 slot toaster does it faster and with less attention. The Wonder Oven earns its counter space by roasting, air frying and reheating — toast is a bonus, not its strength.
One mistake costs people real money here. They buy the Wonder Oven for toast, find it slow, and conclude the whole appliance was a bad purchase. Toast is the least of what it does. Judge it on a roasted tray of vegetables or reheated leftovers, not on your morning slice.
And if your oven is sparking, tripping the breaker, or smelling like burning plastic, stop. That’s an appliance fault, and it needs the manufacturer or a qualified technician, not another setting to try.
Related guides
Frequently asked questions
Can you make toast in a Wonder Oven?
Yes. Set it to Air Fry at 400°F, put 1 or 2 slices on the wire rack, and cook for 4 to 6 minutes, flipping once at the halfway mark. Air Fry browns better than Bake because moving hot air reaches the surface.
How long does toast take in a Wonder Oven?
About 4 to 6 minutes at 400°F on Air Fry. Thin fresh bread is done in 4; thick or frozen slices need 6 to 8. Add 2 minutes for frozen bread and flip it at the 3-minute mark instead of halfway.
Why is my toast soggy in the middle?
The oven probably wasn’t preheated, or you skipped the flip. Preheat empty for 2 minutes, then flip at the halfway point so both sides dry out. Frozen slices also stay cold in the centre unless you add time and flip early.
Is it safe to put bread directly on the rack?
Yes, bread goes straight on the wire rack — that’s how hot air reaches the underside. Don’t use foil or parchment; foil blocks airflow and can touch the heating element. Check your manual if you’re unsure which accessories are oven-safe.
What happens if I use Bake instead of Air Fry?
You’ll get a drier, paler slice with less browning. Bake heats more gently and doesn’t move air across the surface. If Bake is all your model has, add about 1 minute and expect lighter colour.
Does it matter which rack position I use?
Yes. The middle position browns evenly; the top position puts bread close to the element and can blacken the surface in under 3 minutes while the middle stays soft. Check your manual for which slot is the middle one.
Can I toast more than two slices at once?
You can, but space them at least ½ inch apart or they steam each other and come out chewy. Four slices usually need 5 to 7 minutes and often work better in two batches.
How do I stop it burning at the end?
Stay near the oven for the last minute. At 400°F the gap between golden and burnt is roughly 30 seconds. Watch through the window and pull the slices the moment the surface is dry and golden.
Conclusion
Start with one slice at 400°F on Air Fry and watch it — that single test tells you how your bread and your oven behave together. Expect golden, firm toast in 4 to 6 minutes, with crisp edges and a dry surface. If the edges blacken before the middle firms up, stop adjusting and check your rack position — and if the oven sparks or smells like burning plastic, unplug it and call the manufacturer.

Hello, This is Annie Walker, a 38-year-old blogger, founder, and editor of Cookware Guider from NY, USA. I am a cookware fanatic and passionate cooker. I love to cook with different types of cooking appliances (example: all types of cookware, rice cookers, slow cookers, etc) almost every day in my kitchen. I love to share my experience with my readers in my blog. Also, I enjoy helping people to solve their problems through my website. You can follow me on Twitter & Pinterest. To know details about my blog please check the about us page.