
Few tools feel as satisfying as a sharp knife. Whether you’re a chef, a hunter, or just someone who loves the outdoors, a well-maintained blade can make every task easier and safer. The Benchmade Knife Sharpener is a popular tool for keeping knives sharp. It’s compact, easy to use, and trusted by professionals. But using it correctly takes some skill and knowledge. This article walks you through every step, from understanding the sharpener’s features to mastering sharpening techniques. You’ll also learn about mistakes to avoid, get practical tips, and see clear comparisons with other sharpening methods. By the end, you’ll feel confident using a Benchmade Knife Sharpener to keep your blades in top shape.
What Is The Benchmade Knife Sharpener?
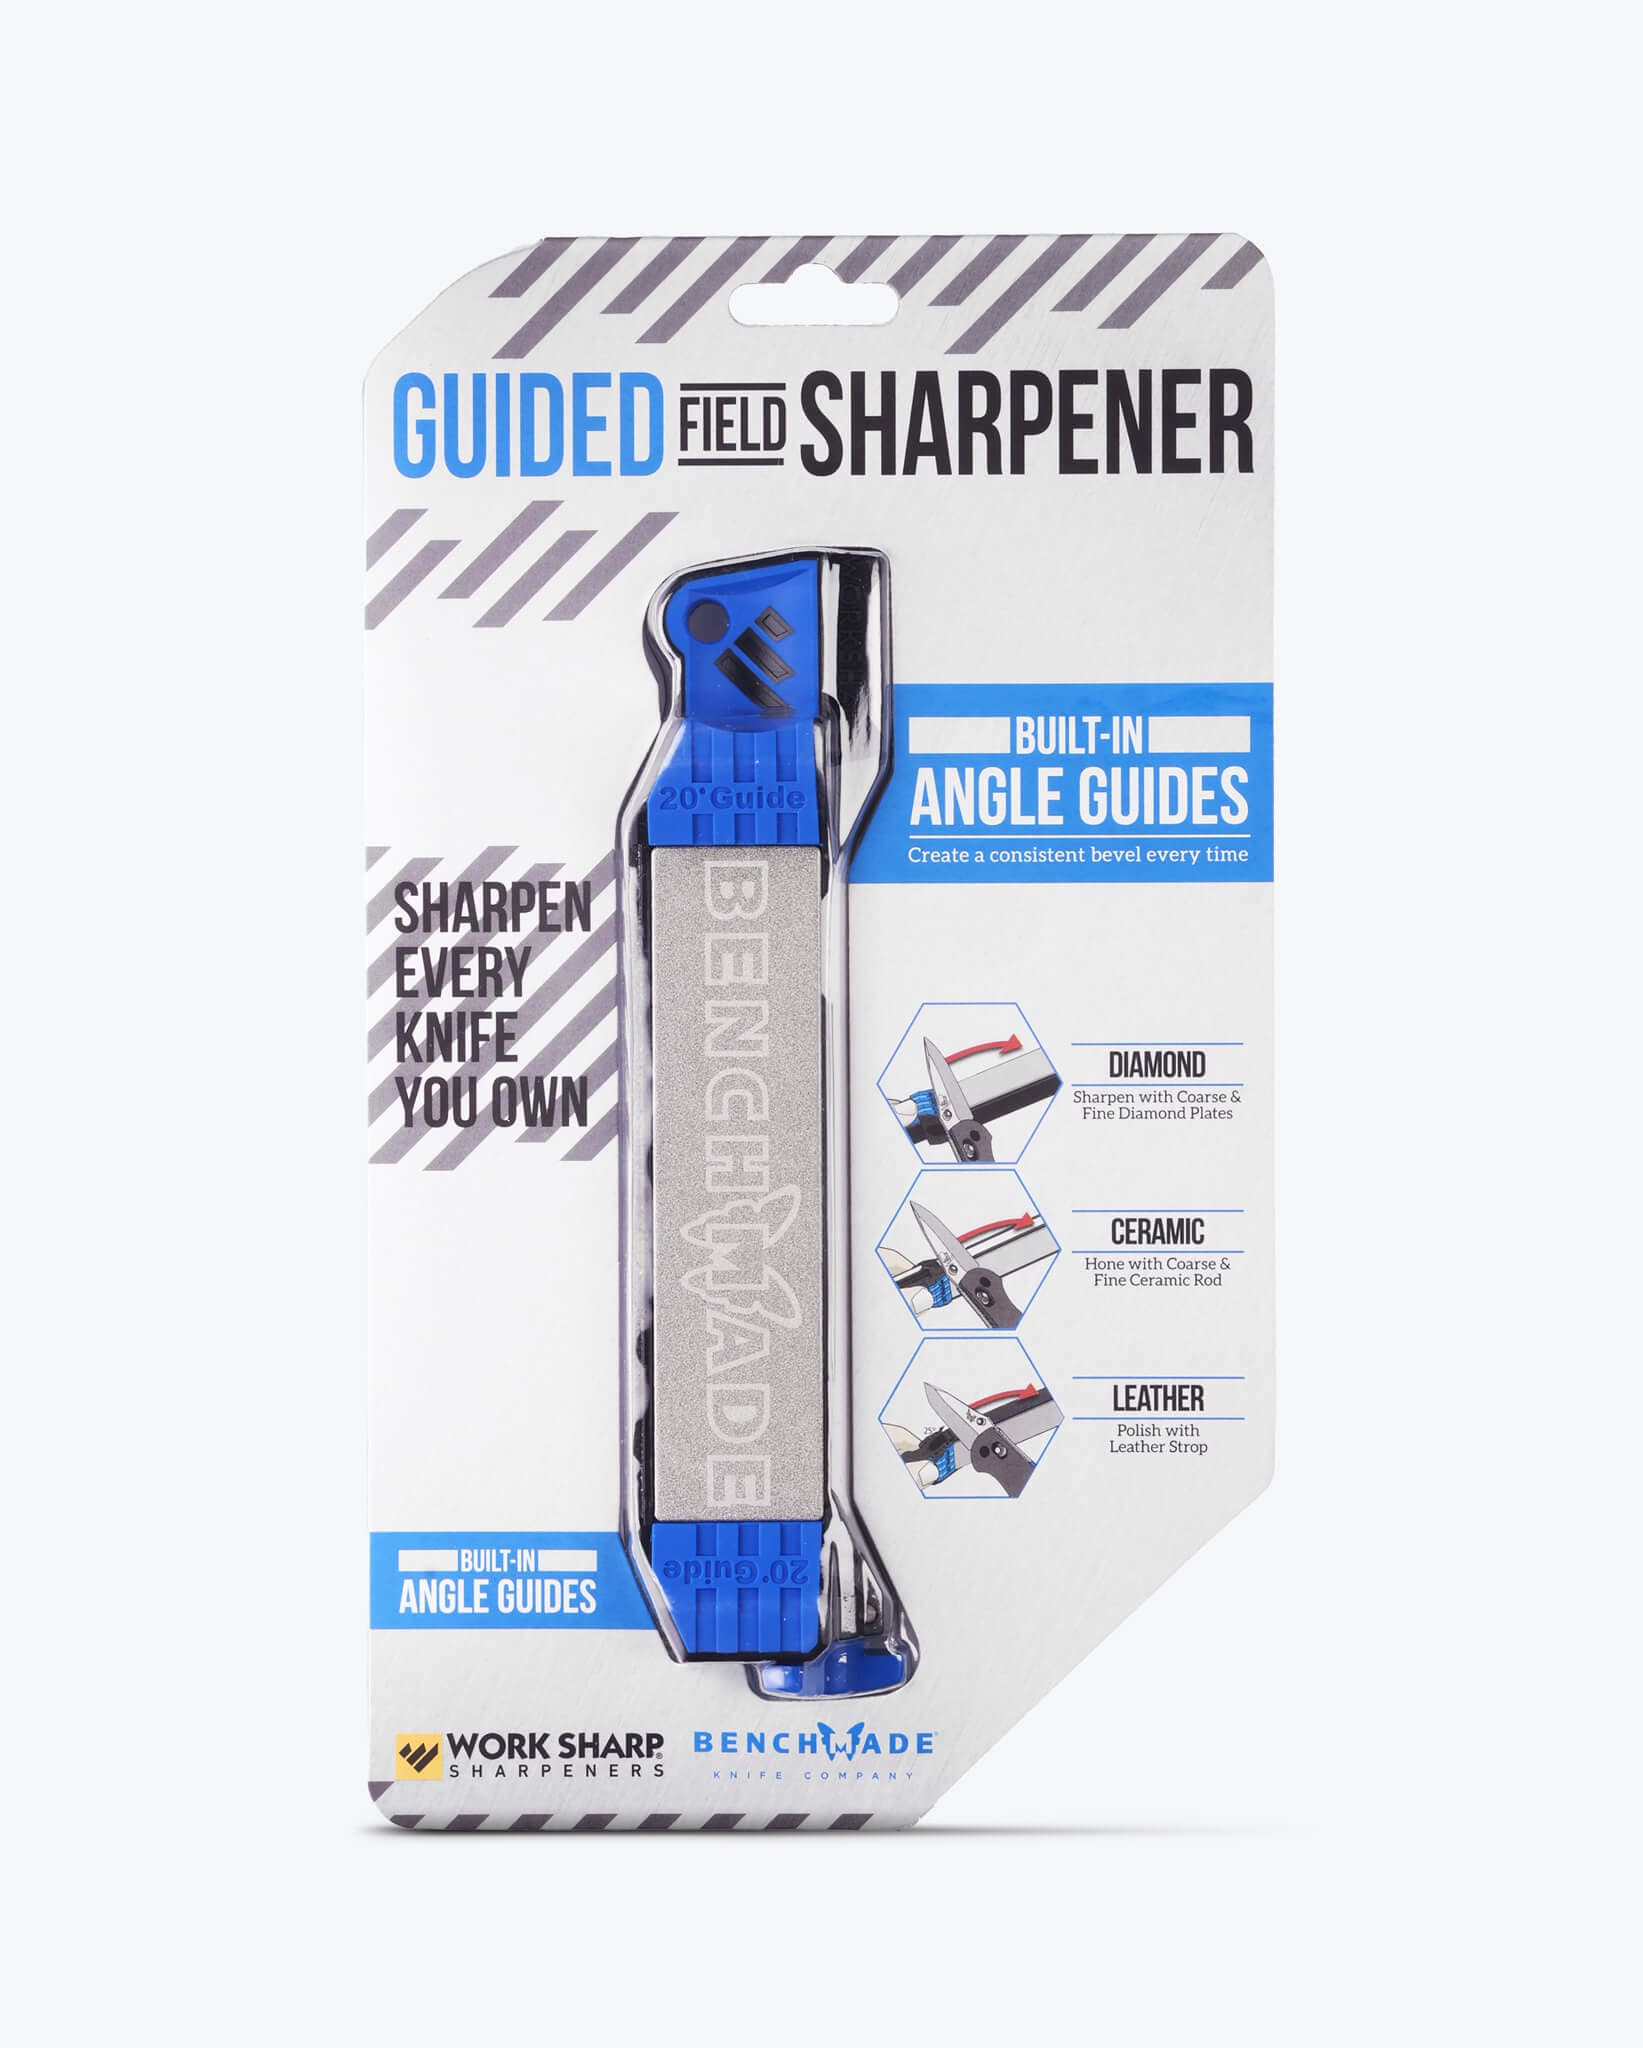
The Benchmade Knife Sharpener is designed for quick and effective sharpening. It’s portable, lightweight, and made for both beginners and experts. Benchmade is known for quality knives, and their sharpener matches this reputation. The sharpener usually comes in two main forms: the Benchmade Guided Field Sharpener and the Benchmade Work Sharp.
Key Features
- Multiple sharpening surfaces: Diamond plates, ceramic rods, and leather strops.
- Guided angles: Built-in guides for consistent sharpening angles (often 20° or 25°).
- Compact design: Fits in a pocket or backpack.
- Durable materials: High-quality metals and ceramics for long-lasting use.
Why Choose Benchmade?
Benchmade sharpeners are made for real-world use. Unlike some sharpeners, they work with many blade types, including straight and serrated edges. The guided angles help even beginners sharpen correctly. It’s a favorite among hikers, campers, and anyone who needs reliable sharpening on the go.
Benchmade Knife Sharpener Types And Comparison
Benchmade offers a few different sharpeners. Understanding their differences helps you pick the right one. Here’s a comparison table highlighting the most popular models:
| Sharpener Model | Sharpening Surfaces | Angle Guides | Weight | Best For |
|---|---|---|---|---|
| Guided Field Sharpener | Diamond, ceramic, leather | 20°, 25° | 4.6 oz | Outdoor, field use |
| Work Sharp Benchmade Edition | Diamond, ceramic | 20°, 25° | 2.7 oz | Everyday carry |
| Mini Sharpener | Ceramic | None | 0.7 oz | Quick touch-ups |
Non-obvious insight: Many beginners overlook the importance of weight and portability. If you travel or hike often, the lighter models save space and energy.
Credit: www.benchmade.com
Getting Started: Preparing Your Knife And Sharpener
Before you start sharpening, a bit of preparation ensures better results.
Knife Inspection
- Clean your blade: Wipe off dirt, oil, and food residue.
- Check for damage: Look for chips, dents, or deep scratches. If your knife has severe damage, it may need professional repair before sharpening.
- Know your knife type: Straight edge or serrated, stainless steel or carbon steel. Benchmade sharpeners work with most types, but serrated edges require special attention.
Sharpener Setup
- Clean sharpening surfaces: Dust or debris can affect sharpening.
- Choose the right angle guide: Most Benchmade sharpeners offer 20° for pocket knives and 25° for thicker blades.
- Position the sharpener: Place it on a stable, flat surface or hold it securely in your hand.
Pro tip: Never rush this step. Preparing your tools prevents mistakes and extends the life of your knife.
Step-by-step Guide: How To Use Benchmade Knife Sharpener
Sharpening with a Benchmade tool is straightforward, but following the right steps makes all the difference.
Step 1: Select The Correct Sharpening Surface
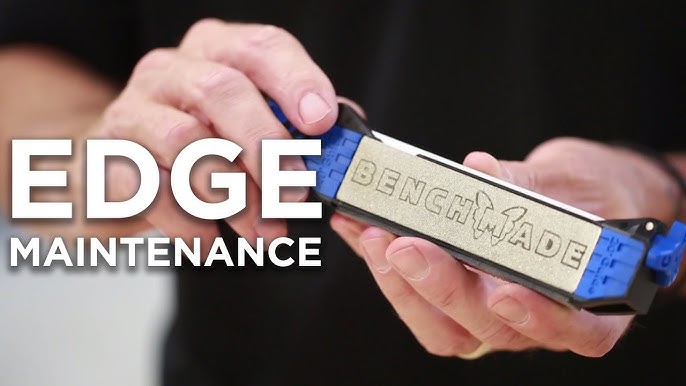
Benchmade sharpeners often have diamond plates for heavy sharpening, ceramic rods for fine honing, and leather strops for finishing.
- Diamond plate: Use for dull or damaged blades.
- Ceramic rod: Use for regular maintenance and final sharpening.
- Leather strop: Use for polishing and removing tiny burrs.
Step 2: Set The Sharpening Angle
Most knives are sharpened at either 20° or 25°. Use the built-in guide if your sharpener has one. Hold the blade at the chosen angle and keep it steady.
Step 3: Start Sharpening
- Place the blade on the diamond plate. Start near the handle and pull the blade across the plate, moving toward the tip.
- Apply gentle, even pressure. Don’t force the blade—let the sharpener do the work.
- Repeat the motion. Do about 5–10 strokes per side, checking the sharpness as you go.
Step 4: Switch To The Ceramic Rod
After initial sharpening, use the ceramic rod for a finer edge.
- Hold the blade at the same angle.
- Use smooth strokes, alternating sides.
- Do 5–8 strokes per side.
Step 5: Finish With The Leather Strop
The strop polishes the edge and removes any burrs. This step makes your knife extra sharp.
- Pull the blade gently across the strop.
- Repeat 3–5 times per side.
Common mistake: Many users skip the strop, thinking it’s optional. But stropping gives you a much cleaner, sharper edge.

Credit: www.benchmade.com
Practical Tips For Best Results
Sharpening is not just about moving the blade. The way you handle your tools matters.
- Keep your hands dry: Wet or oily hands make sharpening dangerous.
- Use light pressure: Too much force can damage the blade and sharpener.
- Check your progress: After a few strokes, test the edge. A sharp knife should easily slice paper or shave hair.
- Alternate sides: Always sharpen both sides evenly. Uneven sharpening weakens the blade.
- Clean after sharpening: Wipe the blade and sharpening surfaces to remove metal particles.
Second non-obvious insight: Most beginners forget to clean their sharpener after use. Metal dust builds up and can scratch future blades. Always wipe the sharpener with a damp cloth.
Sharpening Serrated Blades With Benchmade
Serrated knives need special care. Benchmade sharpeners can handle serrated edges, but the technique is different.
- Use the ceramic rod for serrations.
- Place the rod in each serration and gently move back and forth.
- Repeat for every groove.
- Avoid using diamond plates on serrated edges—they can flatten the serrations.
Example: If you have a Benchmade Rescue Knife, sharpen each serration with the ceramic rod, then finish with the strop. This keeps the grooves sharp and effective.
Maintaining Your Benchmade Knife Sharpener
A sharpener lasts longer if you care for it. Here’s how:
- Clean after every use: Remove metal shavings and dust.
- Store in a dry place: Moisture can rust metal parts.
- Check for wear: Over time, sharpening surfaces can wear down. Replace plates or rods as needed.
- Avoid dropping: Ceramic rods can break if dropped.
Extra tip: Once a month, inspect your sharpener for cracks, chips, or loose parts. Early detection prevents bigger problems.
Comparing Benchmade Sharpeners With Other Methods
Benchmade sharpeners are not the only option. How do they compare with whetstones, pull-through sharpeners, or electric tools? Here’s a clear comparison:
| Sharpening Method | Ease of Use | Portability | Edge Quality | Maintenance |
|---|---|---|---|---|
| Benchmade Guided Sharpener | Easy | High | Excellent | Low |
| Whetstone | Moderate | Medium | Very High | Medium |
| Pull-Through Sharpener | Very Easy | High | Low | Very Low |
| Electric Sharpener | Easy | Low | Good | Low |
Insight: Benchmade sharpeners give a better edge than most pull-through tools and are more portable than whetstones. They balance quality and convenience.
How Often Should You Sharpen Your Knife?
The frequency depends on how often you use your knife and what you cut.
- Daily use: Sharpen every 2–4 weeks.
- Occasional use: Sharpen every 2–3 months.
- Heavy-duty tasks (hunting, camping): Check and touch up before and after each trip.
Data: Studies show that kitchen knives used regularly lose their sharpness after about 300 cuts. Outdoor knives dull faster if they cut hard materials like rope or wood.
Safety Tips When Using Benchmade Knife Sharpener
Sharpening is safe if you follow some simple rules.
- Always sharpen away from your body
- Keep fingers clear of the blade
- Don’t use damaged sharpeners
- Use a stable surface
- Wear safety gloves if needed
Example: If sharpening outside, place the sharpener on a flat rock. Never hold it in your lap.
Troubleshooting Common Problems
Even with a Benchmade sharpener, issues can happen.
Blade Not Getting Sharp
- Possible cause: Wrong angle or not enough strokes.
- Solution: Use the angle guide and increase the stroke count.
Uneven Edge
- Possible cause: Sharpening one side more than the other.
- Solution: Alternate sides and count strokes.
Scratches On Blade
- Possible cause: Dirty sharpening surface.
- Solution: Clean the sharpener before use.
Pro tip: If your blade is still dull after sharpening, check for burrs. Use the strop to remove them.
Sharpening Specialty Knives With Benchmade
Some knives have unique shapes or materials. Benchmade sharpeners work with most, but a few tips help:
- Tanto blades: Sharpen the main edge, then the tip separately.
- Carbon steel knives: Clean and dry immediately after sharpening to prevent rust.
- Damascus steel: Use gentle strokes to protect the pattern.
Mistake to avoid: Never use diamond plates on soft metal knives. It can remove too much material.
Credit: www.youtube.com
Real-world Examples: Benchmade Sharpener In Action
Let’s look at practical uses:
- Camping trip: You bring a Benchmade Field Sharpener and touch up your survival knife before cooking. You use all three surfaces, achieving a razor edge in under 10 minutes.
- Kitchen prep: Your chef’s knife is dull. You use the Benchmade Work Sharp, starting with ceramic, then stropping. The knife slices tomatoes easily.
- Fishing expedition: Your fillet knife needs a quick edge. The mini sharpener fits in your tackle box and gives you fast results.
Statistic: Outdoor enthusiasts rate Benchmade sharpeners 4.7/5 for portability and ease of use (based on surveys from backpacker forums).
Buying And Using Benchmade Knife Sharpener: What Matters
When choosing a Benchmade sharpener, consider these factors:
- Portability: Do you need a sharpener for travel or home?
- Sharpening surfaces: Diamond plates are good for tough jobs, ceramic for everyday sharpening.
- Guided angles: Beginners benefit from angle guides.
- Price: Benchmade sharpeners range from $25 to $60.
Comparison table:
| Model | Price | Portability | Sharpening Surfaces | Angle Guides |
|---|---|---|---|---|
| Guided Field Sharpener | $35 | High | Diamond, ceramic, leather | Yes |
| Work Sharp Benchmade Edition | $45 | Medium | Diamond, ceramic | Yes |
| Mini Sharpener | $25 | Very High | Ceramic | No |
Common buyer mistake: Many users buy the cheapest model, then realize it lacks features they need. Check your knife types and sharpening needs before choosing.
For more details on knife sharpening basics, see the official Benchmade website.
Frequently Asked Questions
How Long Does It Take To Sharpen A Knife With Benchmade Sharpener?
Usually, sharpening takes about 5–15 minutes. If your knife is very dull, it can take longer. Using all three surfaces (diamond, ceramic, leather) gives the best results. Beginners may need more time at first, but practice makes the process faster.
Can Benchmade Sharpener Fix A Damaged Knife Edge?
Benchmade sharpeners can restore most dull or slightly chipped blades. For deep chips or broken tips, you need professional repair. The diamond plate is good for minor damage, but don’t force the blade or use excessive pressure.
Is The Benchmade Sharpener Safe For Children To Use?
The sharpener is safe with proper supervision. Children should always be guided and never use the sharpener alone. Make sure they understand how to hold the blade and keep fingers away from the edge.
Does Benchmade Sharpener Work For Scissors Or Other Tools?
Benchmade sharpeners are designed mainly for knives. Some models can sharpen scissors or small tools, but results vary. For best performance, use the sharpener only for knives. Specialized sharpeners work better for other tools.
How Do I Clean And Maintain My Benchmade Sharpener?
After each use, wipe the sharpening surfaces with a damp cloth. Remove metal dust and shavings. Store in a dry place to prevent rust. Inspect monthly for wear or damage. Avoid dropping ceramic rods, as they can break.
Keeping your knives sharp is a skill worth mastering. The Benchmade Knife Sharpener makes this easy, whether you’re at home or outdoors. With guided angles, durable materials, and practical design, Benchmade sharpeners help you achieve a perfect edge every time. Follow the steps and tips in this article, and you’ll enjoy safer, easier cutting. Remember: proper sharpening and maintenance are just as important as the knife itself. Now you’re ready to use the Benchmade Knife Sharpener like a pro.

Hello, This is Annie Walker, a 38-year-old blogger, founder, and editor of Cookware Guider from NY, USA. I am a cookware fanatic and passionate cooker. I love to cook with different types of cooking appliances (example: all types of cookware, rice cookers, slow cookers, etc) almost every day in my kitchen. I love to share my experience with my readers in my blog. Also, I enjoy helping people to solve their problems through my website. You can follow me on Twitter & Pinterest. To know details about my blog please check the about us page.