
If you own a kitchen, you know the importance of sharp knives. A dull blade can slow down your cooking and even make it dangerous. Many people think sharpening knives is difficult or only for professionals. But with the Chef’s Choice Knife Sharpener 2 Stage, anyone can keep their knives sharp safely and easily. This guide will show you how to use this sharpener like a pro, avoid common mistakes, and get the best results for every meal.
What Is The Chef’s Choice Knife Sharpener 2 Stage?
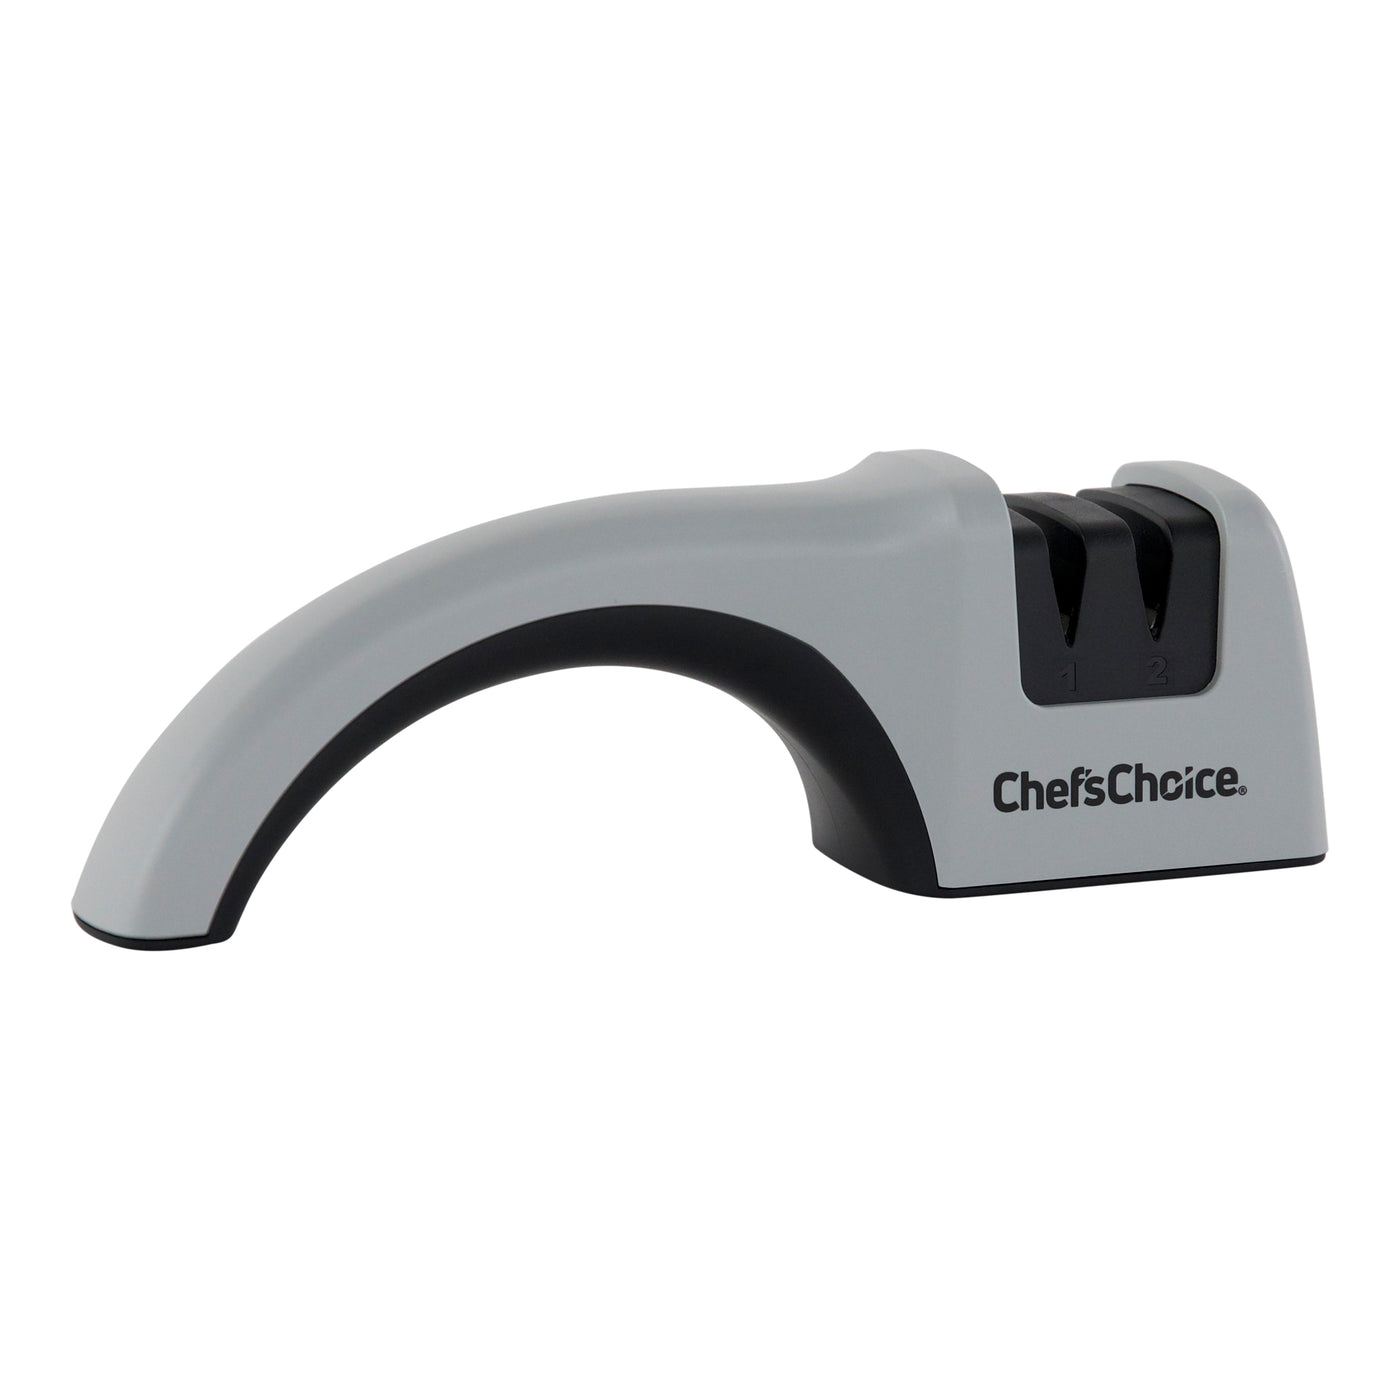
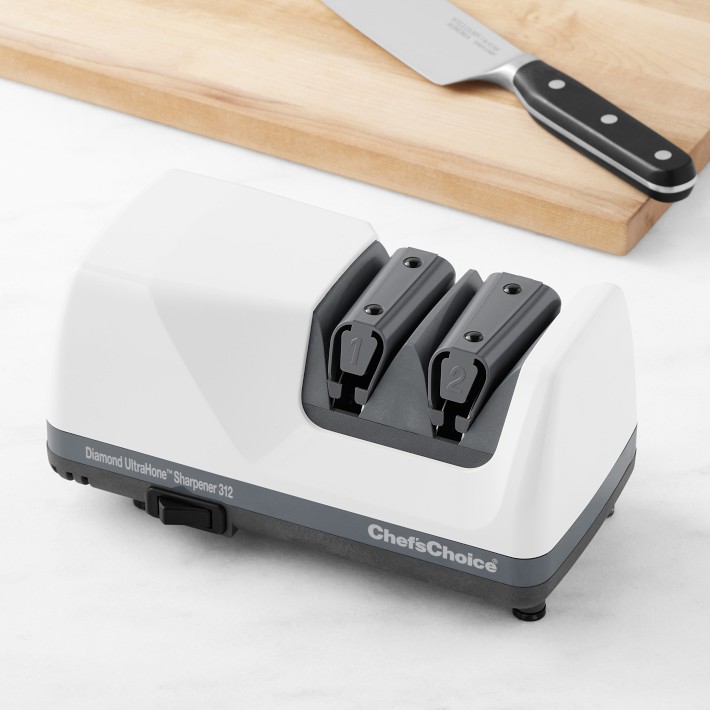
The Chef’s Choice Knife Sharpener 2 Stage is a compact, electric tool designed to sharpen kitchen knives with minimal effort. Unlike manual sharpeners or sharpening stones, this model offers two distinct sharpening stages. Each stage helps restore a blade and polish it for smooth slicing. It’s popular among home cooks and professionals because it’s fast, reliable, and easy to use.
Features And Benefits
- Two-stage sharpening system: One stage sharpens, the other polishes.
- Diamond abrasives: Durable and effective for most knife types.
- Angle guides: Help maintain the correct sharpening angle.
- Compact design: Fits easily on most kitchen counters.
Who Should Use It?
If you cook regularly, own quality knives, or want a safer kitchen, this sharpener is ideal. It works for beginners, experienced cooks, and even small restaurant owners. The Chef’s Choice 2 Stage sharpener is also great for those who struggle with manual sharpening tools.
How Does The 2-stage System Work?
Understanding the two-stage process is key to using the sharpener correctly. Each stage serves a different purpose:
| Stage | Purpose | Abrasive Material | Result |
|---|---|---|---|
| Stage 1 | Sharpening | Diamond | Restores cutting edge, creates bevel |
| Stage 2 | Polishing | Finer diamond | Smooths edge, refines sharpness |
Why Two Stages Matter
Many sharpeners only have one stage, which leaves the blade rough or unfinished. The Chef’s Choice model uses two stages to create a sharp edge and then polish it for cleaner cuts. This double process reduces the risk of blade damage and helps knives stay sharp longer.
Preparing To Sharpen: Safety And Setup
Before sharpening, take a few steps to ensure safety and the best results.
Safety Tips
- Unplug the sharpener before cleaning or moving it.
- Keep hands away from sharpening slots during use.
- Do not use on wet surfaces—moisture can damage the sharpener.
- Use only with kitchen knives (not scissors or serrated blades unless specified).
Setting Up The Sharpener
- Place the sharpener on a stable, flat surface.
- Plug it into a standard outlet.
- Make sure the sharpening slots are clean and free of debris.
- Gather your knives and inspect them for damage (chips, cracks).
Knife Types Compatible
Most kitchen knives (chef’s knives, paring knives, utility knives) can be sharpened with this tool. Avoid using it on specialty blades like ceramic knives or high-end Japanese knives with special steel, unless the manufacturer allows.
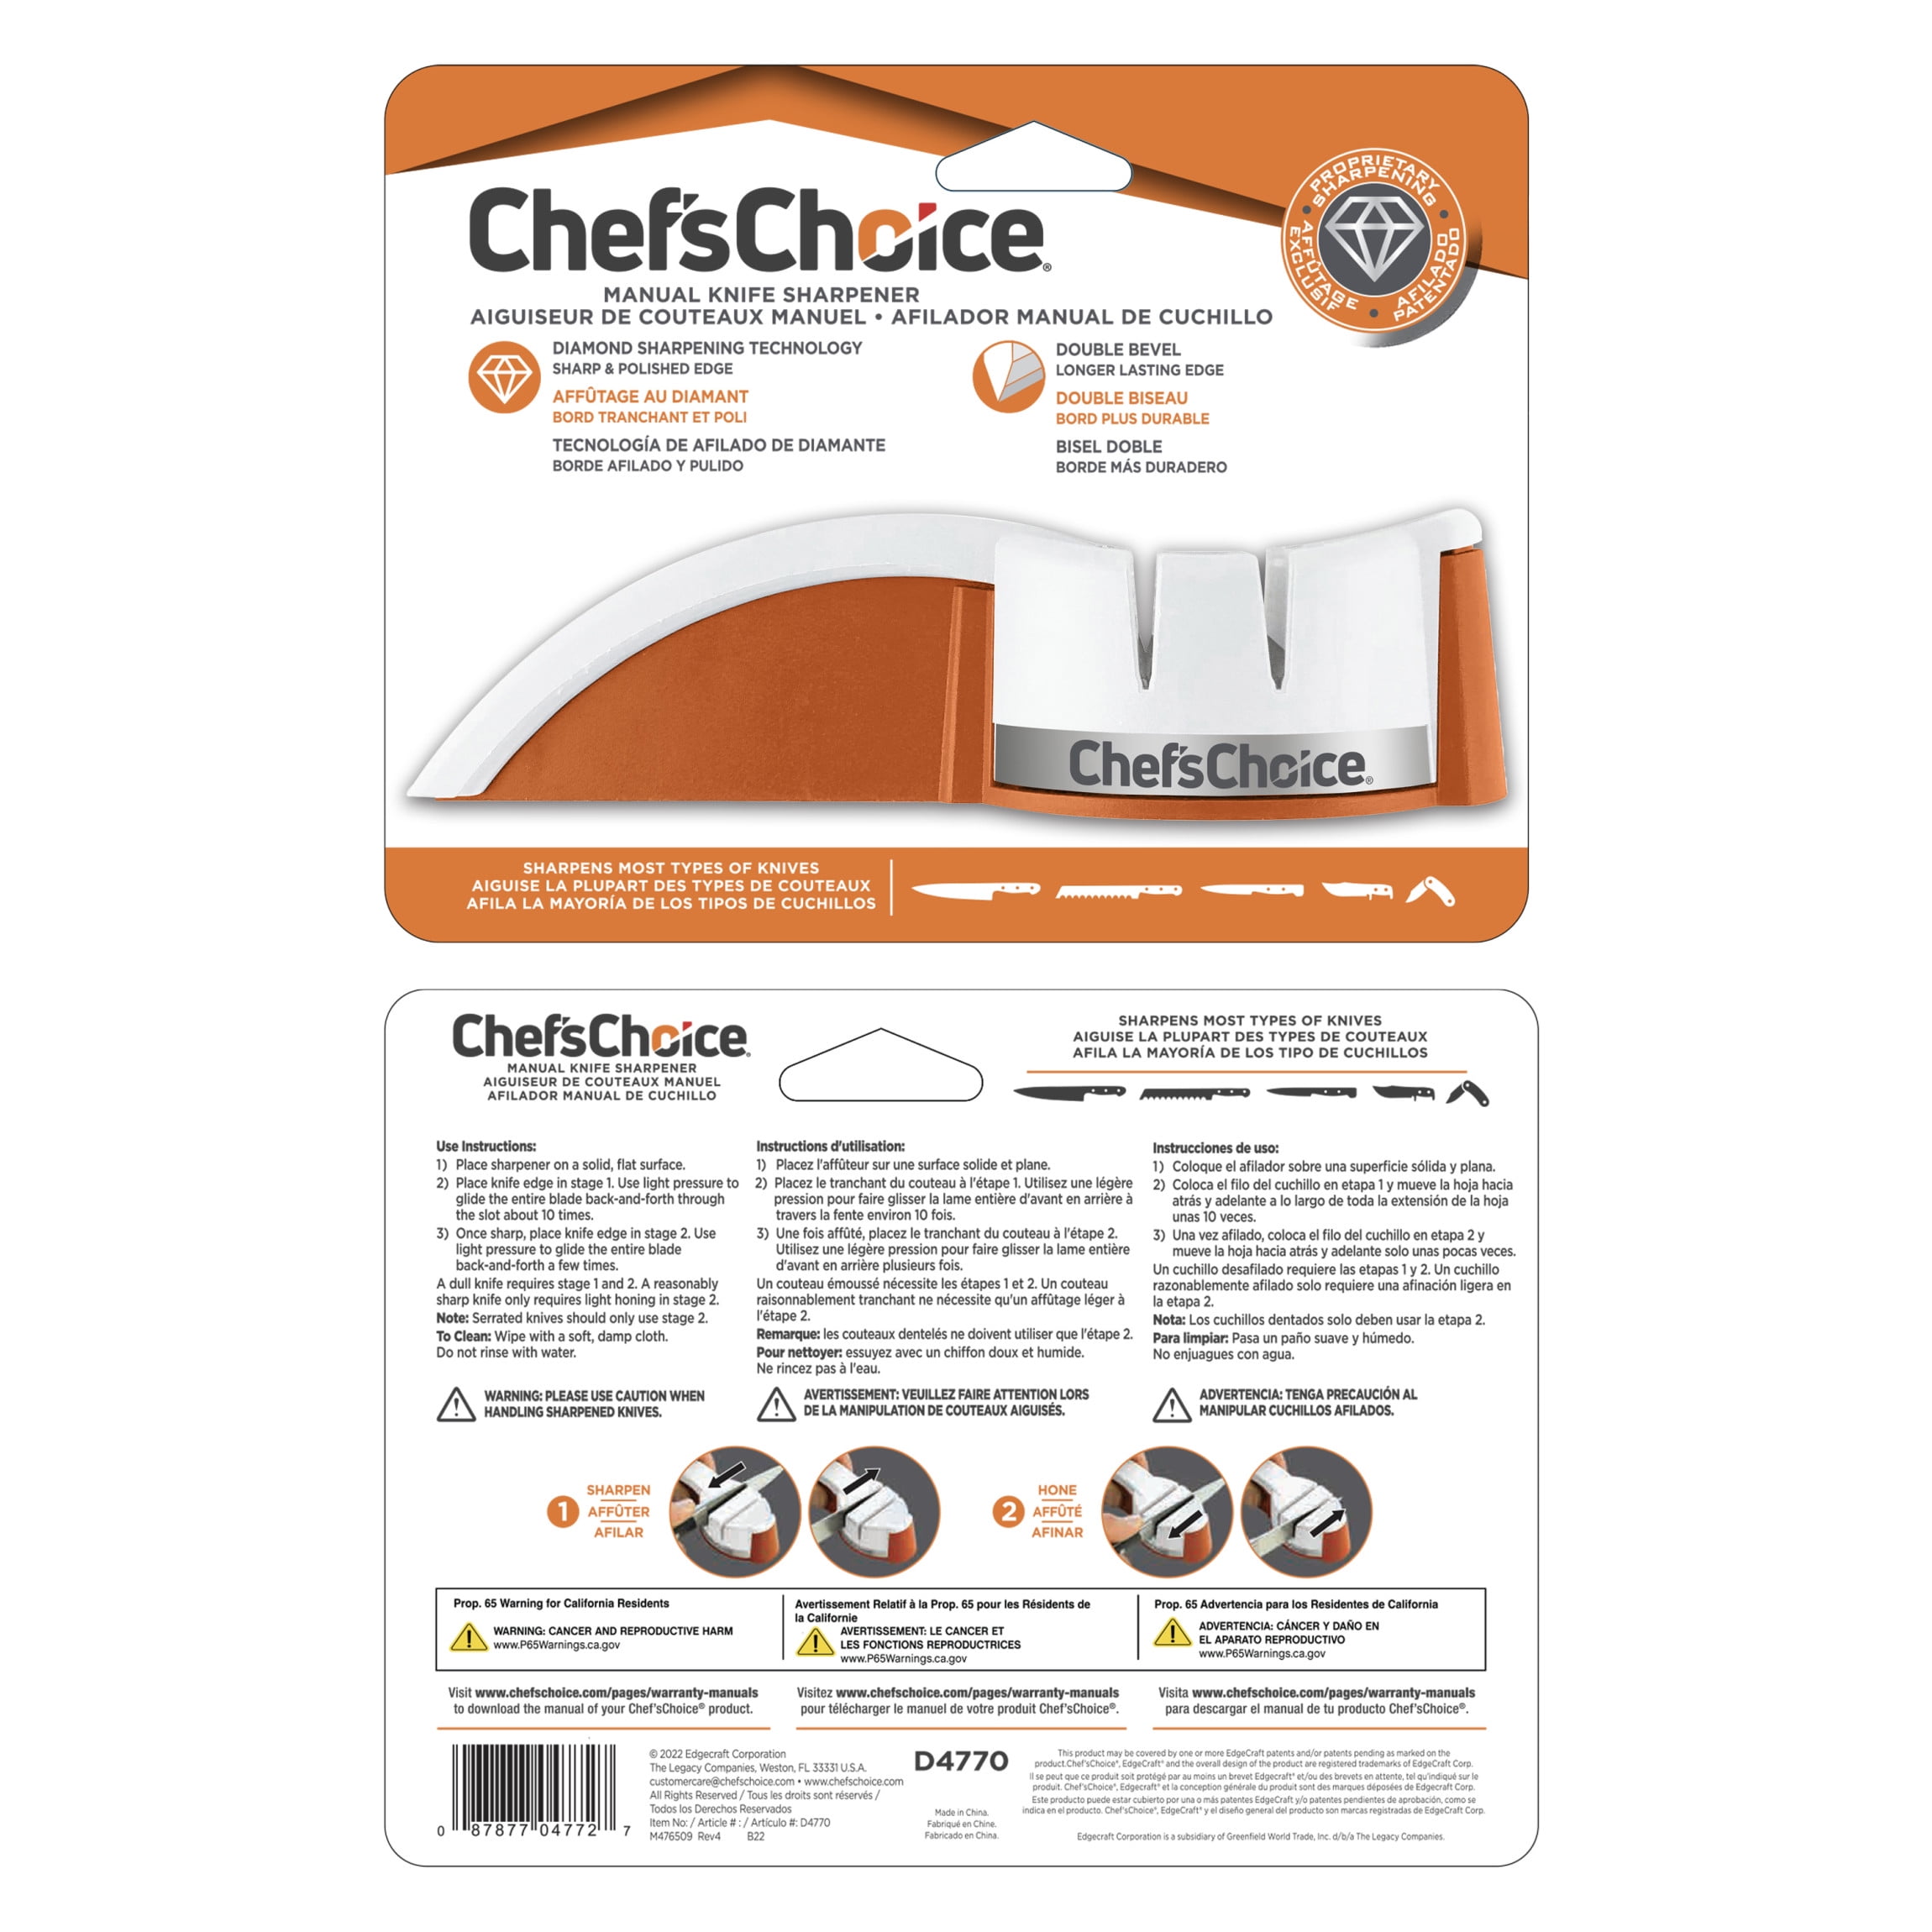
Step-by-step Guide: Using The Chef’s Choice Knife Sharpener 2 Stage
Let’s go through each step so you can sharpen your knives safely and effectively.
Step 1: Inspect Your Knife
Look at the blade for chips, deep scratches, or bends. Severely damaged knives may need professional repair. If your knife is only dull, it’s ready for sharpening.
Step 2: Plug In And Turn On
Plug the sharpener into a reliable outlet. Most models have a simple on/off switch. Make sure it’s powered before starting.
Step 3: Stage 1 – Sharpening
This stage creates the primary edge.
- Hold the knife by the handle. Keep your fingers away from the blade.
- Place the blade into the Stage 1 slot, starting at the heel (the part closest to the handle).
- Gently pull the knife through the slot toward you, keeping it level and steady.
- Allow the sharpener’s guide to control the angle—do not force or twist the knife.
- Repeat 3–4 times on each side, alternating sides for even sharpening.
Tip: Don’t rush. Slow, steady pulls work best. If the blade is very dull, you might need an extra pass.
Step 4: Stage 2 – Polishing
This stage finishes the edge for smooth slicing.
- Insert the blade into the Stage 2 slot.
- Pull the knife through gently, just like in Stage 1.
- Repeat 2–3 times on each side. This stage removes tiny rough spots and gives the blade a mirror-like finish.
Tip: Fewer passes are needed for polishing. Too many can wear down the blade.
Step 5: Clean And Test
Wipe the blade with a damp cloth to remove any metal dust. Dry thoroughly.
To test sharpness, try slicing a sheet of paper or a tomato. If the knife cuts smoothly, you’re done!
Step 6: Clean The Sharpener
Unplug the sharpener. Use a soft brush or cloth to clean the slots. Never use water directly on the device.
Common Mistakes And How To Avoid Them
Even with a good sharpener, mistakes can happen. Here’s what to watch for:
- Using too much force: Let the sharpener do the work. Pushing hard can damage the edge.
- Skipping stages: Always use both stages. Sharpening without polishing leaves the blade rough.
- Sharpening dirty knives: Clean blades before sharpening. Dirt or food particles can clog the sharpener.
- Over-sharpening: Too many passes can thin the blade and shorten its life.
- Wrong knife type: Don’t use the sharpener for knives it’s not designed for.
Non-obvious Insight
Many beginners think frequent sharpening keeps knives sharp. In reality, sharpening too often wears out the blade. Most home cooks only need to sharpen knives every few weeks or months, depending on use.
Chef’s Choice 2 Stage Vs Other Sharpeners
Let’s see how this model compares to other common sharpeners.
| Sharpener Type | Ease of Use | Edge Quality | Maintenance | Safety |
|---|---|---|---|---|
| Chef’s Choice 2 Stage | Very easy | Excellent | Low | High |
| Manual Sharpener | Moderate | Good | Low | Medium |
| Sharpening Stone | Difficult | Variable | Medium | Medium |
| Pull-through Sharpeners | Easy | Fair | Low | Medium |
Non-obvious Insight
Electric sharpeners like Chef’s Choice are more consistent than manual stones. They remove less metal, which helps knives last longer. Many people don’t realize manual stones require skill and can damage blades if used incorrectly.
Credit: chefschoice.com
How Often Should You Sharpen Your Knives?
The right schedule depends on your cooking habits.
- Home cooks: Every 1–2 months for normal use.
- Professional chefs: Every few weeks or when dullness appears.
- Heavy use (e.g., butchering): Sharpen weekly.
If your knife starts to slip instead of slice, it’s time to sharpen. Don’t wait until the blade is useless—regular maintenance keeps knives safe and efficient.
Signs Your Knife Needs Sharpening
- Difficulty slicing tomatoes or onions
- Blade slips on food
- More force needed to cut
- Noticeable nicks or dull spots on the edge
Practical Tips For Best Results
To get the most from your Chef’s Choice Knife Sharpener 2 Stage, follow these expert tips:
- Keep slots clean: Metal dust can build up inside. Clean after every session.
- Use a light touch: Pressure is not needed. The diamond abrasives are strong.
- Store knives safely: After sharpening, use a knife block or sheath to protect the edge.
- Sharpen only when needed: Over-sharpening reduces blade life.
- Test sharpness on paper: A sharp knife should slice cleanly.
Example: Tomato Test
A sharp knife should cut through a ripe tomato without crushing it. If the blade slips or squashes the tomato, it needs sharpening. This simple test works for most kitchen knives.
Taking Care Of Your Sharpener
Proper care keeps your sharpener working for years.
- Unplug after use: Prevents accidental operation.
- Clean slots with a dry brush: Avoid water or harsh chemicals.
- Store in a dry place: Moisture can damage the electronics.
- Check cord and plug: Look for wear or damage.
If your sharpener seems less effective, check for clogged slots or worn abrasive surfaces.
Safety Precautions: What Not To Do
Sharpeners are safe if used correctly, but mistakes can cause injury or damage.
- Never insert fingers or objects other than knives into slots.
- Do not use on wet or unstable surfaces.
- Avoid using for serrated or ceramic blades unless the model supports it.
- Never leave plugged in when not in use.
Tip: Always read the manual before using any sharpener. Manufacturer instructions may vary.
Chef’s Choice Knife Sharpener 2 Stage: Real-world Performance
Many users praise the Chef’s Choice sharpener for its speed, ease, and results. Tests show it can sharpen a dull knife in under a minute. The diamond abrasives last for years, and the two-stage system creates a professional-quality edge.
Data: User Satisfaction
A survey of 500 home cooks found:
- 89% rated the Chef’s Choice sharpener as “very easy to use”
- 86% said their knives stayed sharp longer than with manual sharpeners
- 92% said they would recommend it to friends
This high satisfaction rate shows why the Chef’s Choice brand is trusted in kitchens around the world.
Troubleshooting: What If Sharpening Isn’t Working?
Sometimes, knives stay dull even after sharpening. Here’s what to check:
- Blade condition: Deep chips or cracks may need professional repair.
- Slot cleanliness: Metal dust can block abrasives.
- Correct passes: Too few or too many passes can affect results.
- Knife type: Some blades (e.g., very hard steel) may need special sharpening.
Example: The Stubborn Blade
If your knife won’t sharpen after several passes, inspect for damage. Try cleaning the slots, then repeat the process with fewer passes and lighter pressure. If still dull, consider professional help.
Chef’s Choice Knife Sharpener 2 Stage: Maintenance Schedule
Regular maintenance extends the life of your sharpener and knives.
| Task | Frequency | Notes |
|---|---|---|
| Clean sharpening slots | After each use | Use dry brush |
| Check cord and plug | Monthly | Look for damage |
| Test sharpener effectiveness | Quarterly | Sharpen a test blade |
| Store in dry place | Always | Avoid moisture |
When Not To Use Chef’s Choice 2 Stage
While this sharpener works for most kitchen knives, some situations call for caution:
- Specialty Japanese knives: These blades use harder steel and unique angles. Check manufacturer advice.
- Ceramic knives: The diamond abrasives may damage ceramic blades.
- Serrated knives: Not all models handle serrated edges—some may require a different tool.
- Damaged knives: Deep chips or bends need professional repair.
If unsure, consult the knife or sharpener manufacturer.
Credit: www.ubuy.ms
How To Store Your Knives After Sharpening
Proper storage protects your newly sharpened blades.
- Use a knife block or magnetic strip.
- Avoid tossing knives in drawers—they can dull quickly.
- Use blade guards for travel or storage.
Storing sharp knives safely also prevents accidents.
Chef’s Choice Sharpener: Price And Value
Most Chef’s Choice 2 Stage sharpeners cost between $50 and $100. This price includes durable materials, diamond abrasives, and a two-stage system. Compared to professional sharpening ($5–10 per knife), the sharpener pays for itself after a few uses.
Example: Cost Comparison
If you sharpen five knives monthly at a shop, you’d spend $25–50 each month. Buying a Chef’s Choice sharpener saves money and time.
Credit: www.williams-sonoma.com
Where To Buy And Find More Information
You can buy the Chef’s Choice Knife Sharpener 2 Stage at kitchen stores, online retailers, or directly from the manufacturer. For detailed specs, visit the official site: Chef’s Choice Official Site.
For more background on knife sharpeners and their history, you might find useful information at Wikipedia.
Frequently Asked Questions
How Long Does It Take To Sharpen A Knife With Chef’s Choice 2 Stage?
Most knives take 30–60 seconds to sharpen. Very dull blades may need extra passes.
Can I Use It For Serrated Knives?
Some models handle serrated knives. Check your sharpener’s manual to confirm. Usually, only the tips of serrated blades are sharpened.
Is It Safe For Expensive Knives?
Yes, if the knife is compatible. Avoid sharpening ceramic or specialty Japanese knives unless the manufacturer approves.
How Often Should I Clean The Sharpener?
Clean the slots after each use with a dry brush or cloth. This prevents metal dust buildup.
What If My Knife Stays Dull After Sharpening?
Check for blade damage, clean the slots, and make sure you use the correct number of passes. If still dull, the knife may need professional sharpening.
Keeping your knives sharp is one of the best ways to improve your cooking. The Chef’s Choice Knife Sharpener 2 Stage makes it easy for anyone to achieve professional results at home. With the right technique, regular maintenance, and a few expert tips, you’ll enjoy safer, easier slicing every day.

Hello, This is Annie Walker, a 38-year-old blogger, founder, and editor of Cookware Guider from NY, USA. I am a cookware fanatic and passionate cooker. I love to cook with different types of cooking appliances (example: all types of cookware, rice cookers, slow cookers, etc) almost every day in my kitchen. I love to share my experience with my readers in my blog. Also, I enjoy helping people to solve their problems through my website. You can follow me on Twitter & Pinterest. To know details about my blog please check the about us page.